Rocking love chair assembly
First steps
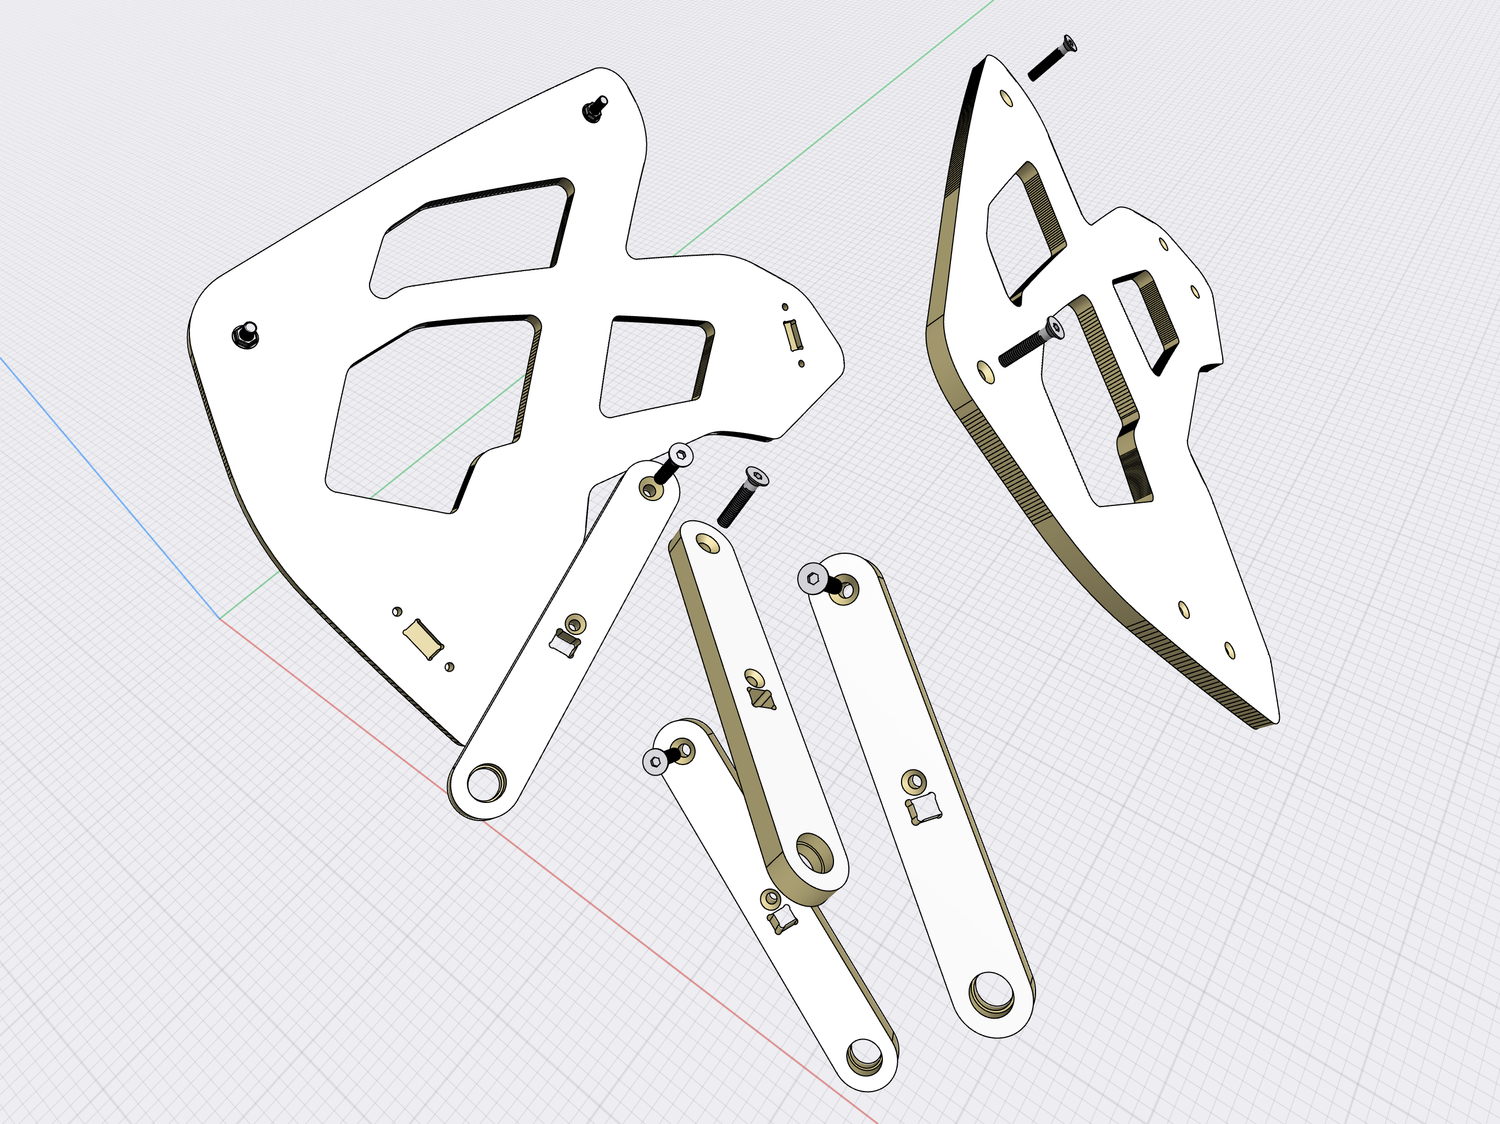
Use 8 flat head screws and flange nuts with both side panels and 4 swing arms. Tighten screws in countersink holes.
-
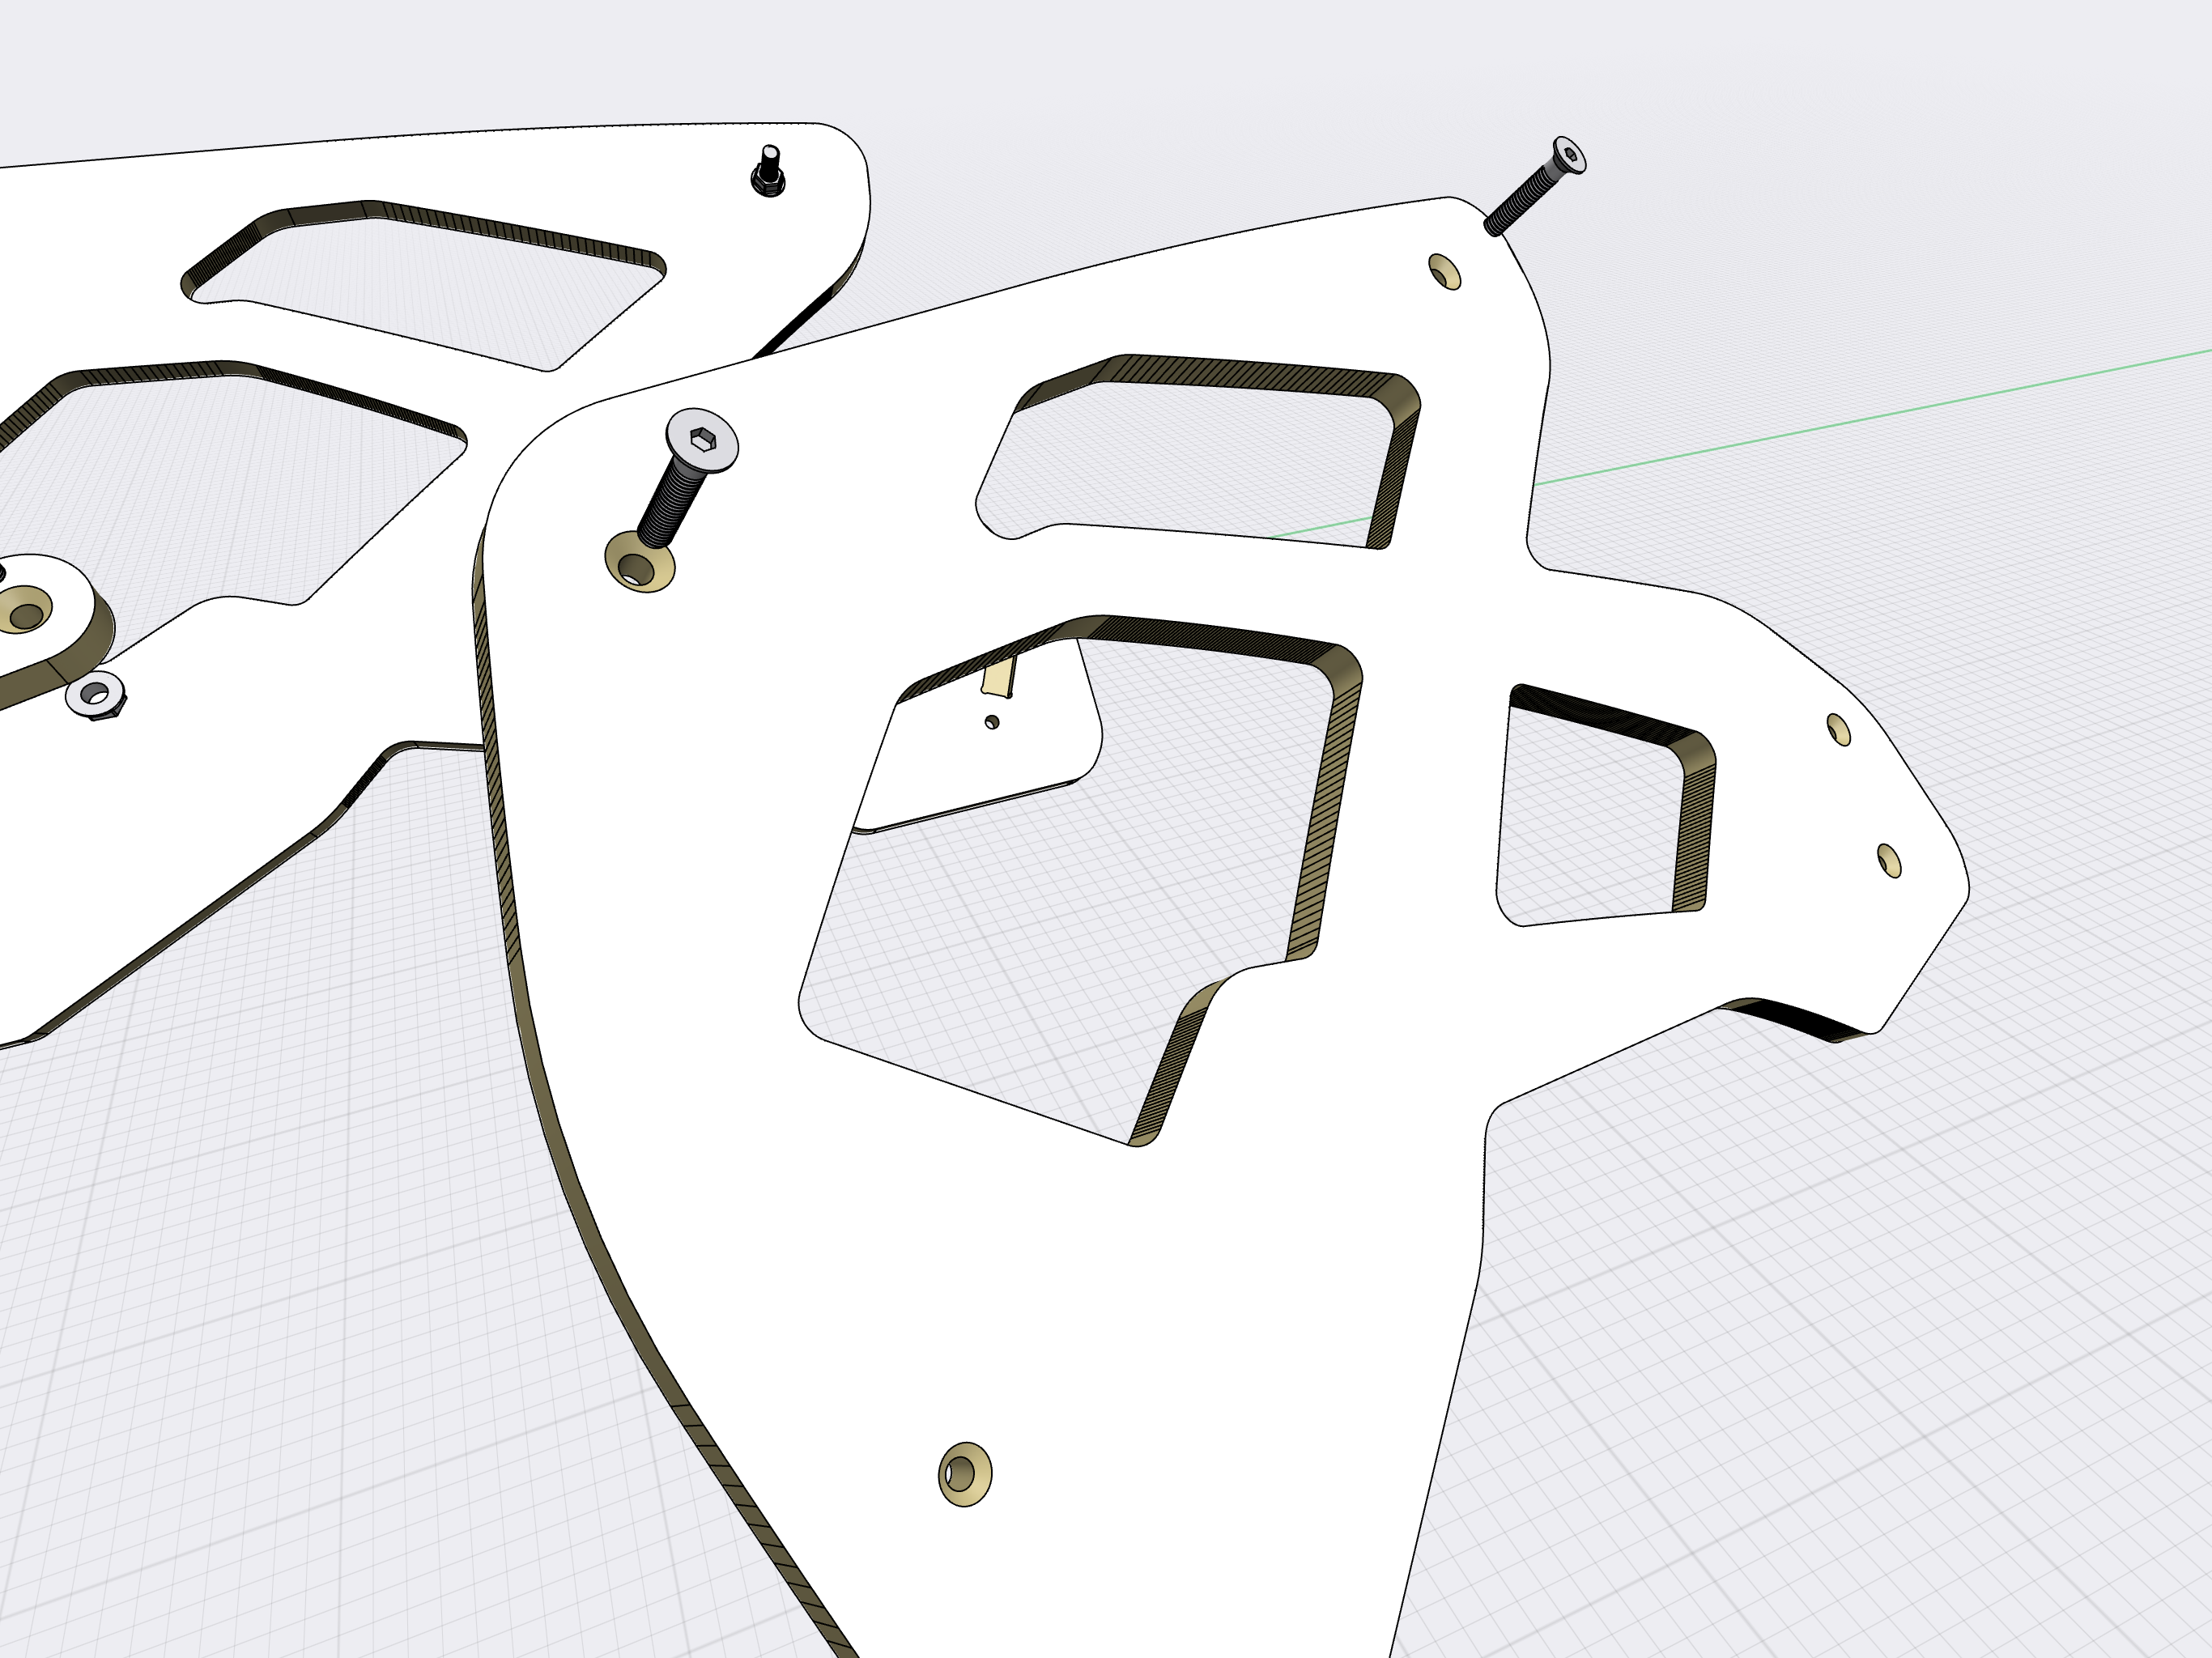
To the both side panels insert flat head screws into countersink holes and tighten flange nuts (those without blue nylon).
-
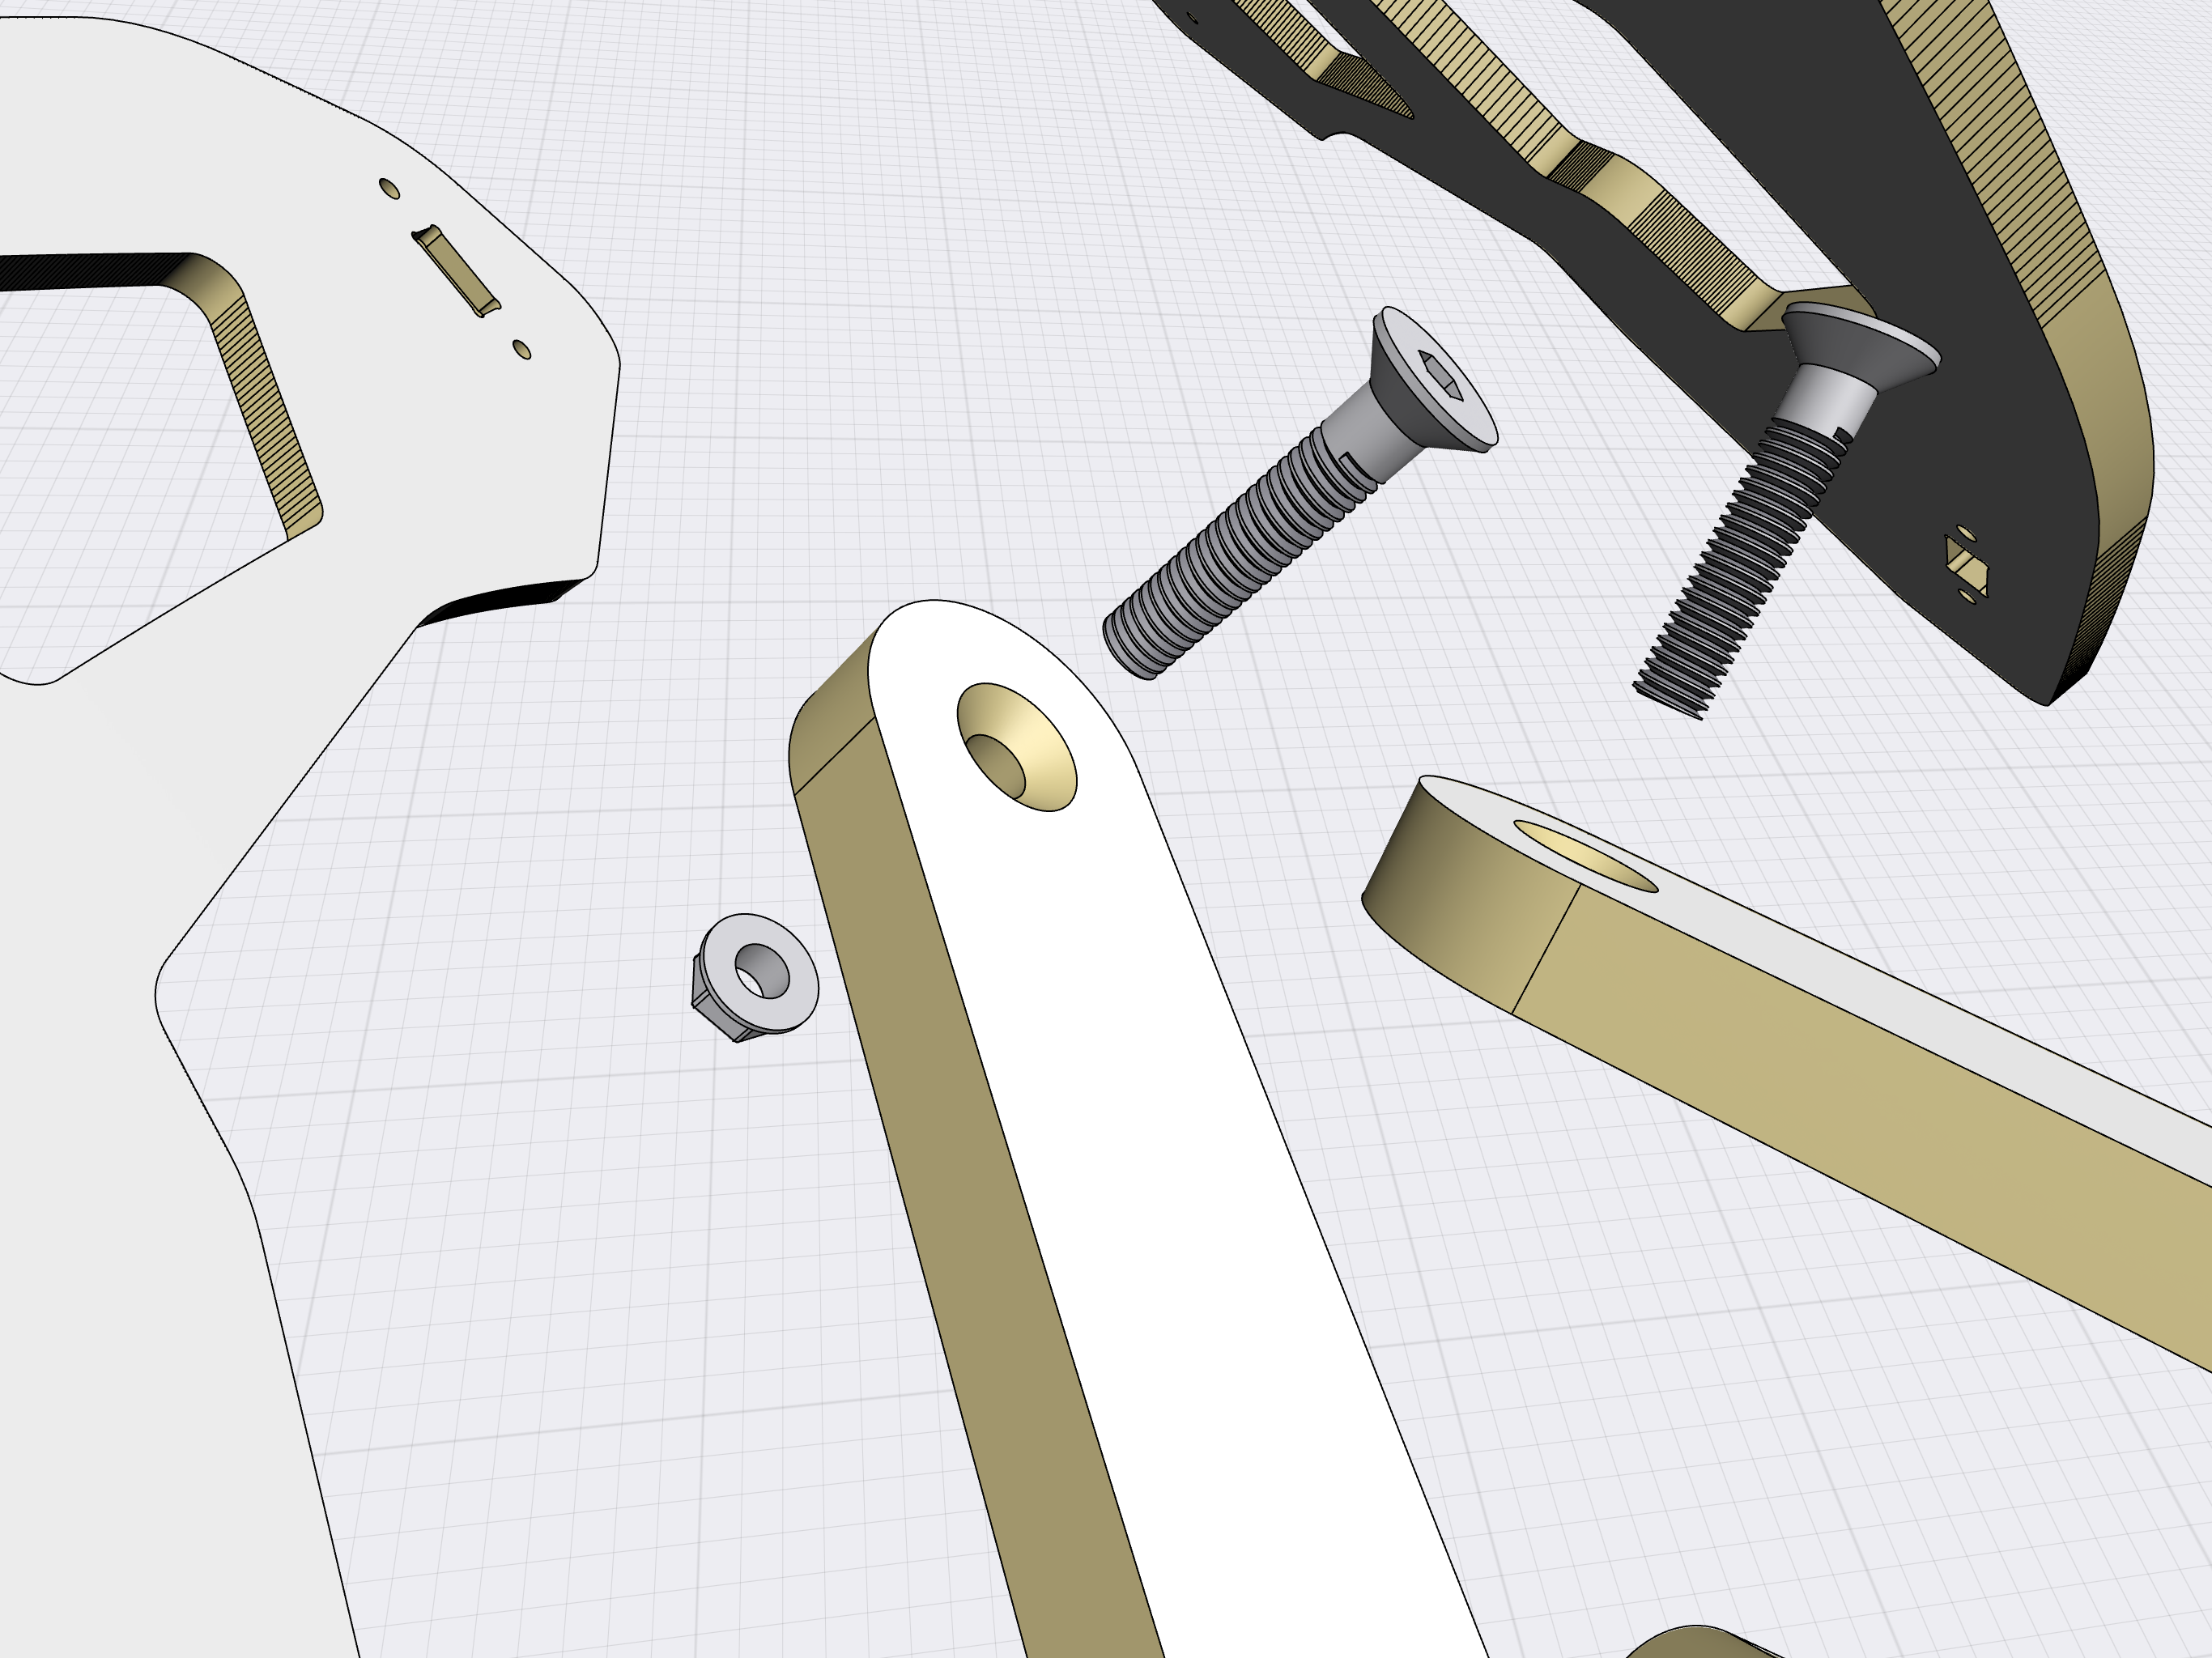
Do the same to 4 swing arms.
-
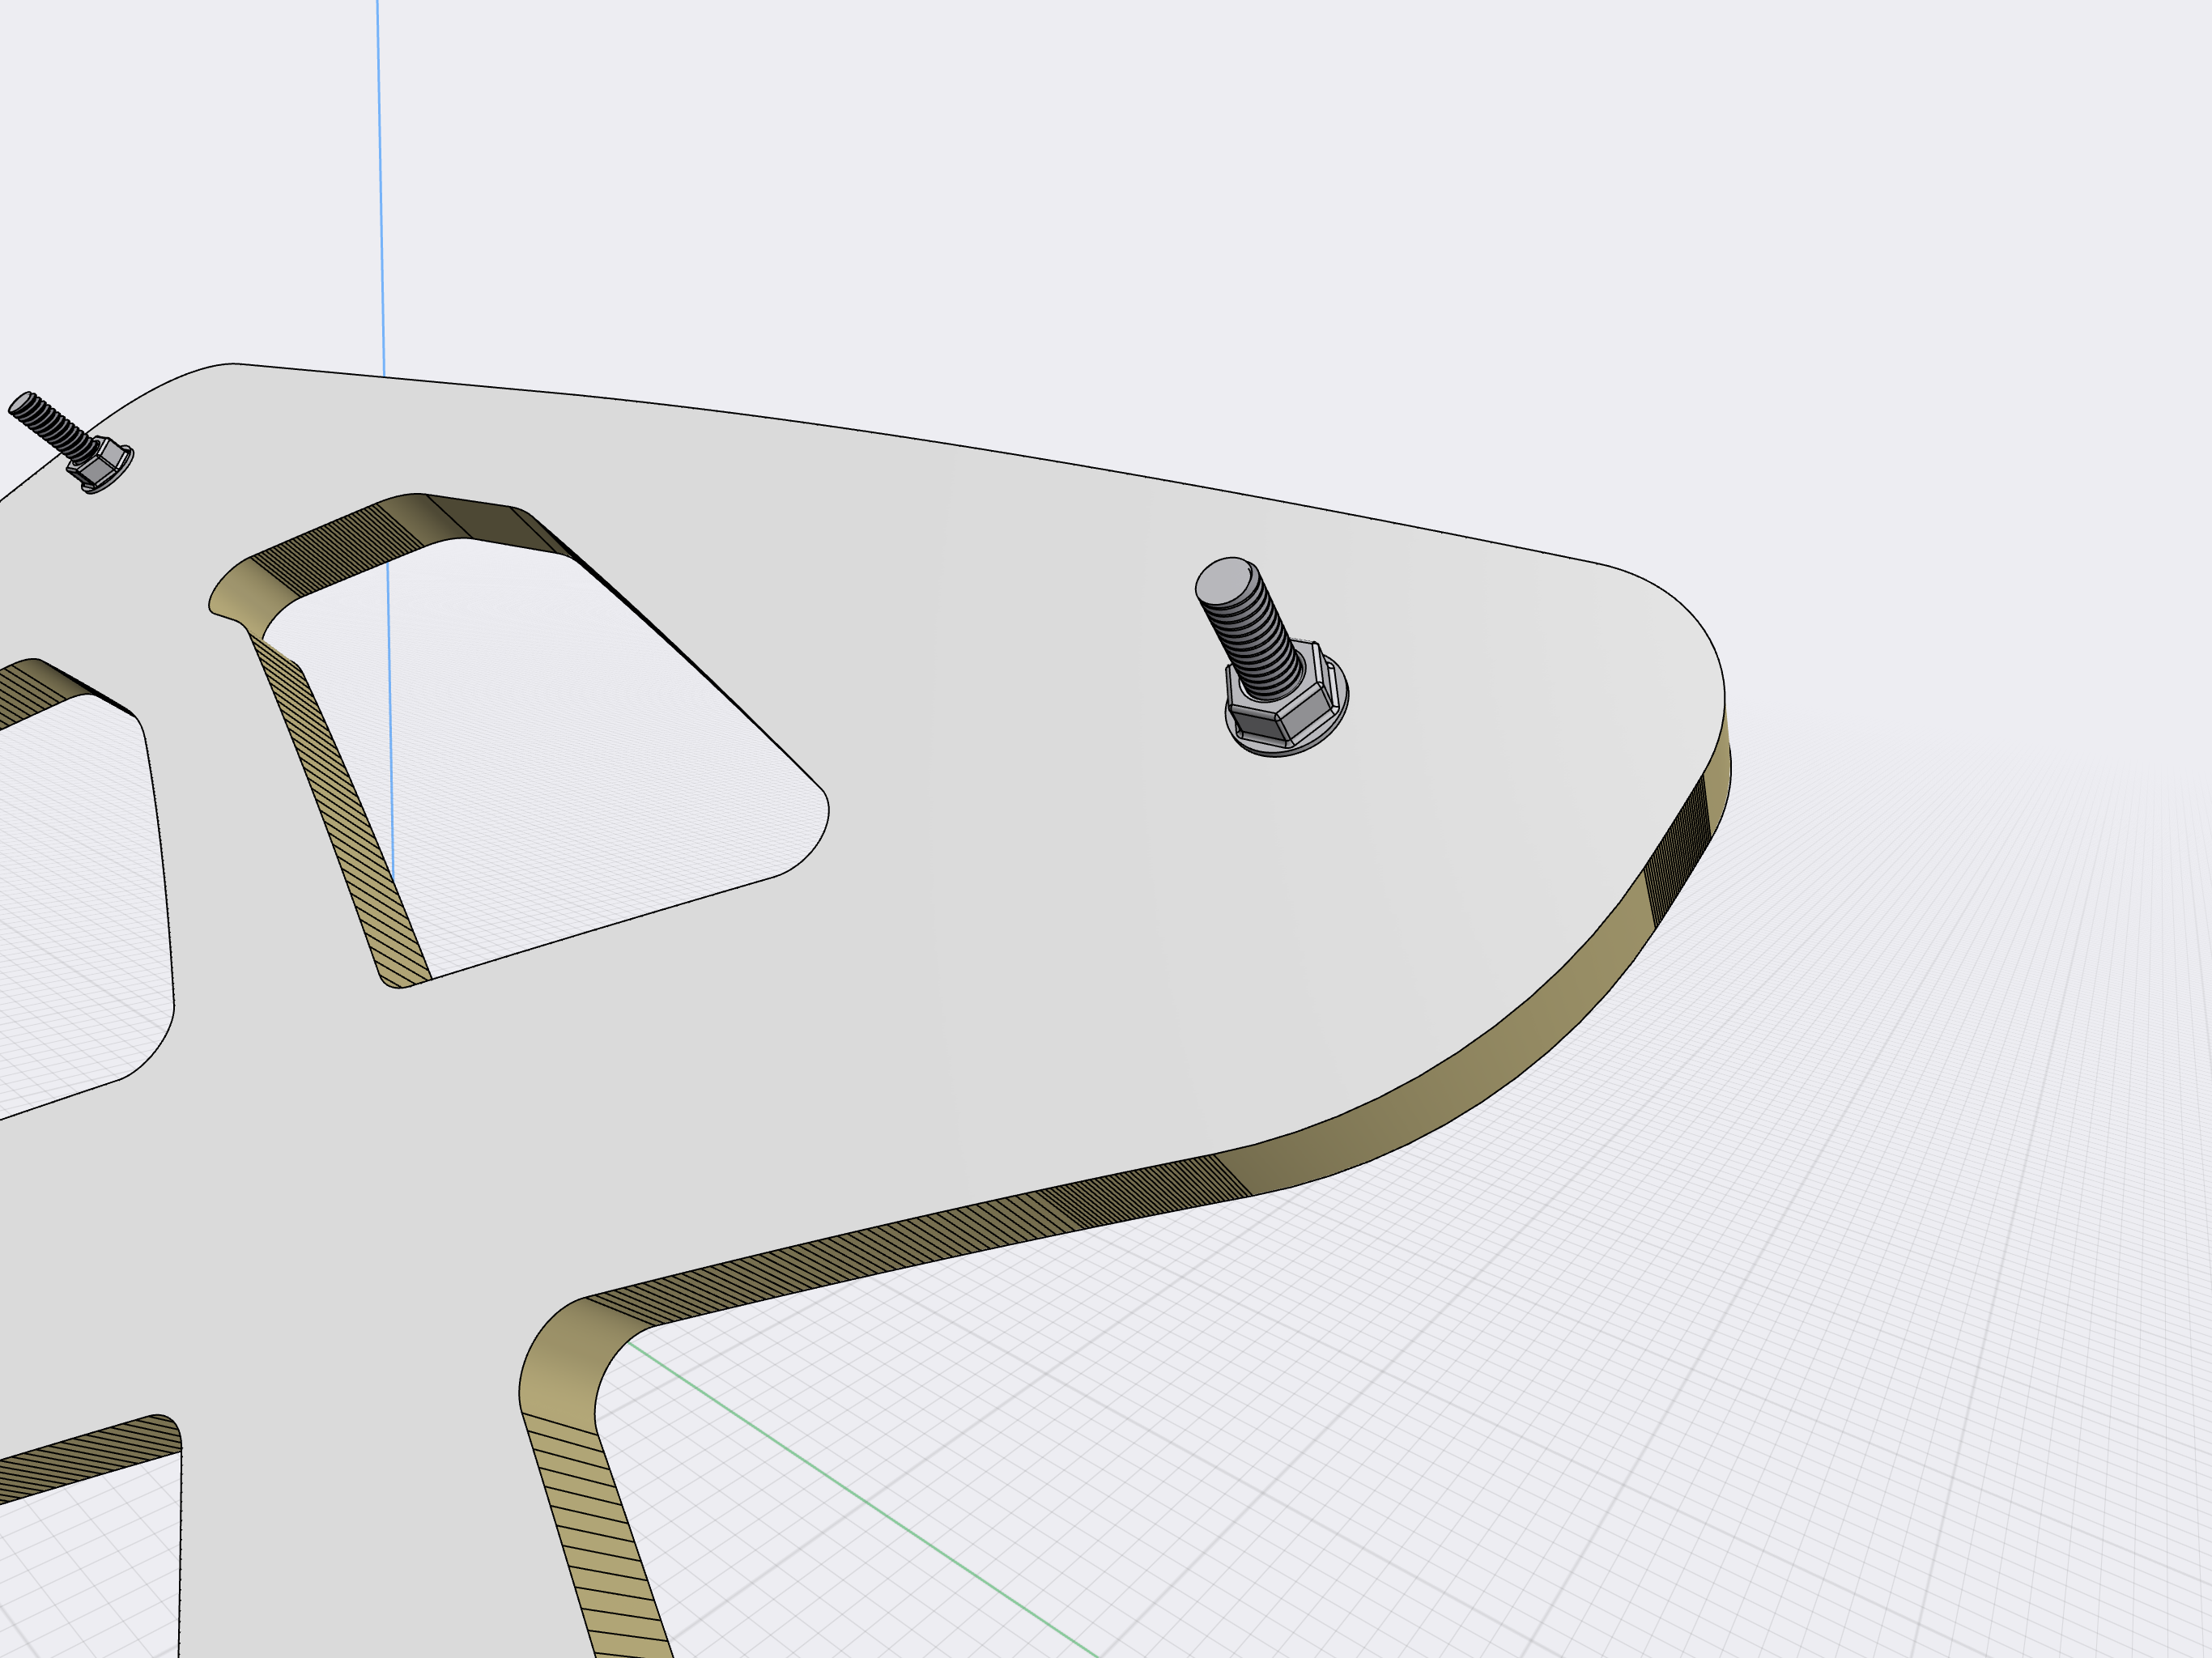
Tighten them well. No washers needed.


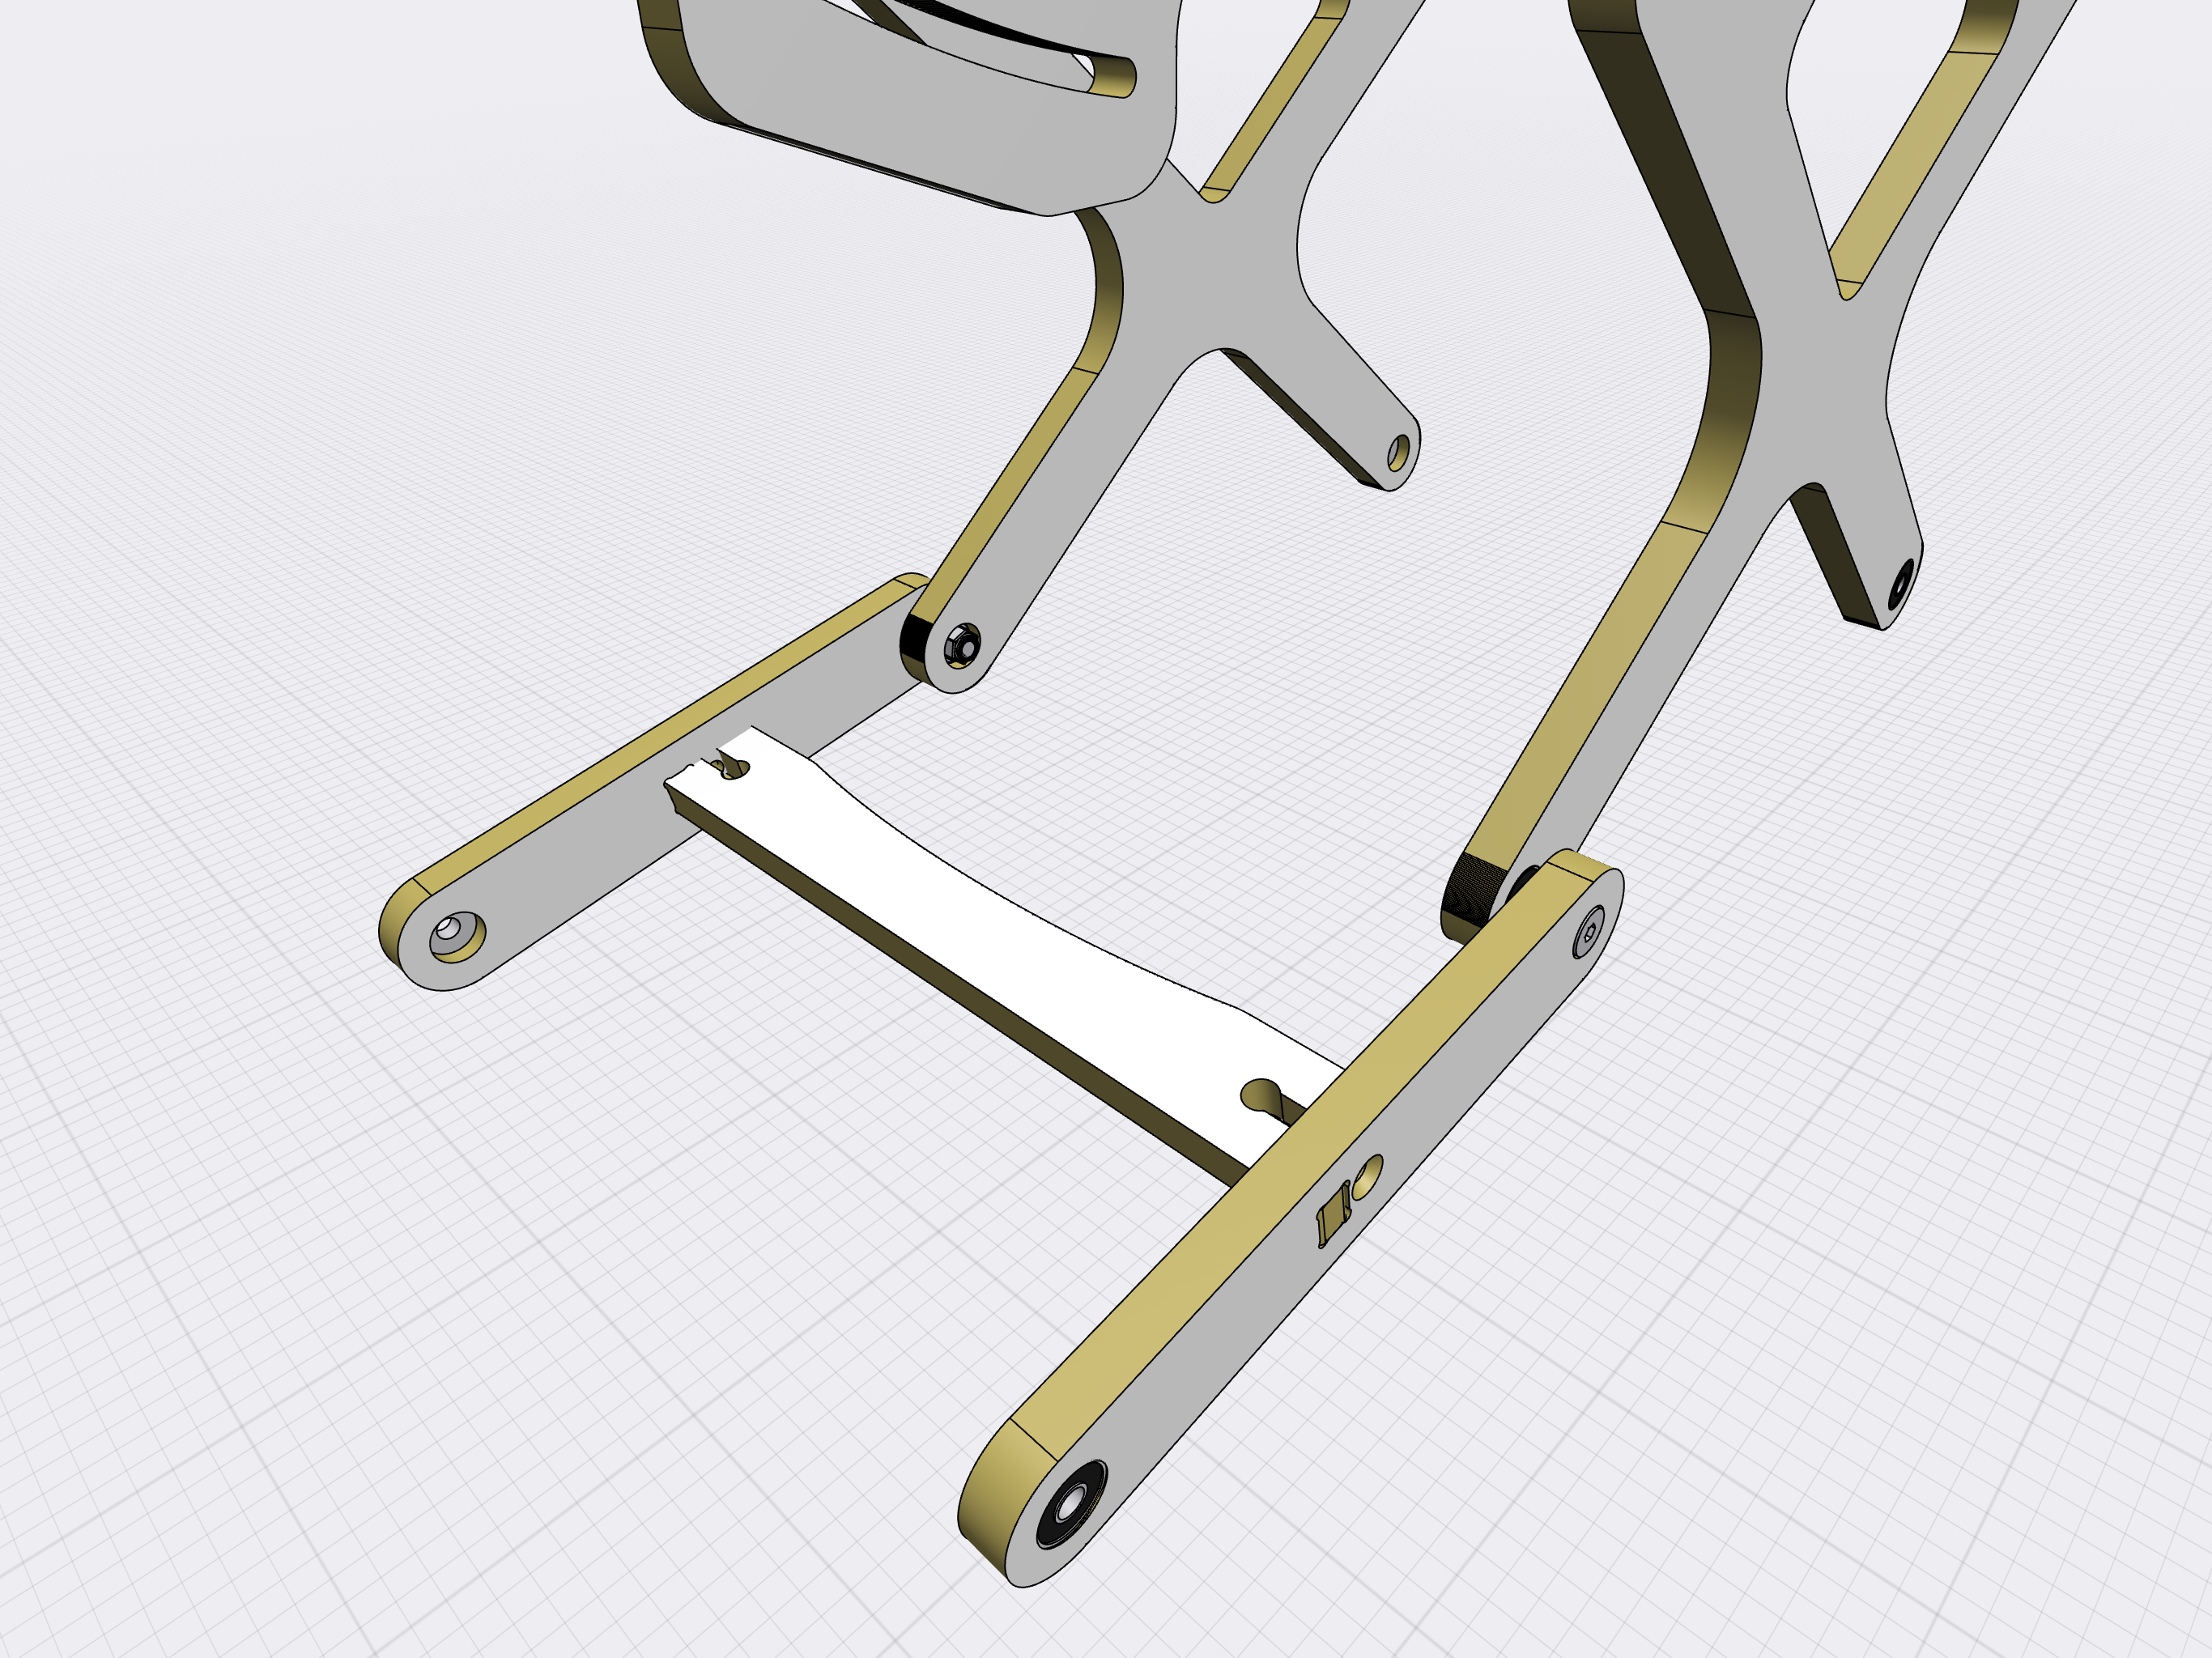
Base assembly
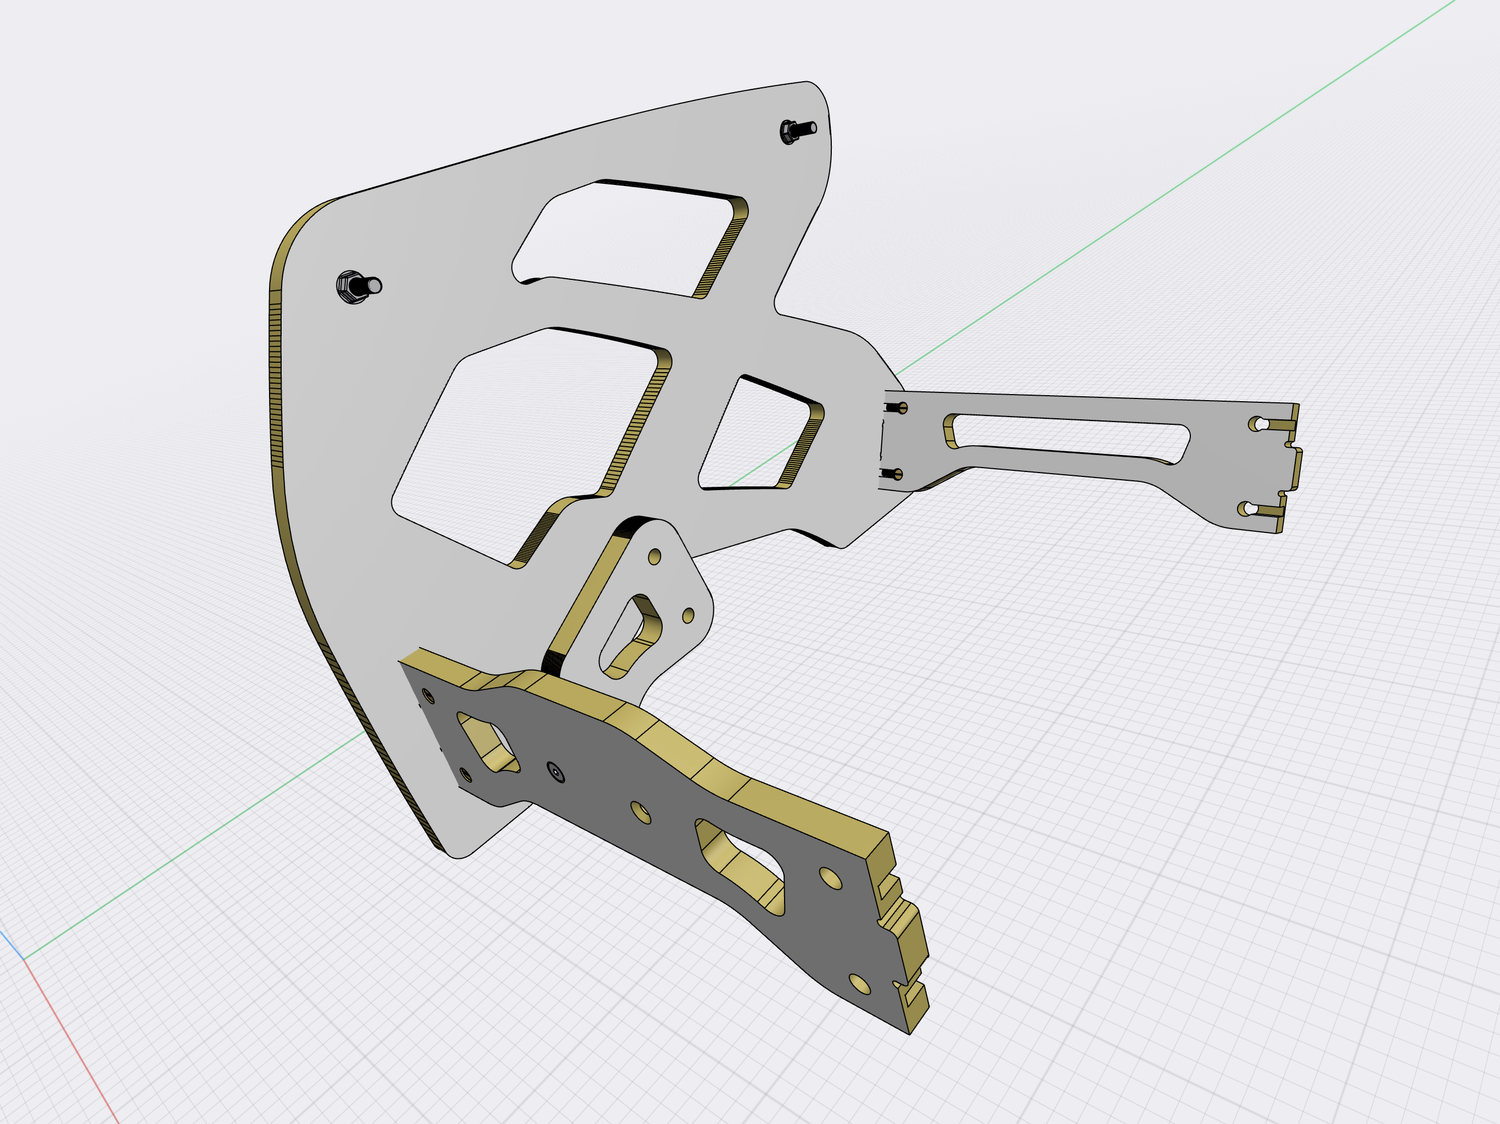
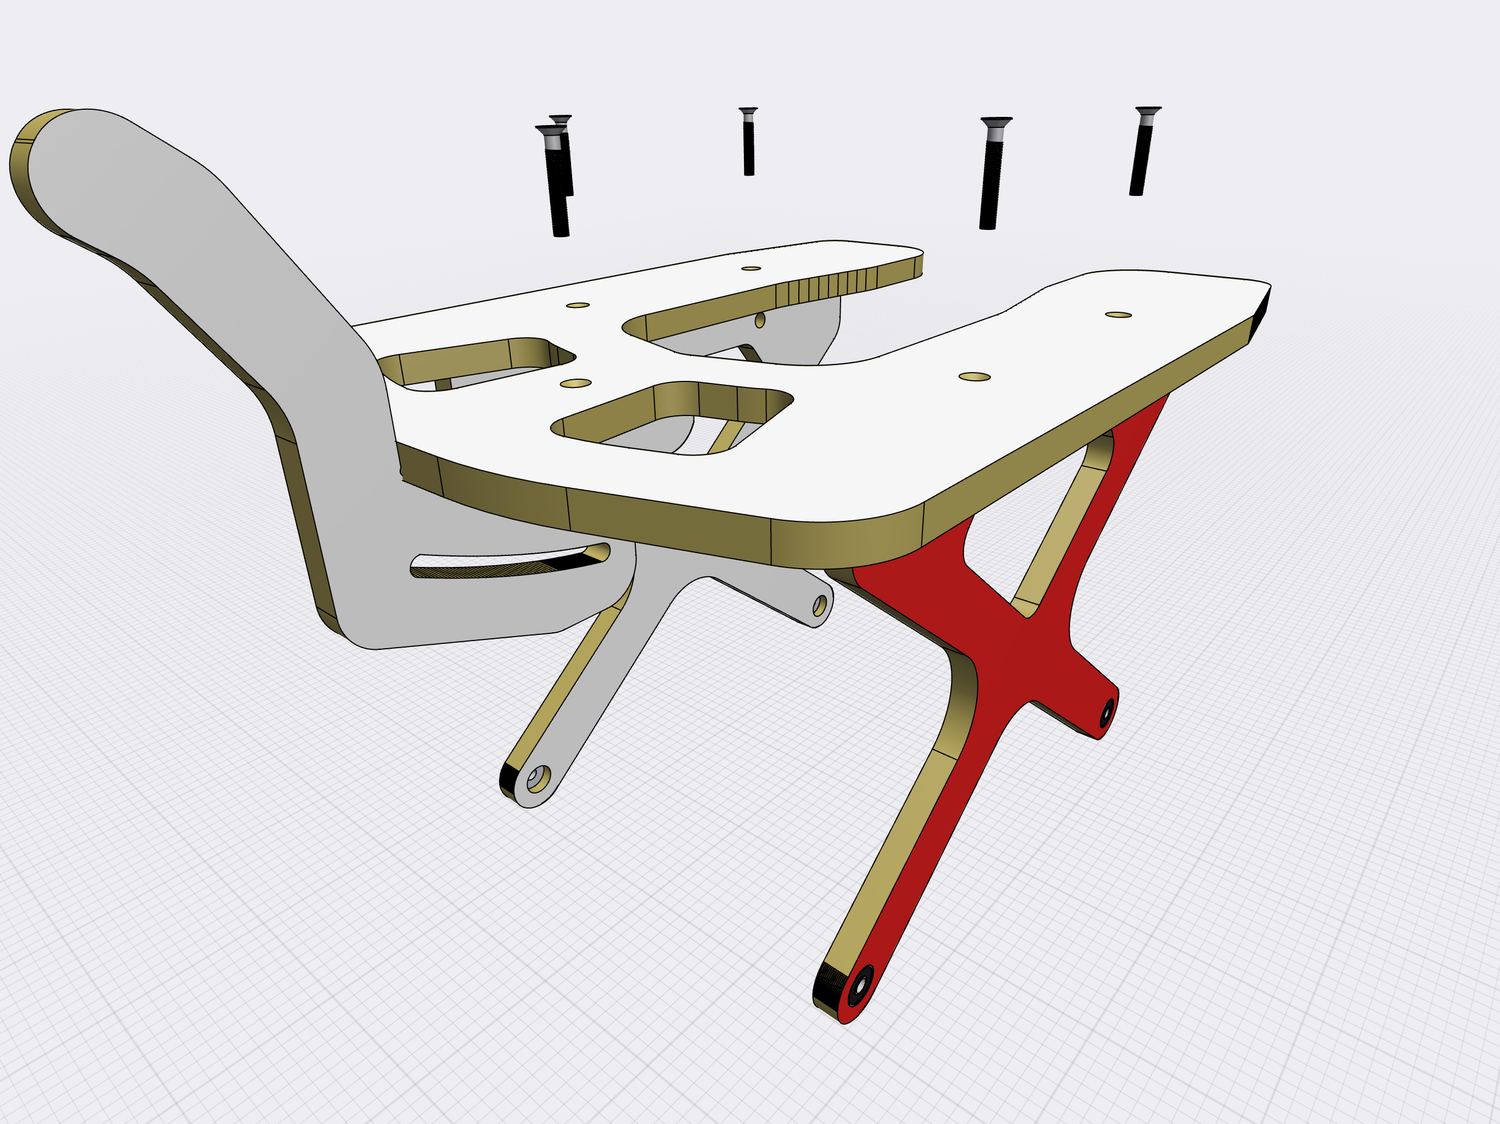
Assemble the right side panel, front and rear crossbars and the rod support.
-
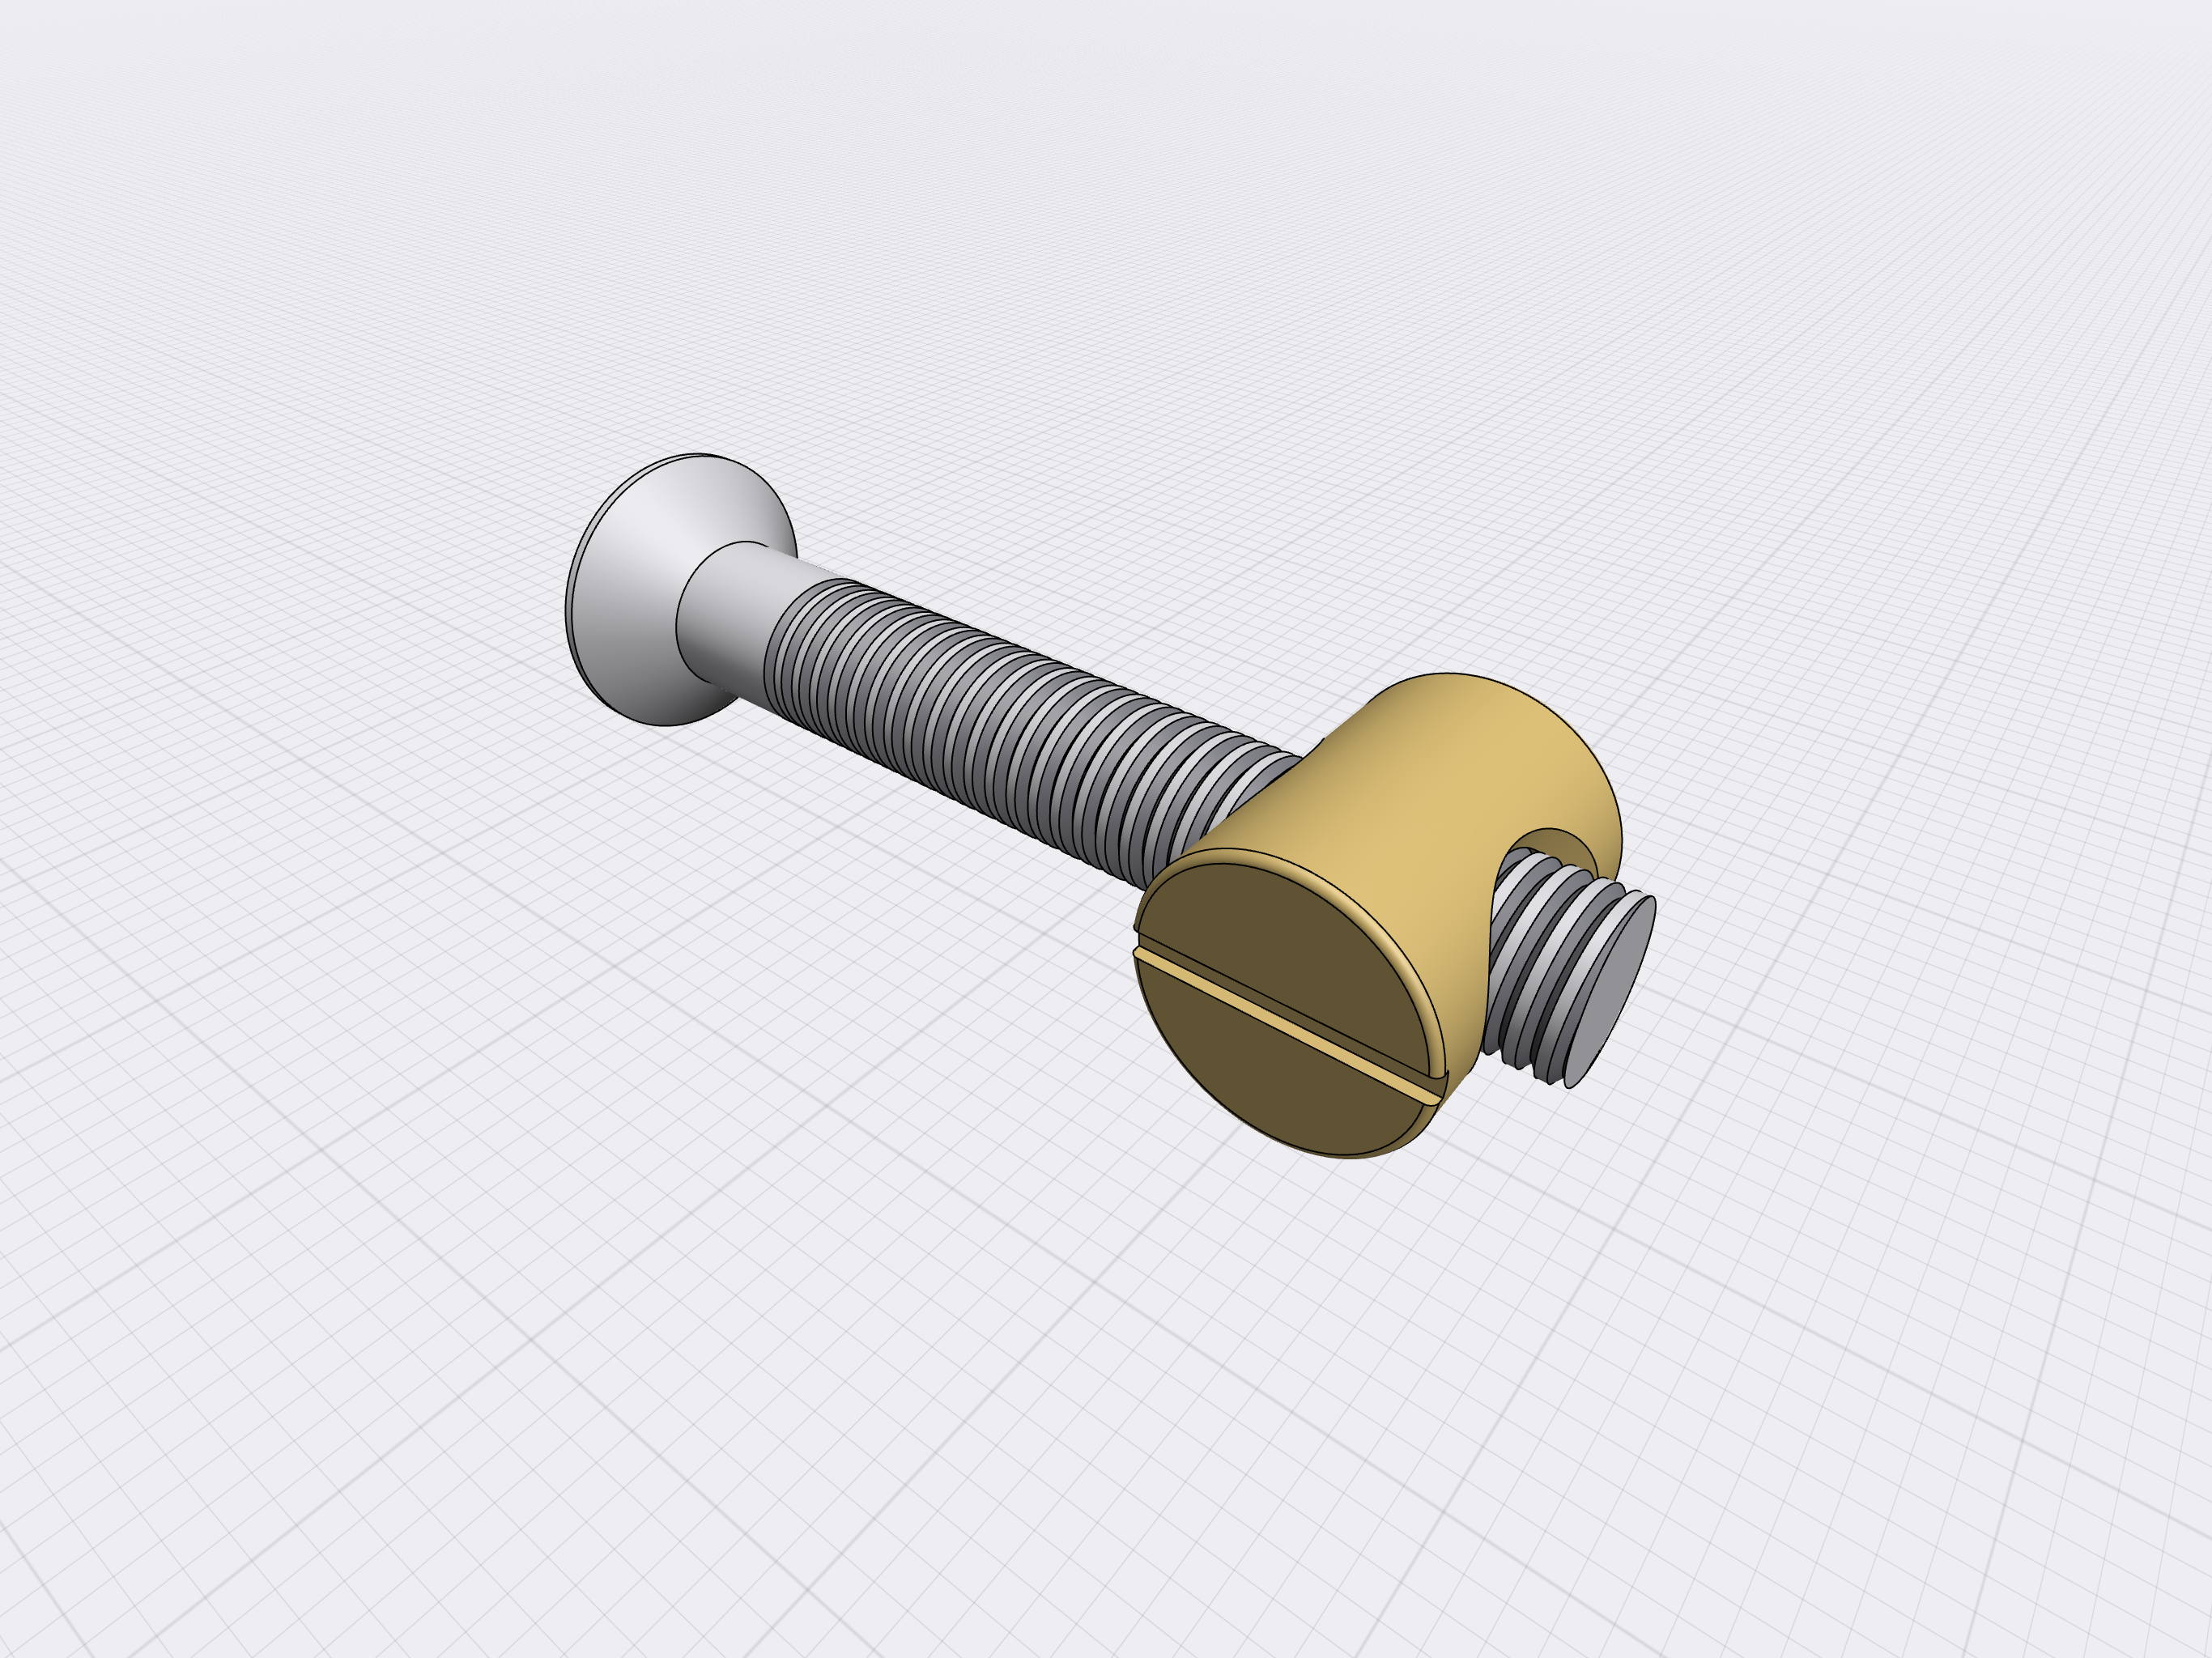
Ensure smooth screwing of the flat head screws and barrel nuts, and avoid pressing to prevent damage to the threads.
-
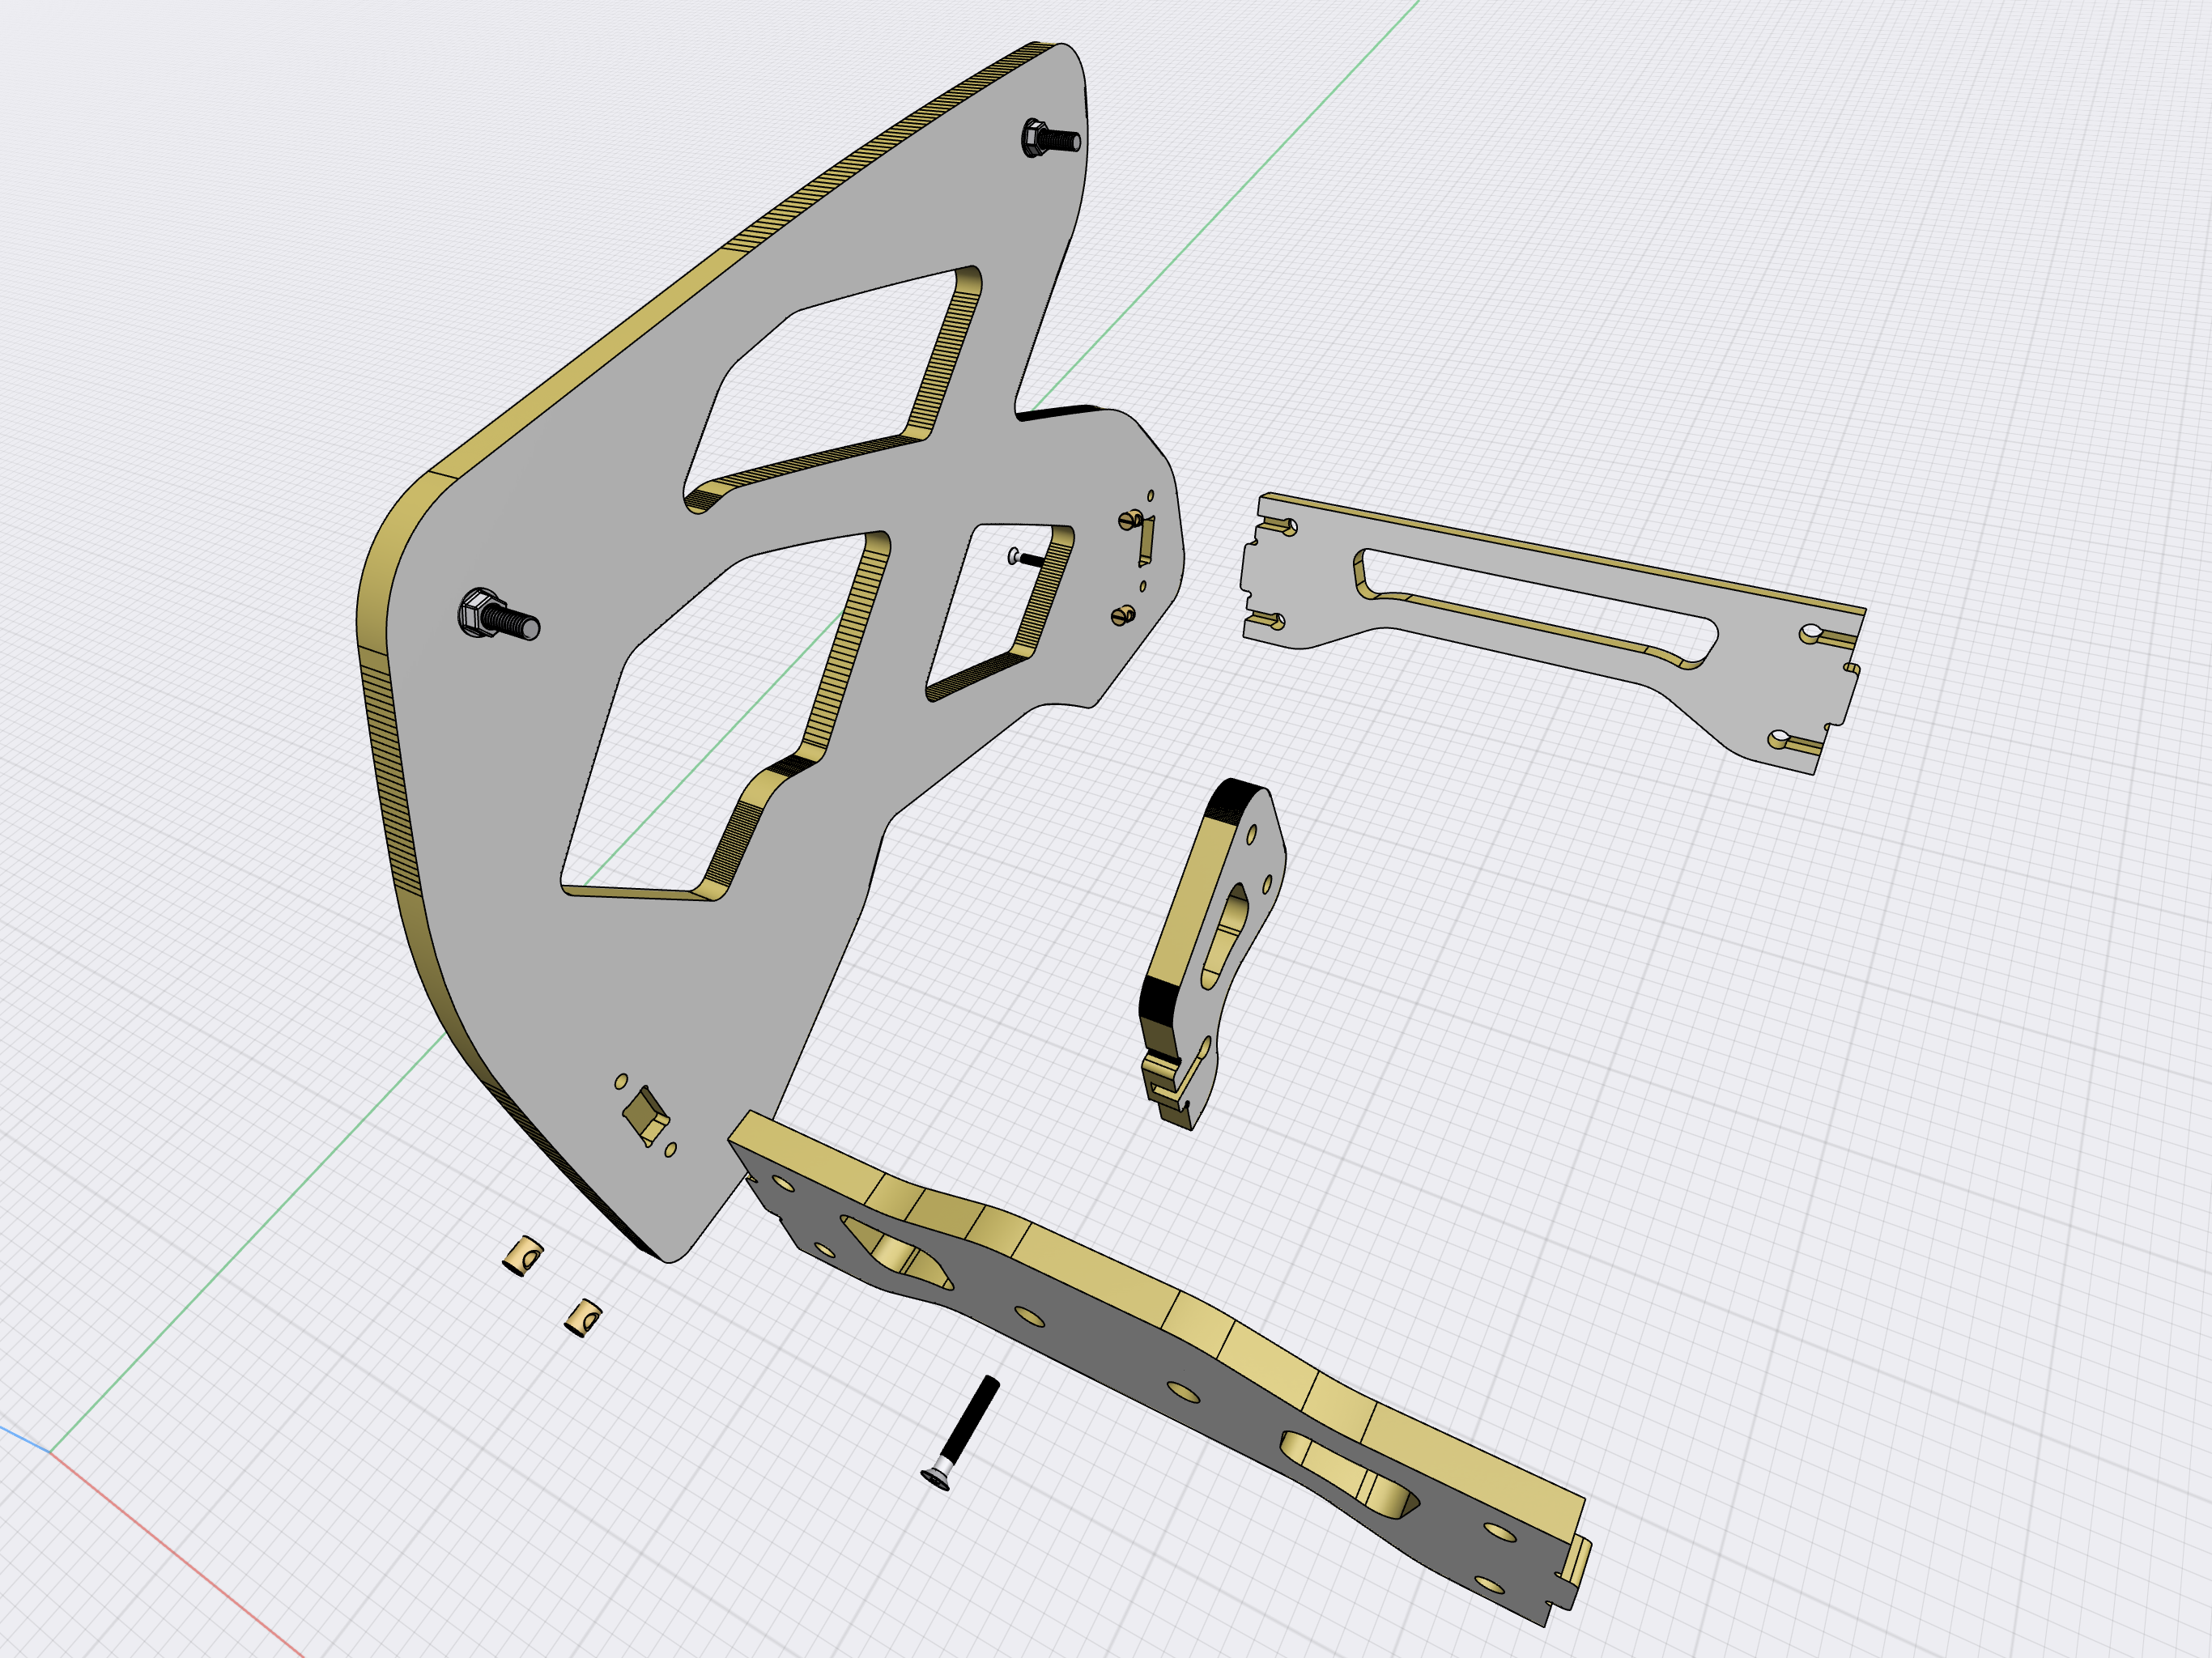
You will need 5 screws and 5 barrel nuts.
-
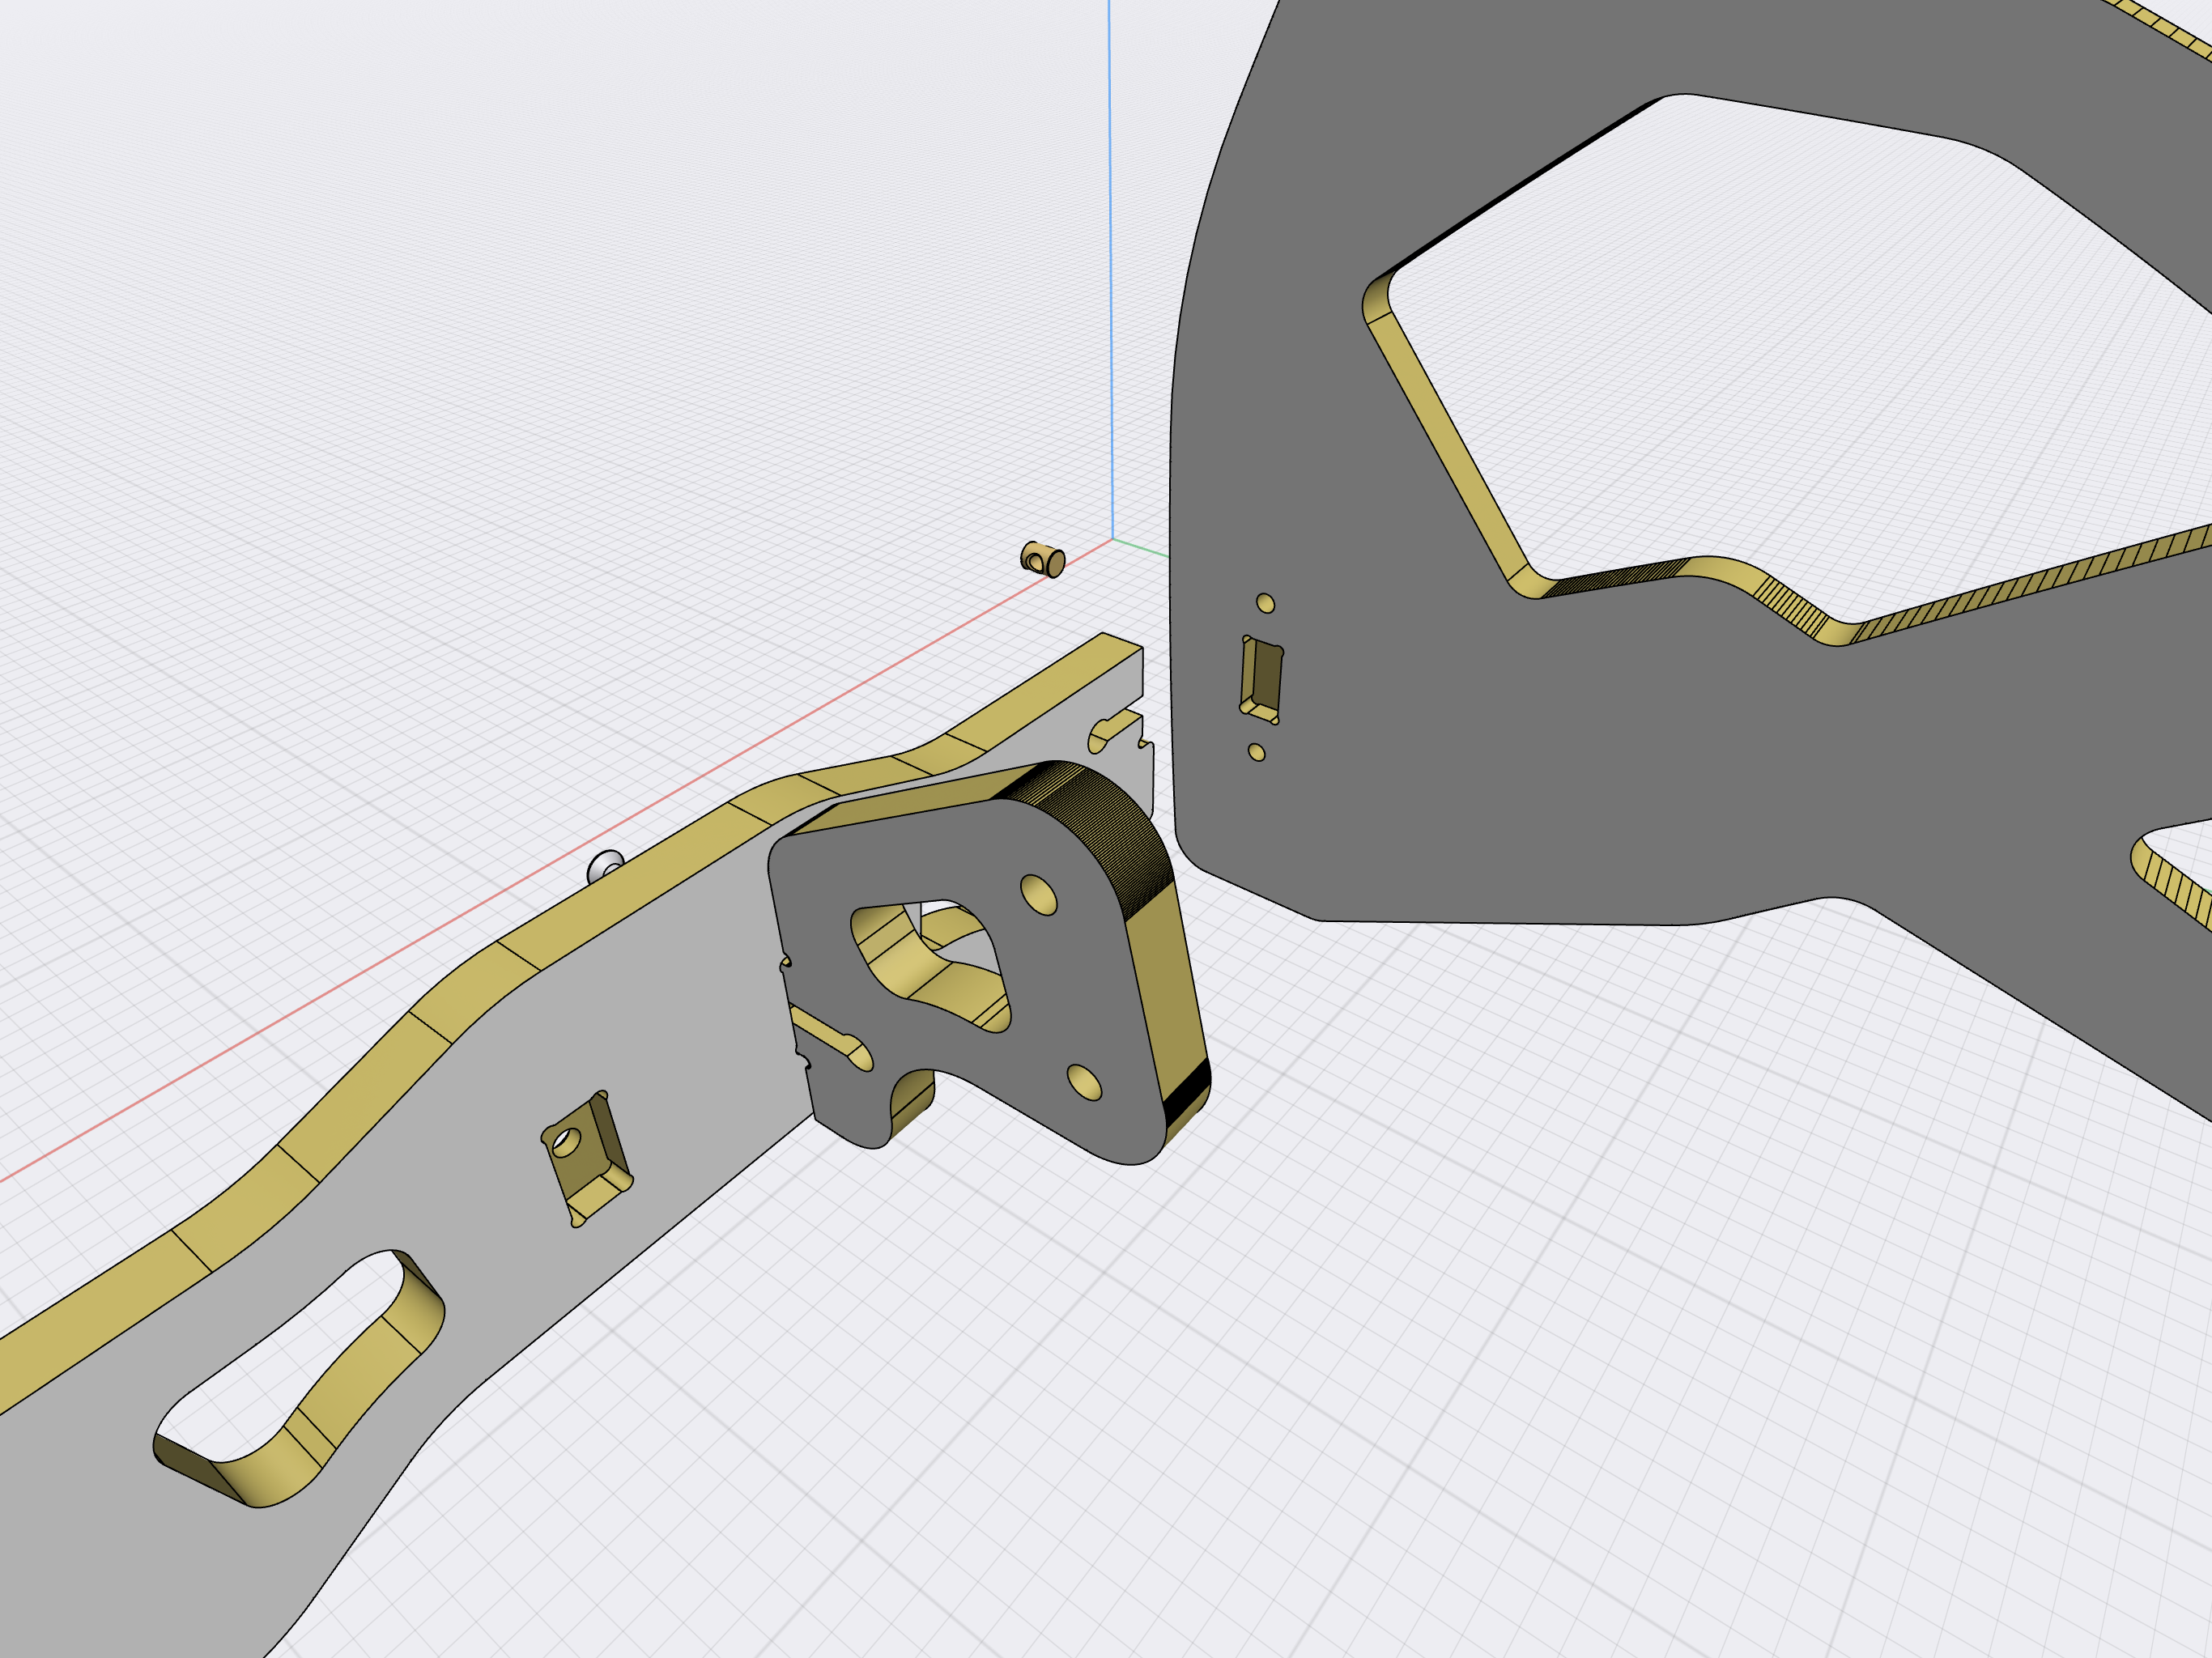
The rod support is located in the pocket closer to the side panel.


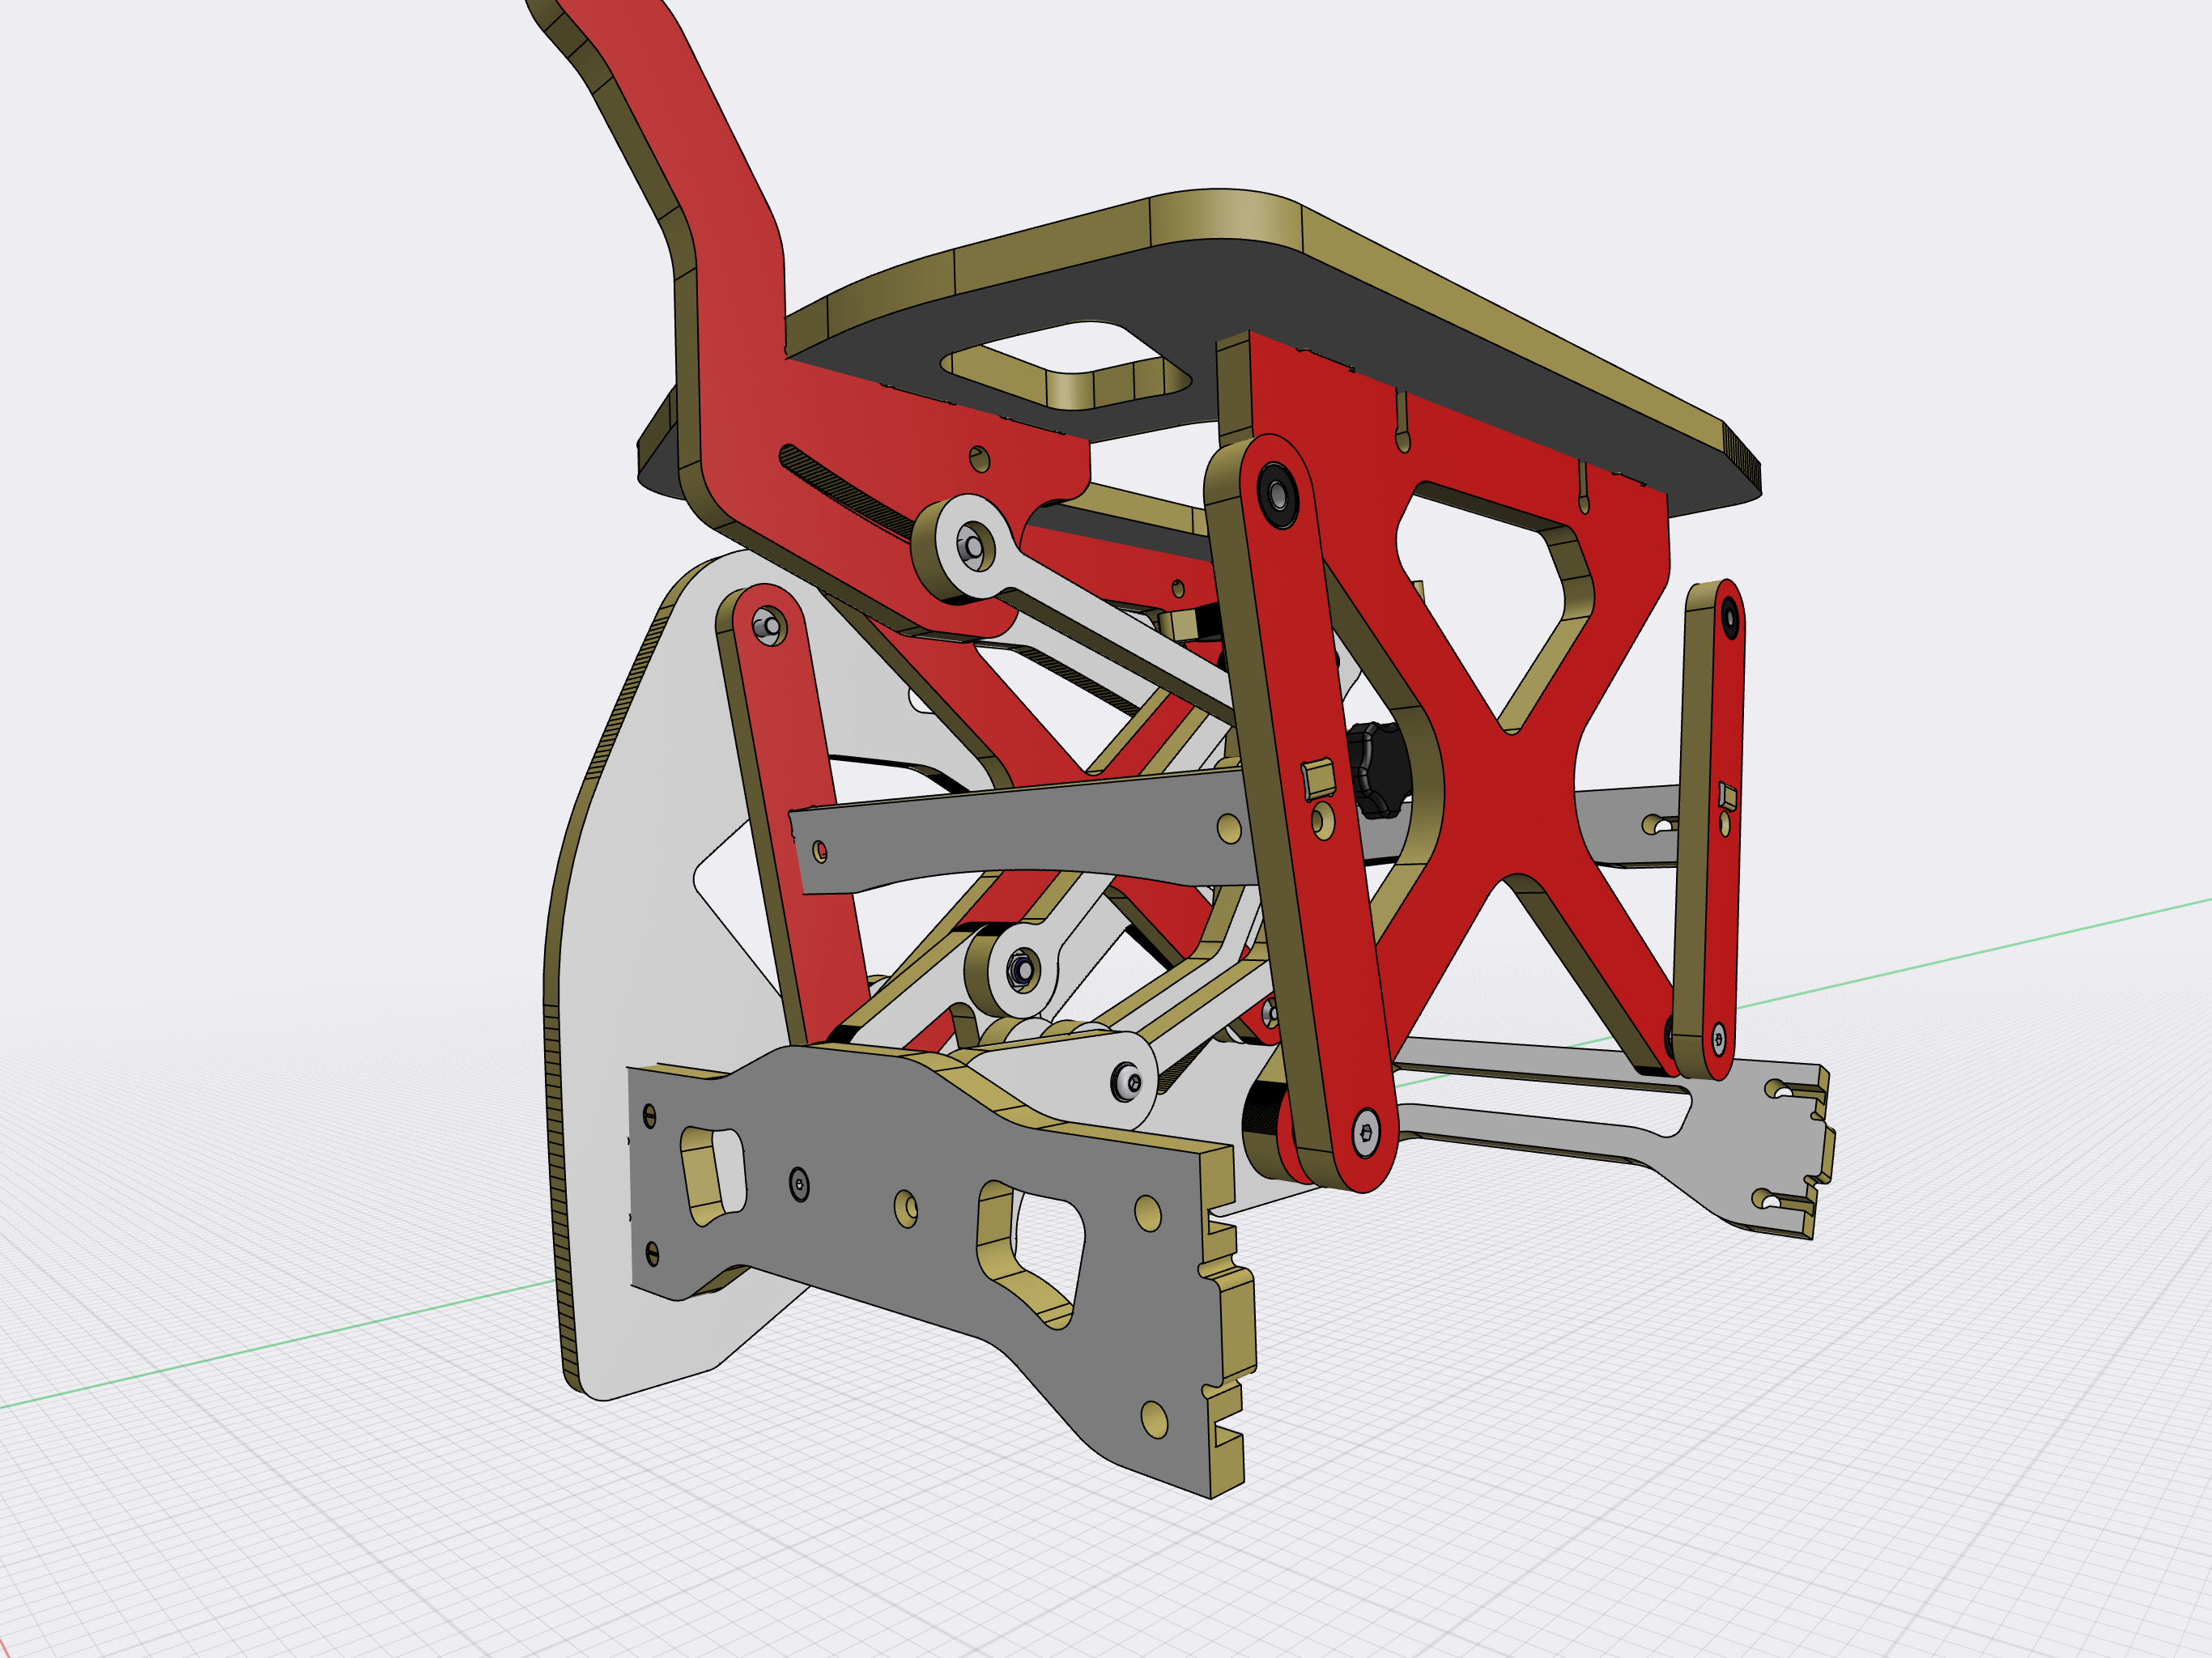
Moving mechanism
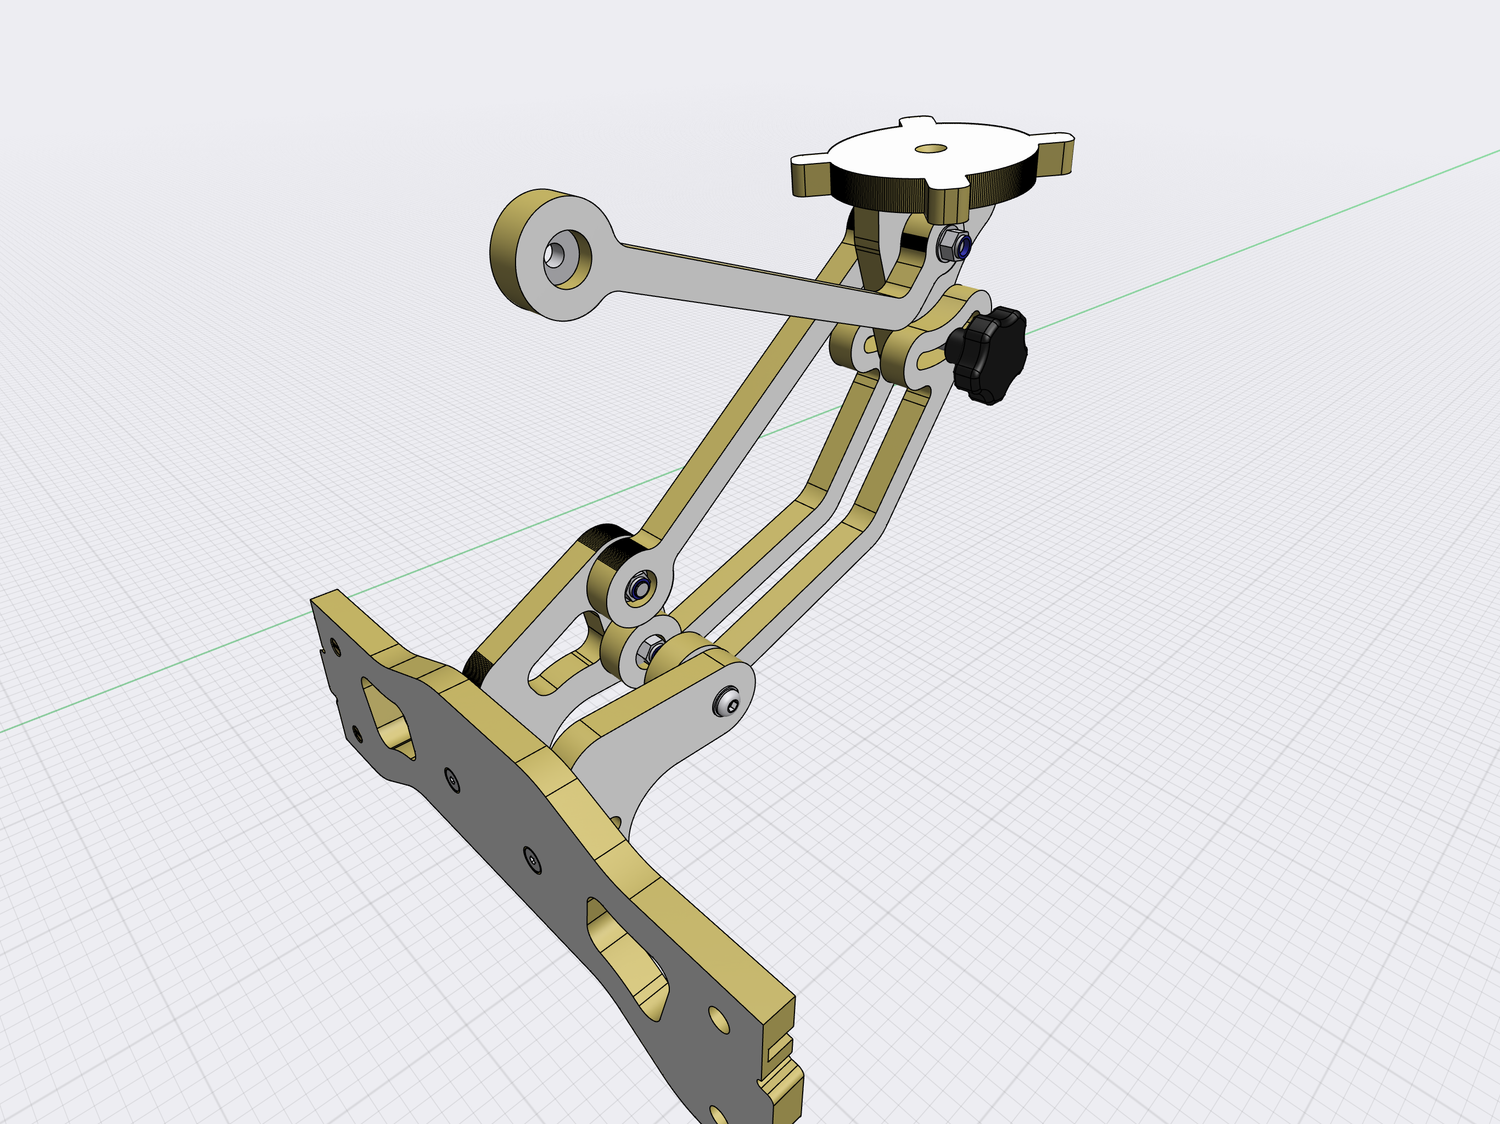
The trickiest part involves the toy holder, 4 rods, and connecting it to the supports on the front crossbar.
-
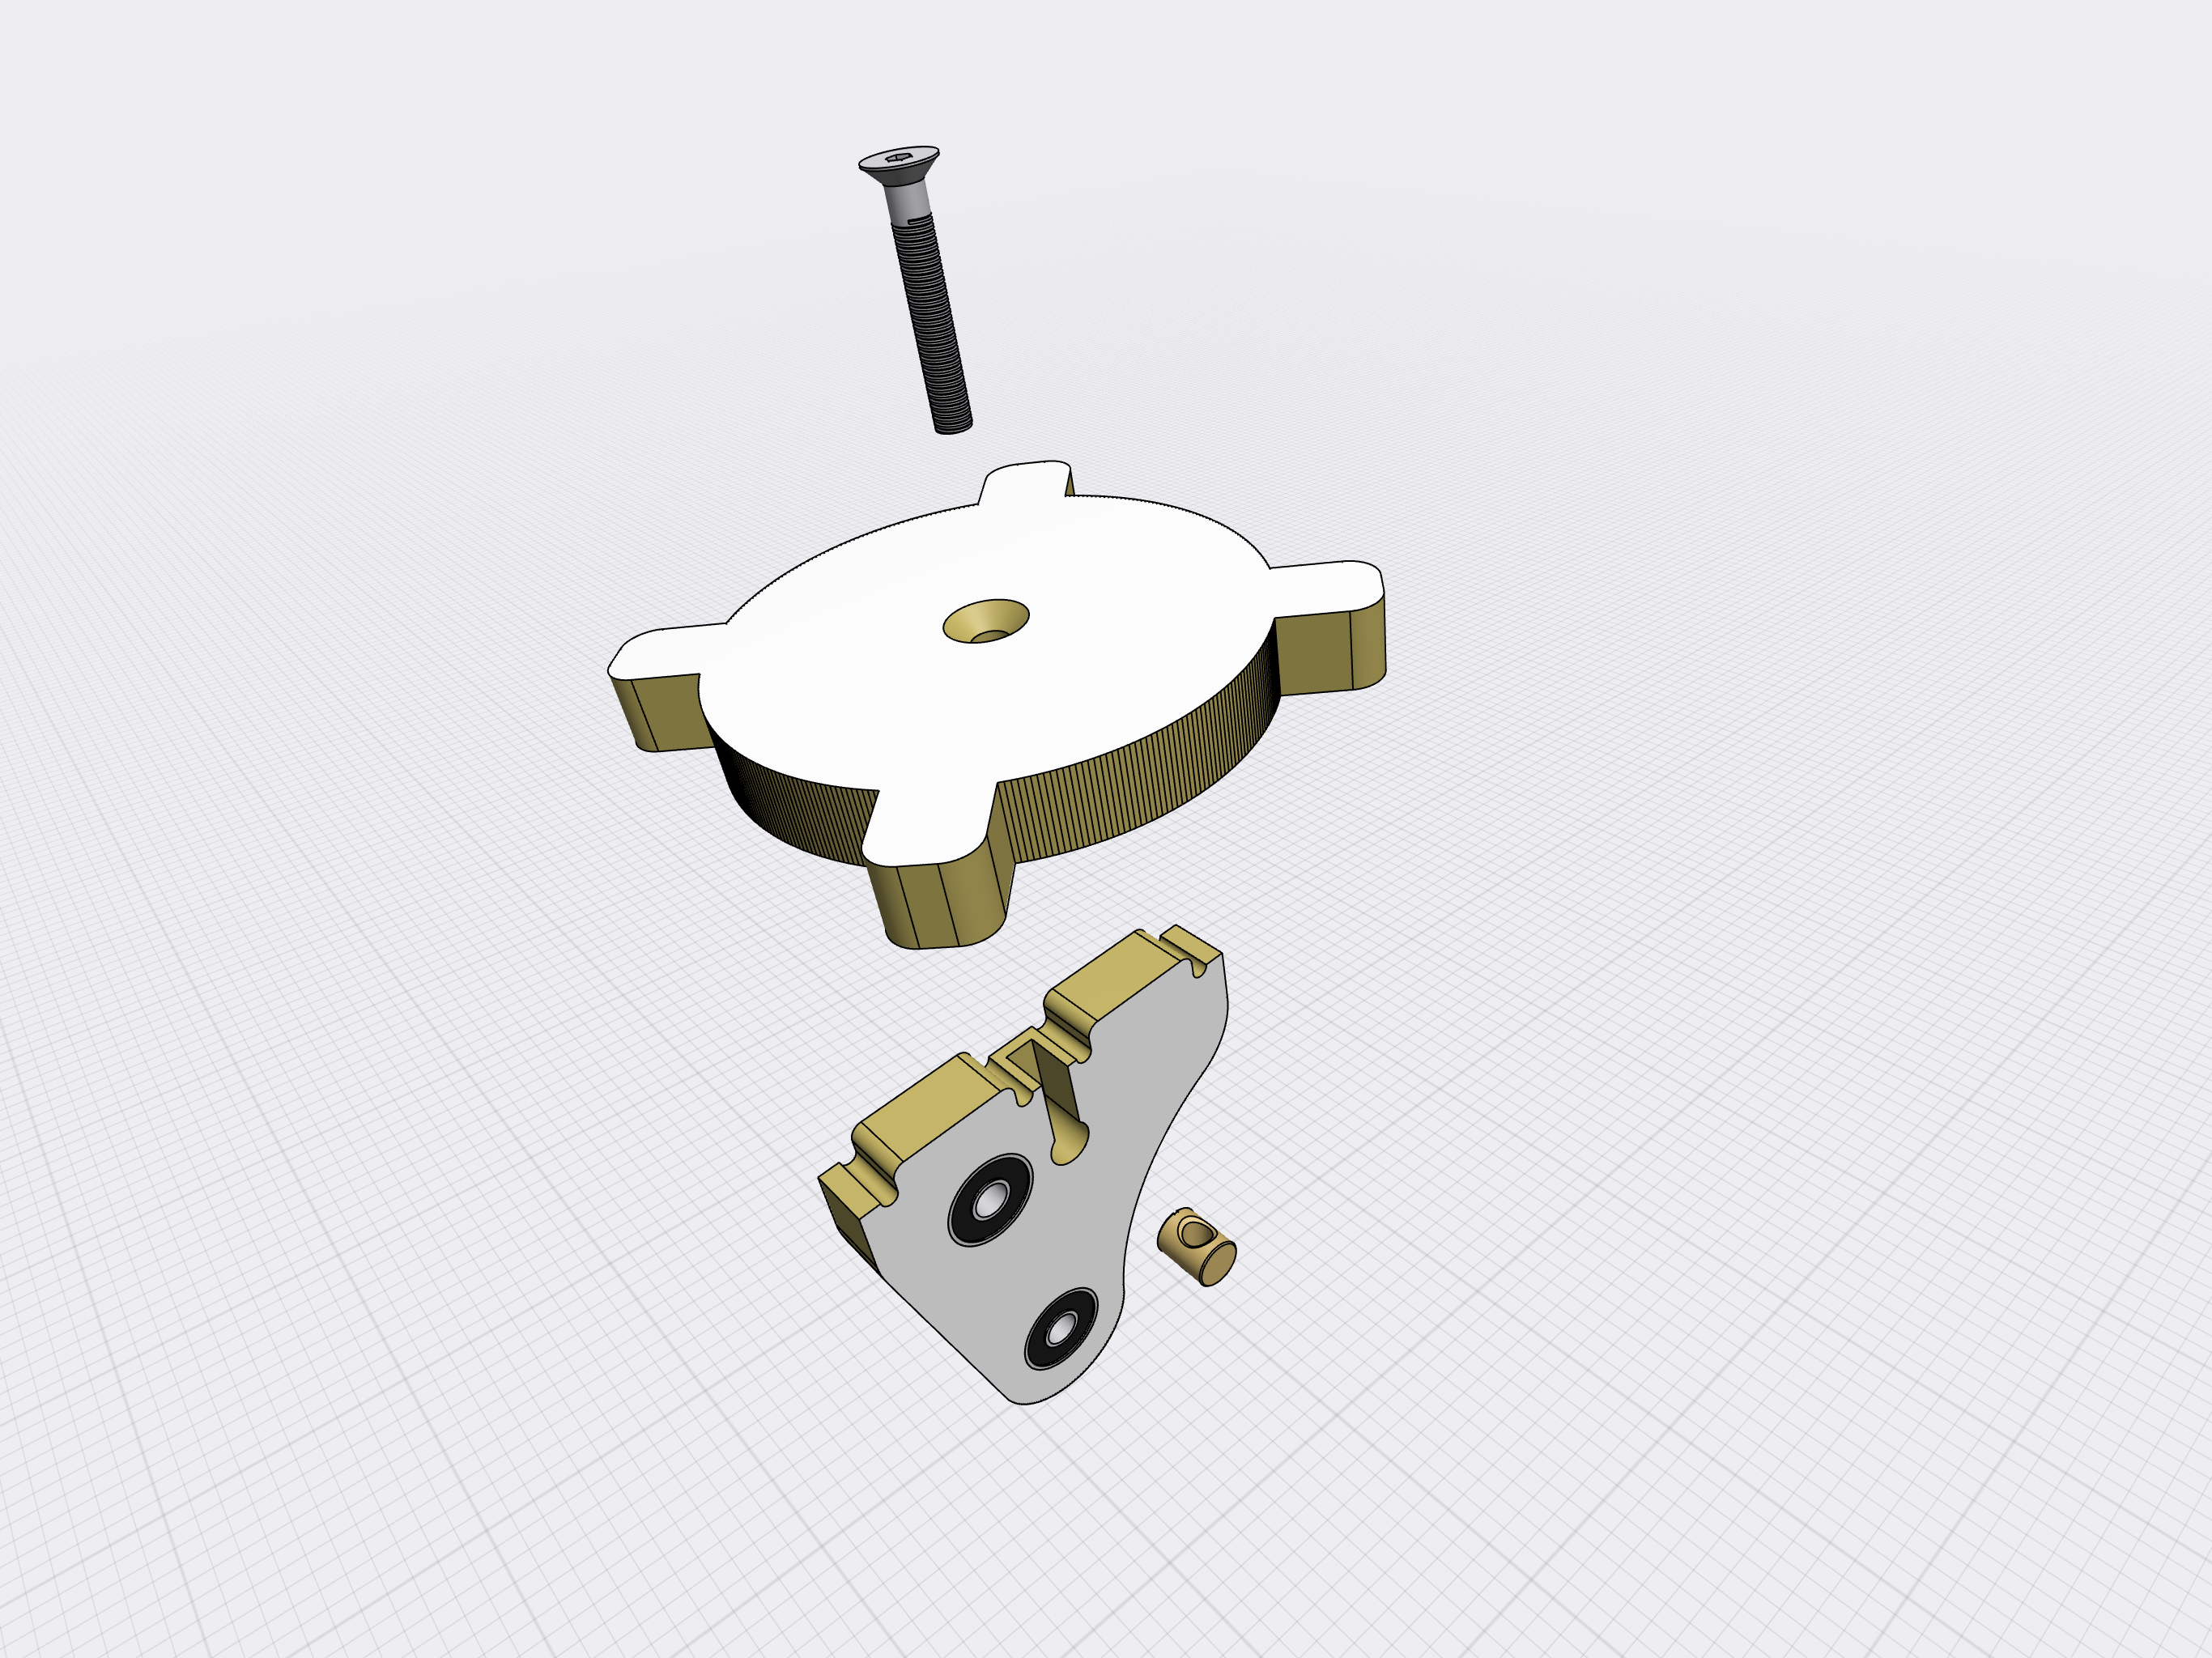
Start with the toy base. Connect two parts with flat head screw and a barrel nut. The bearings are the front side.
-
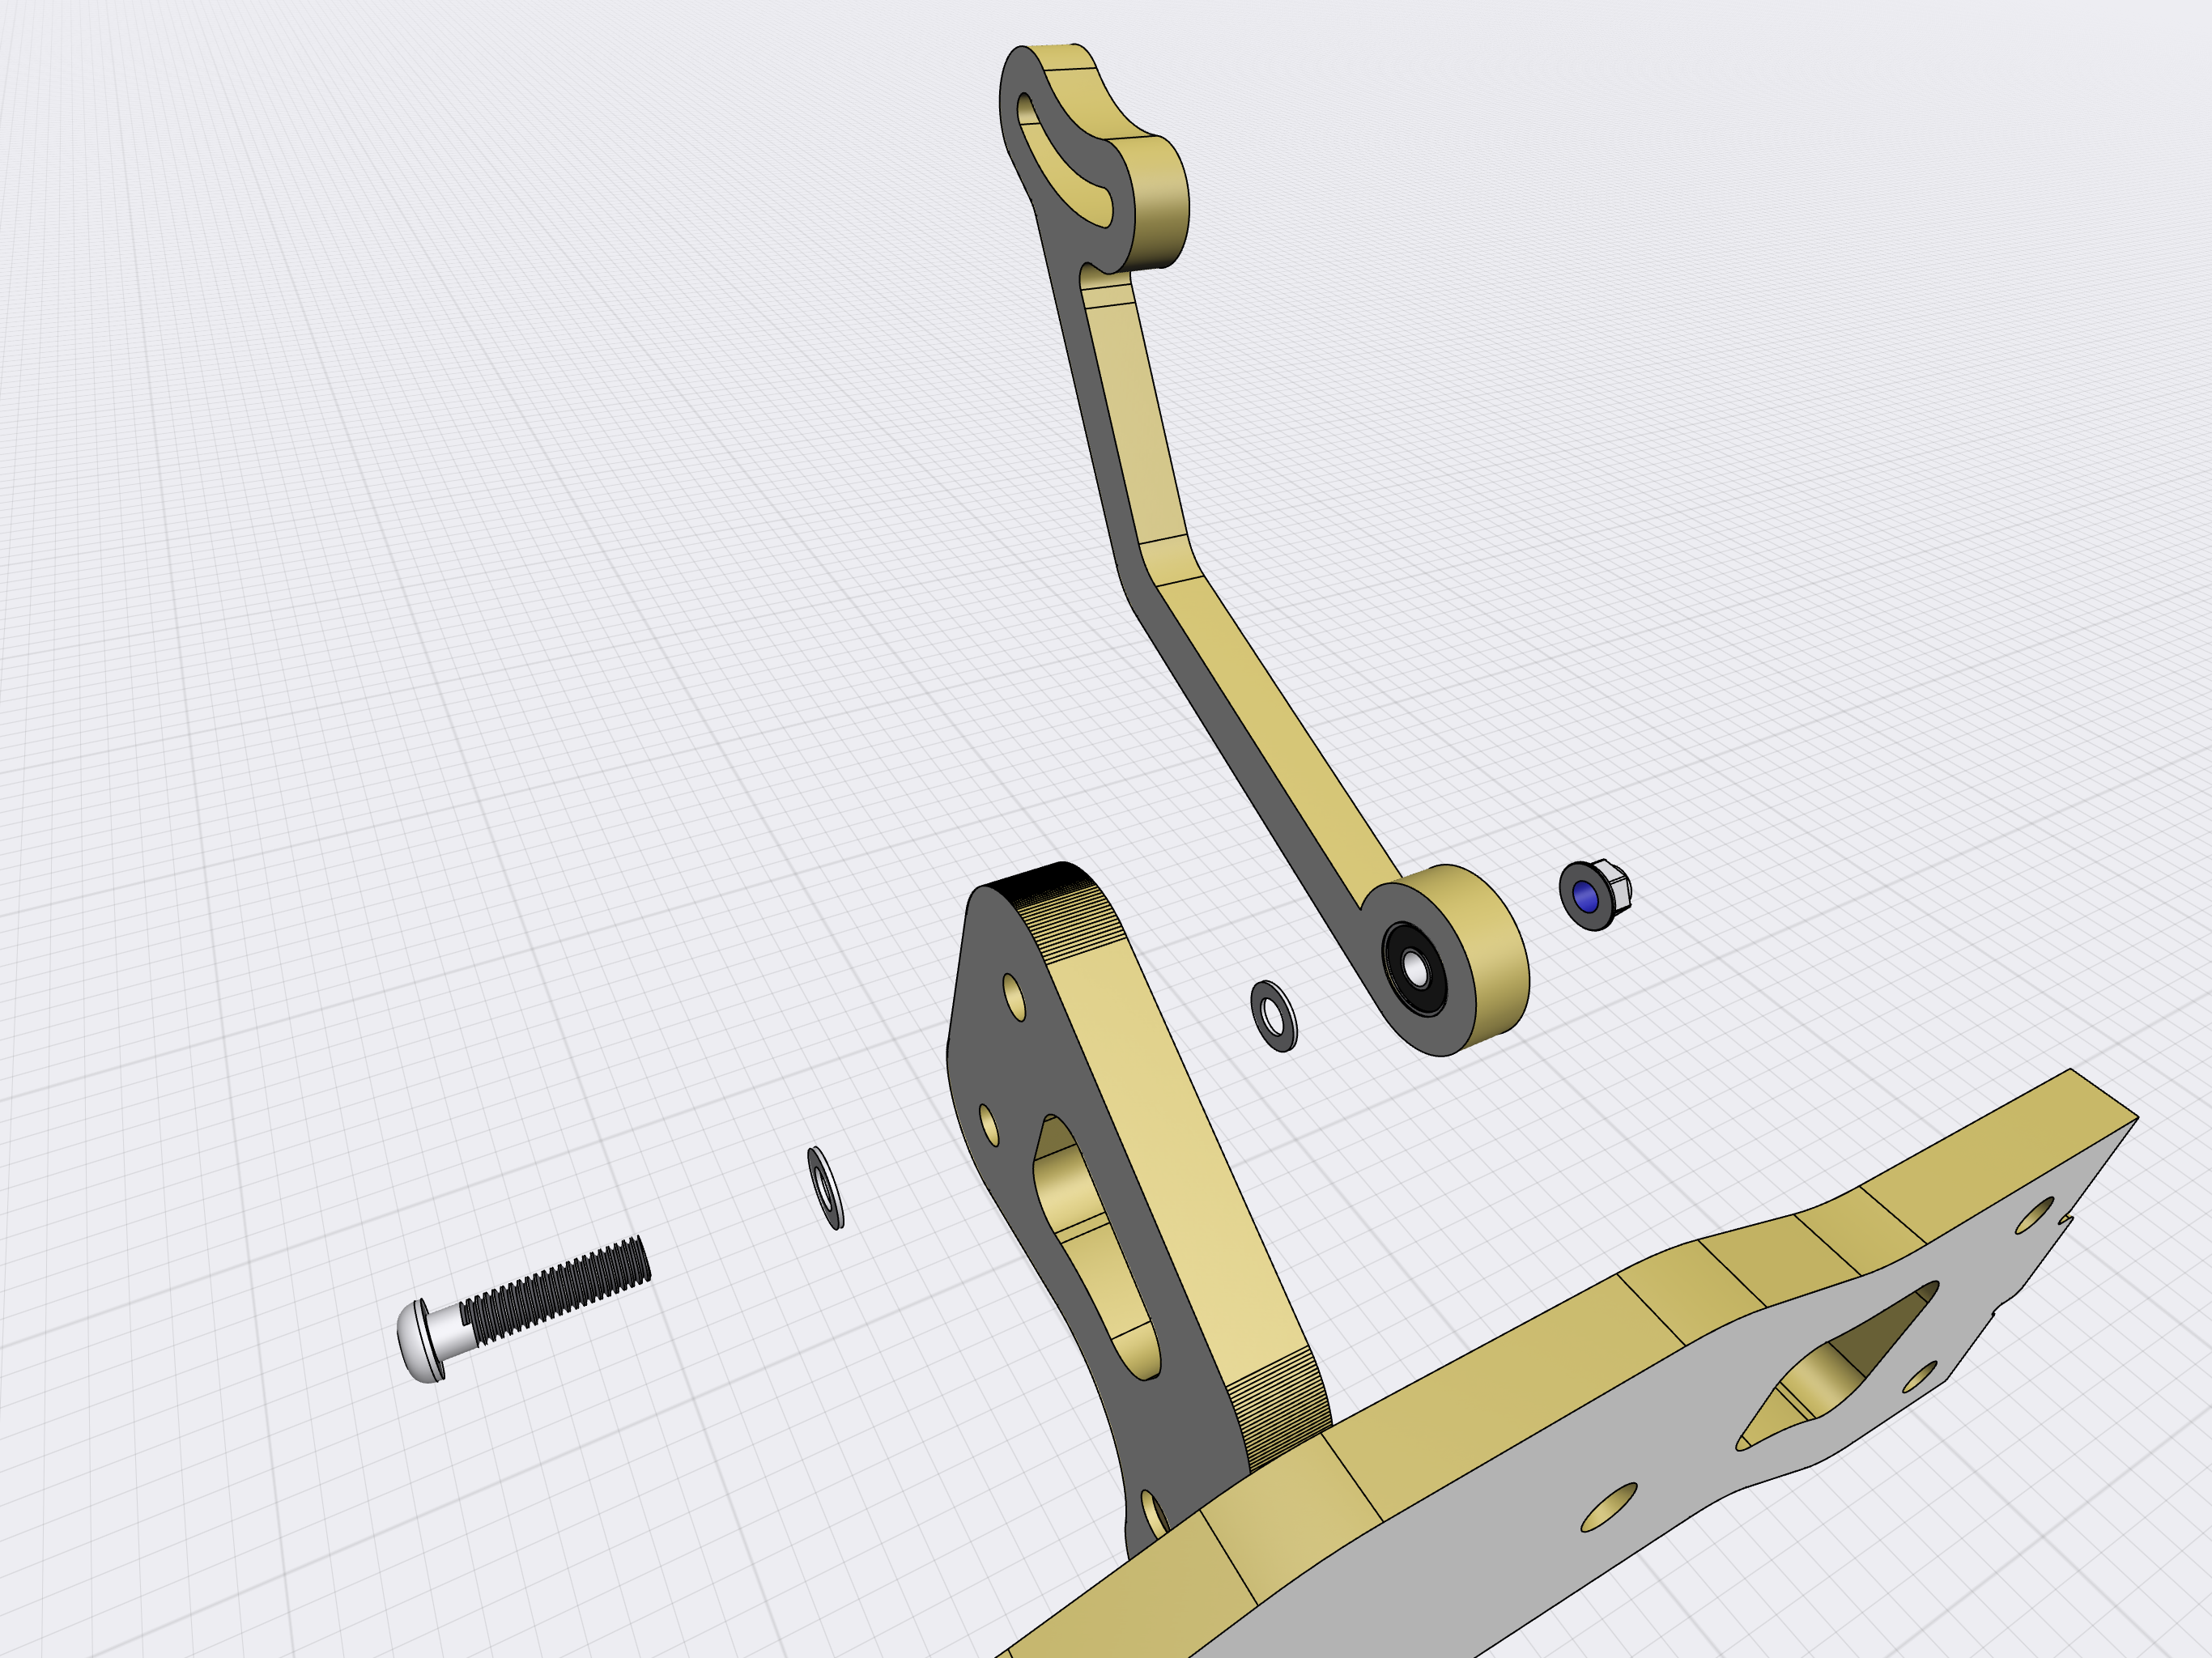
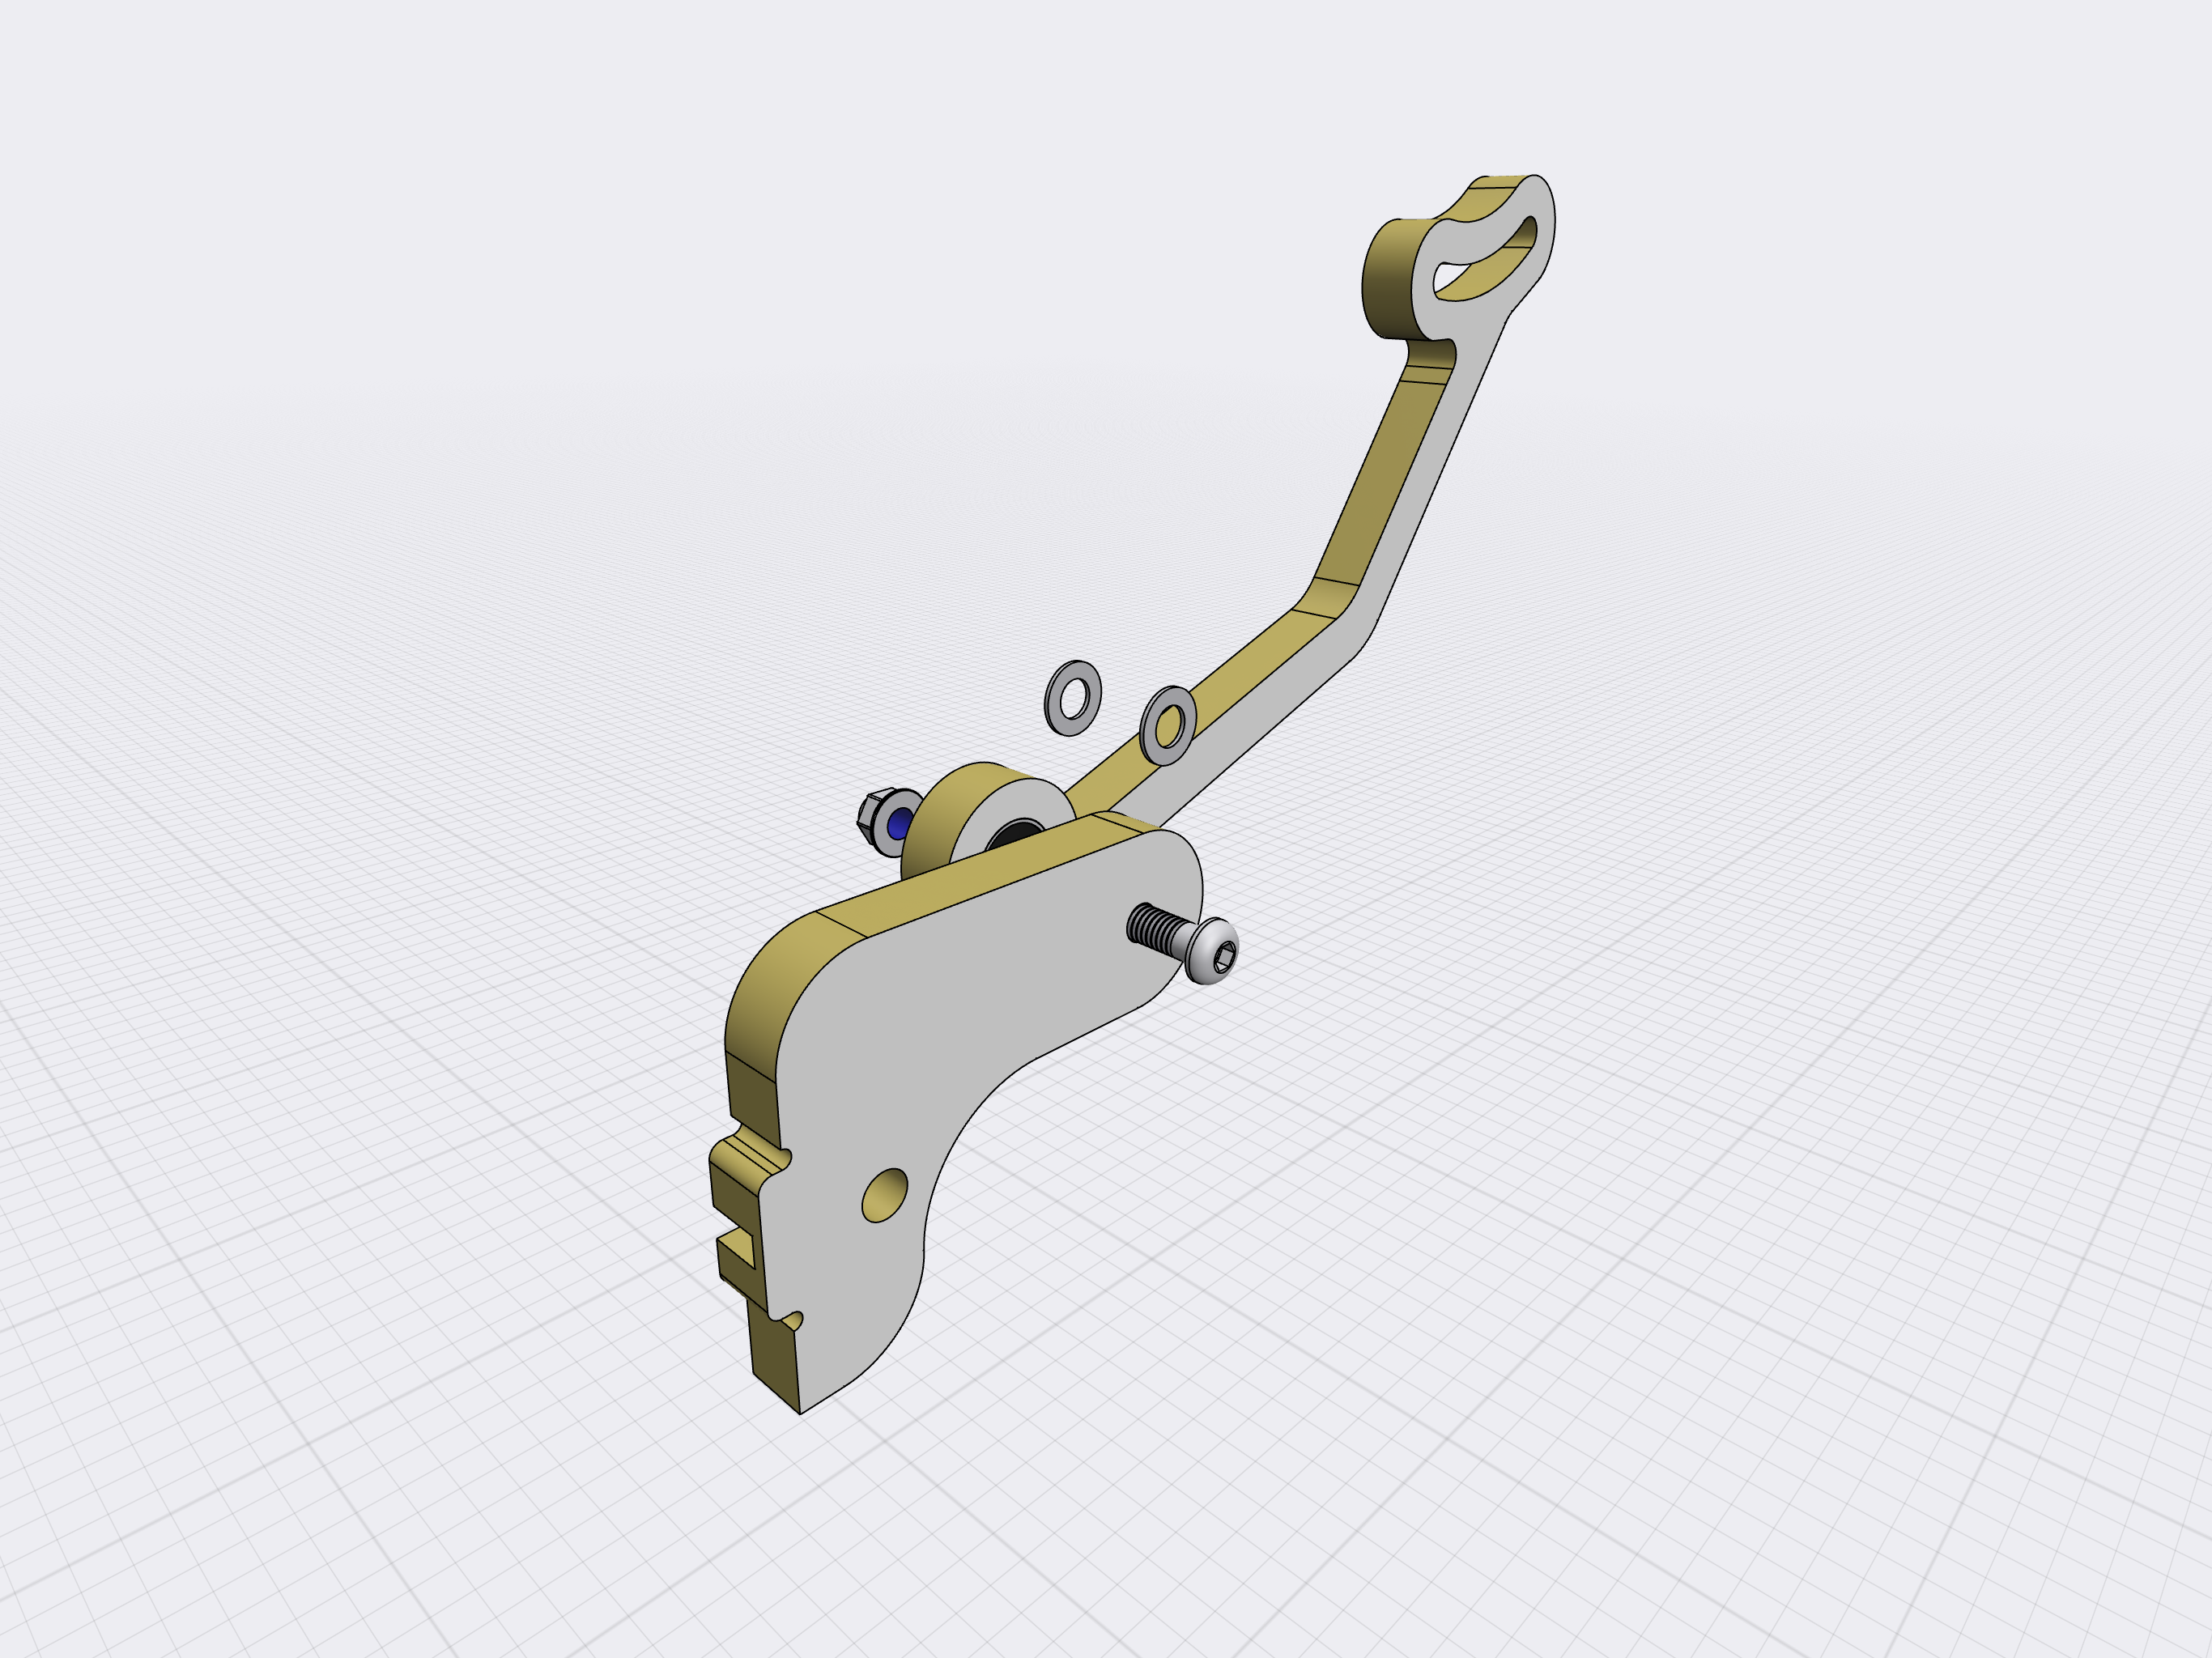
Use one of the bent rods. The washers must be on the both sides of the support and tight the nylon flange nut (Nyloc).
-
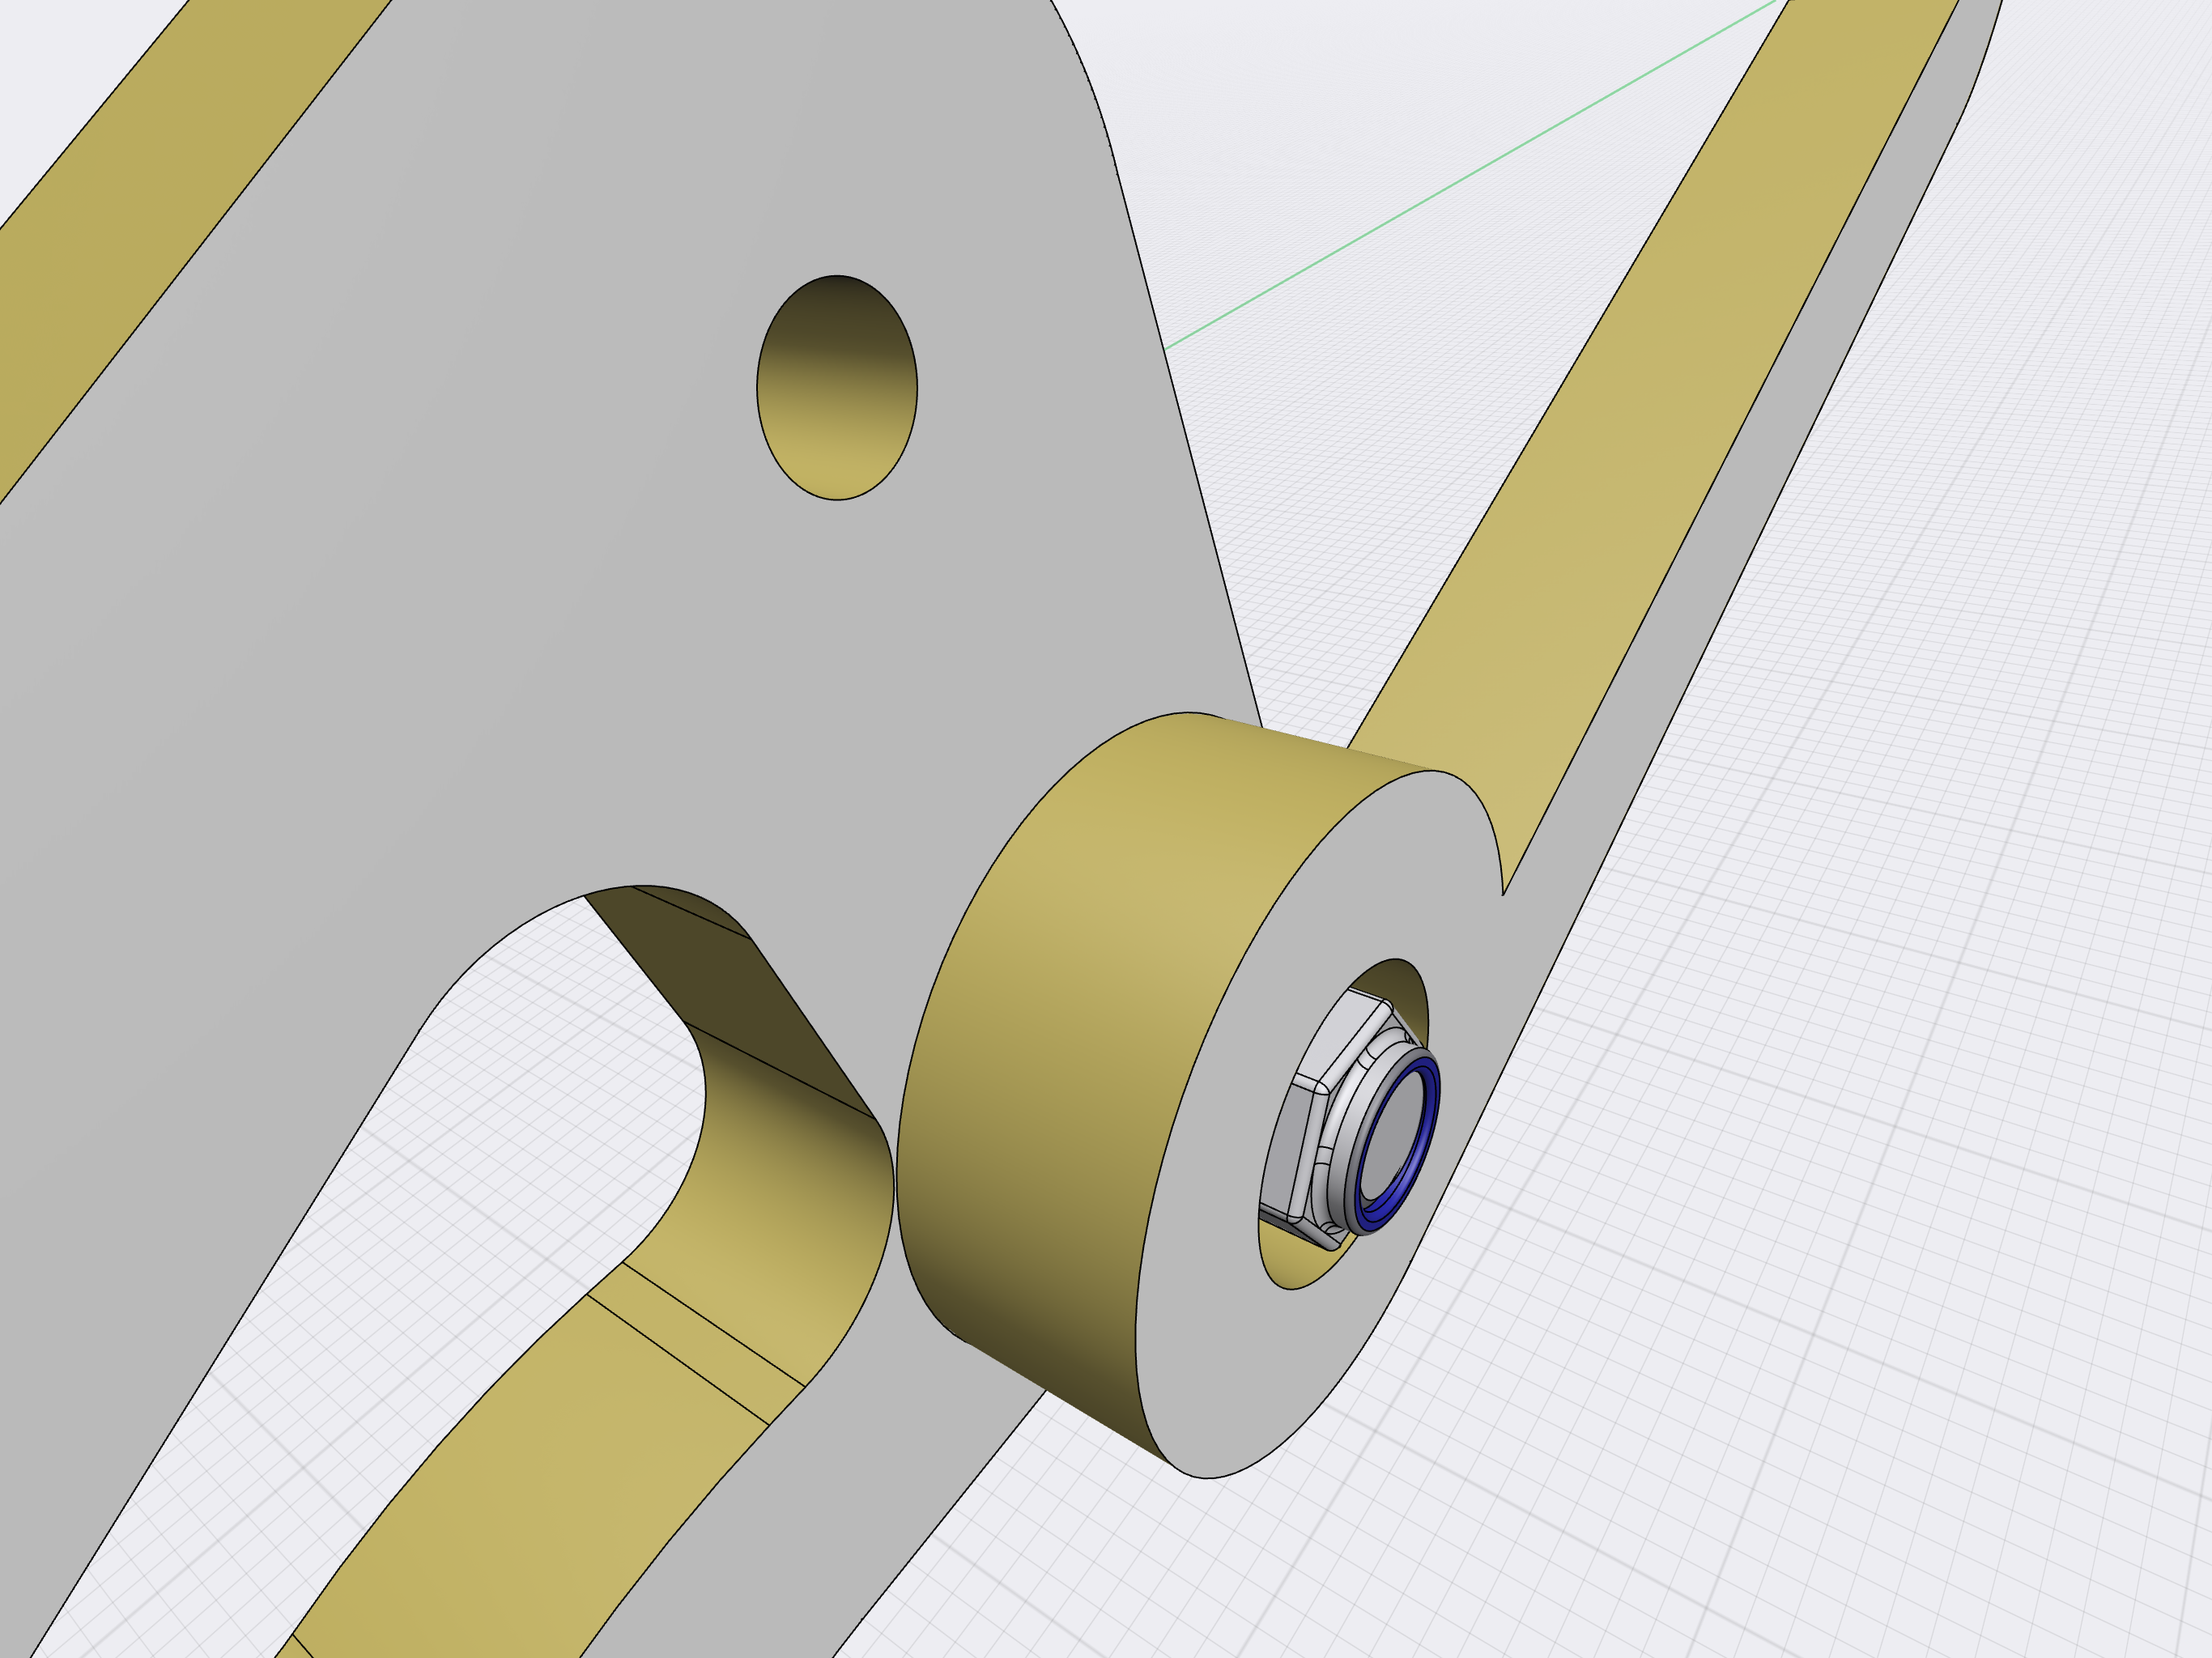
The bent rod is attached to the bottom hole of the support. The bearing is on the support side!


-
Attach the stright rod to the top hole. Washers on the both sides of the support.
-
Assemble the second support and bent rod seperately. Washers on both sides of the support, bearing to the support side.
-
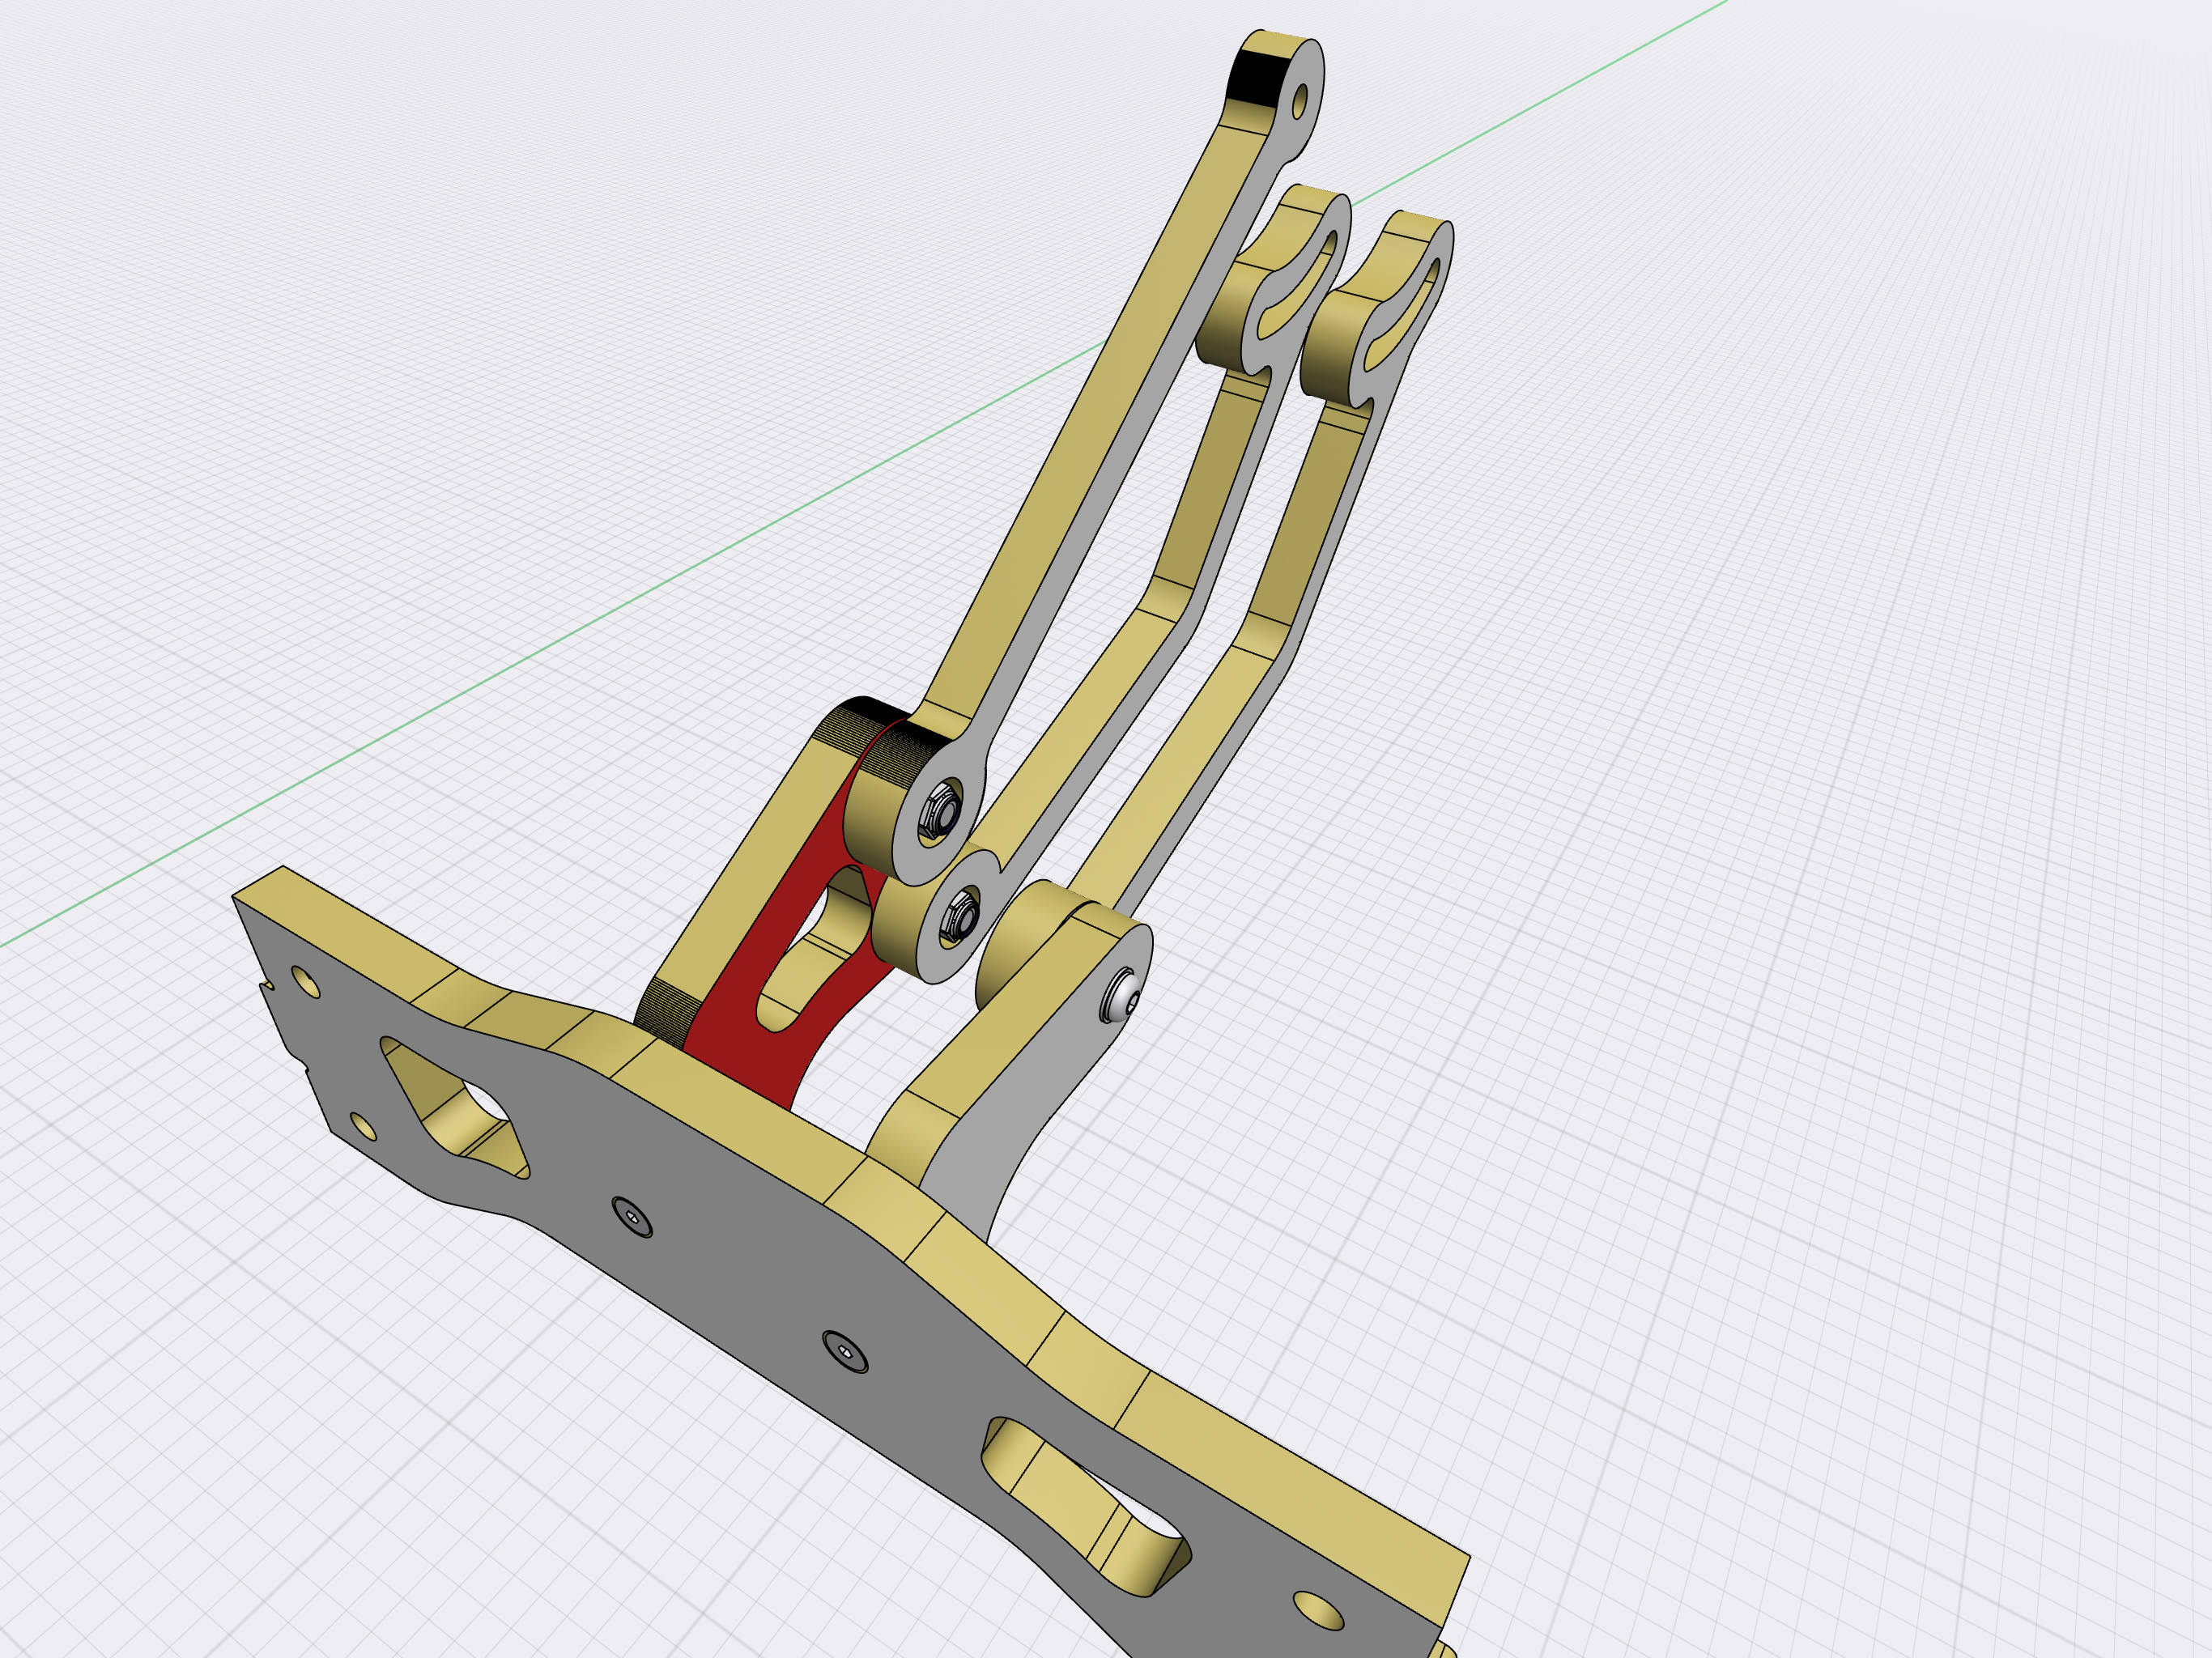
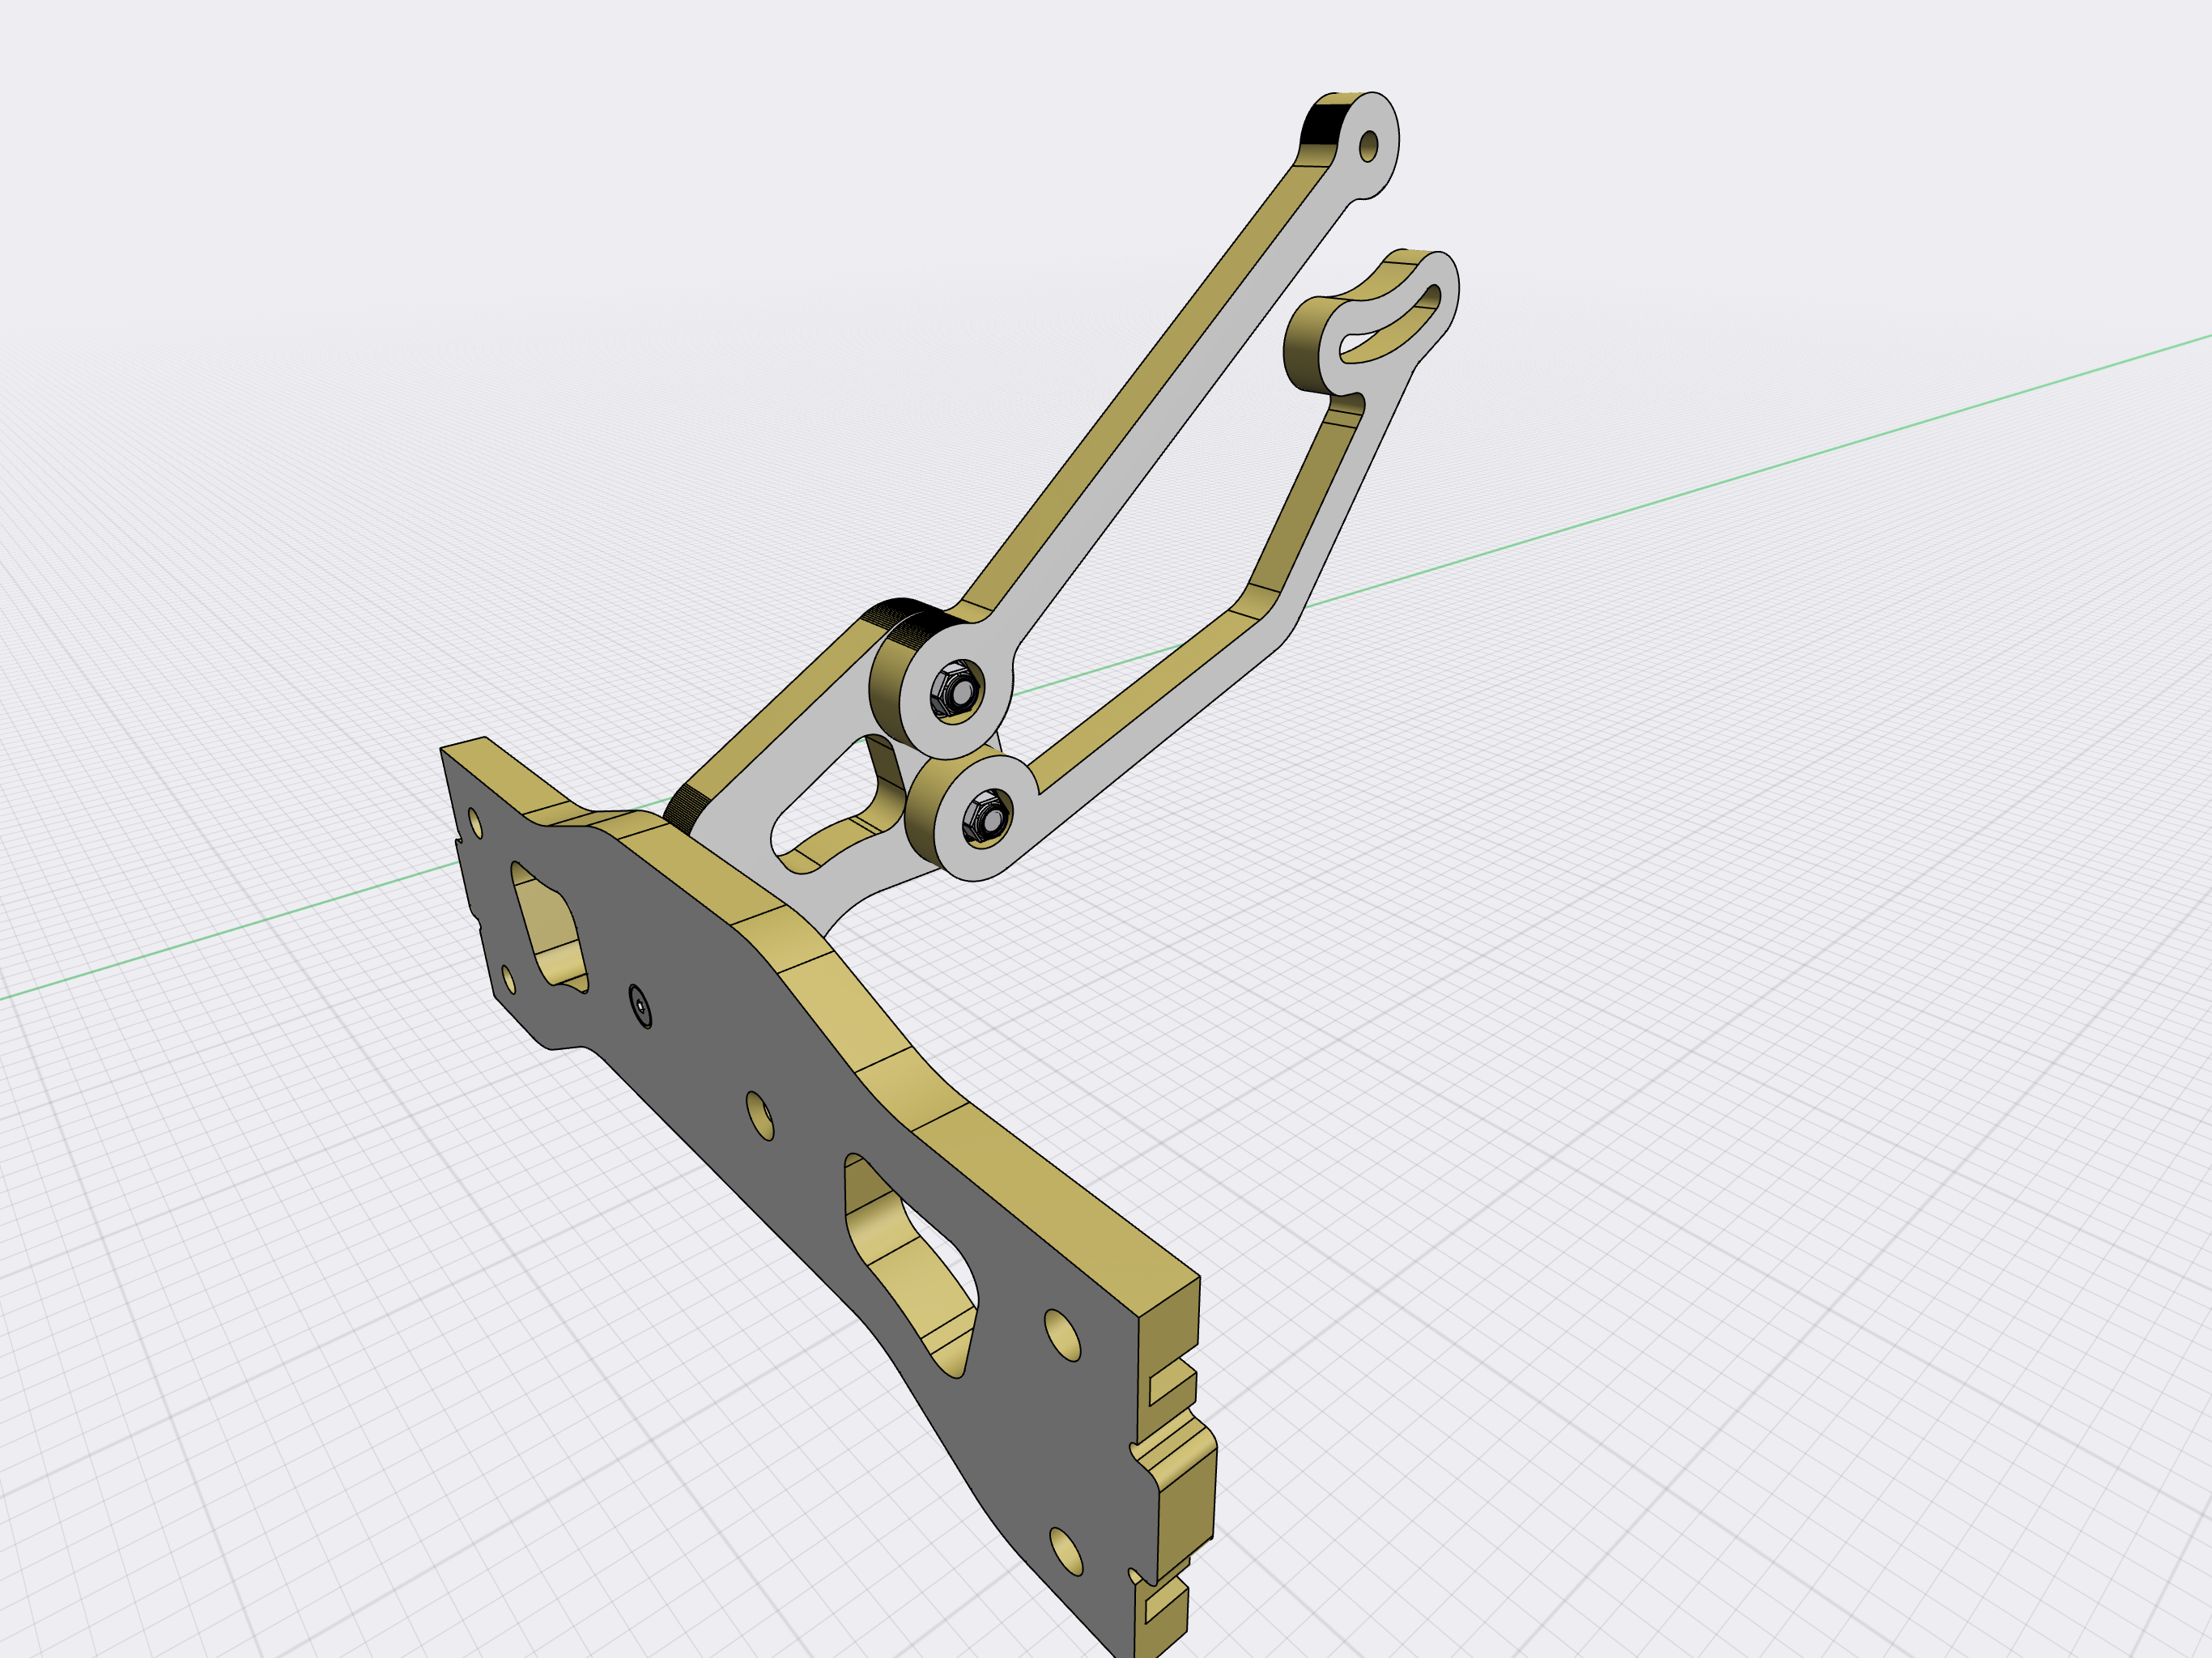
Put the second support into the pocket. All the rods should be between the supports, they should move smoothly. Use Nyloc flange nuts.


-
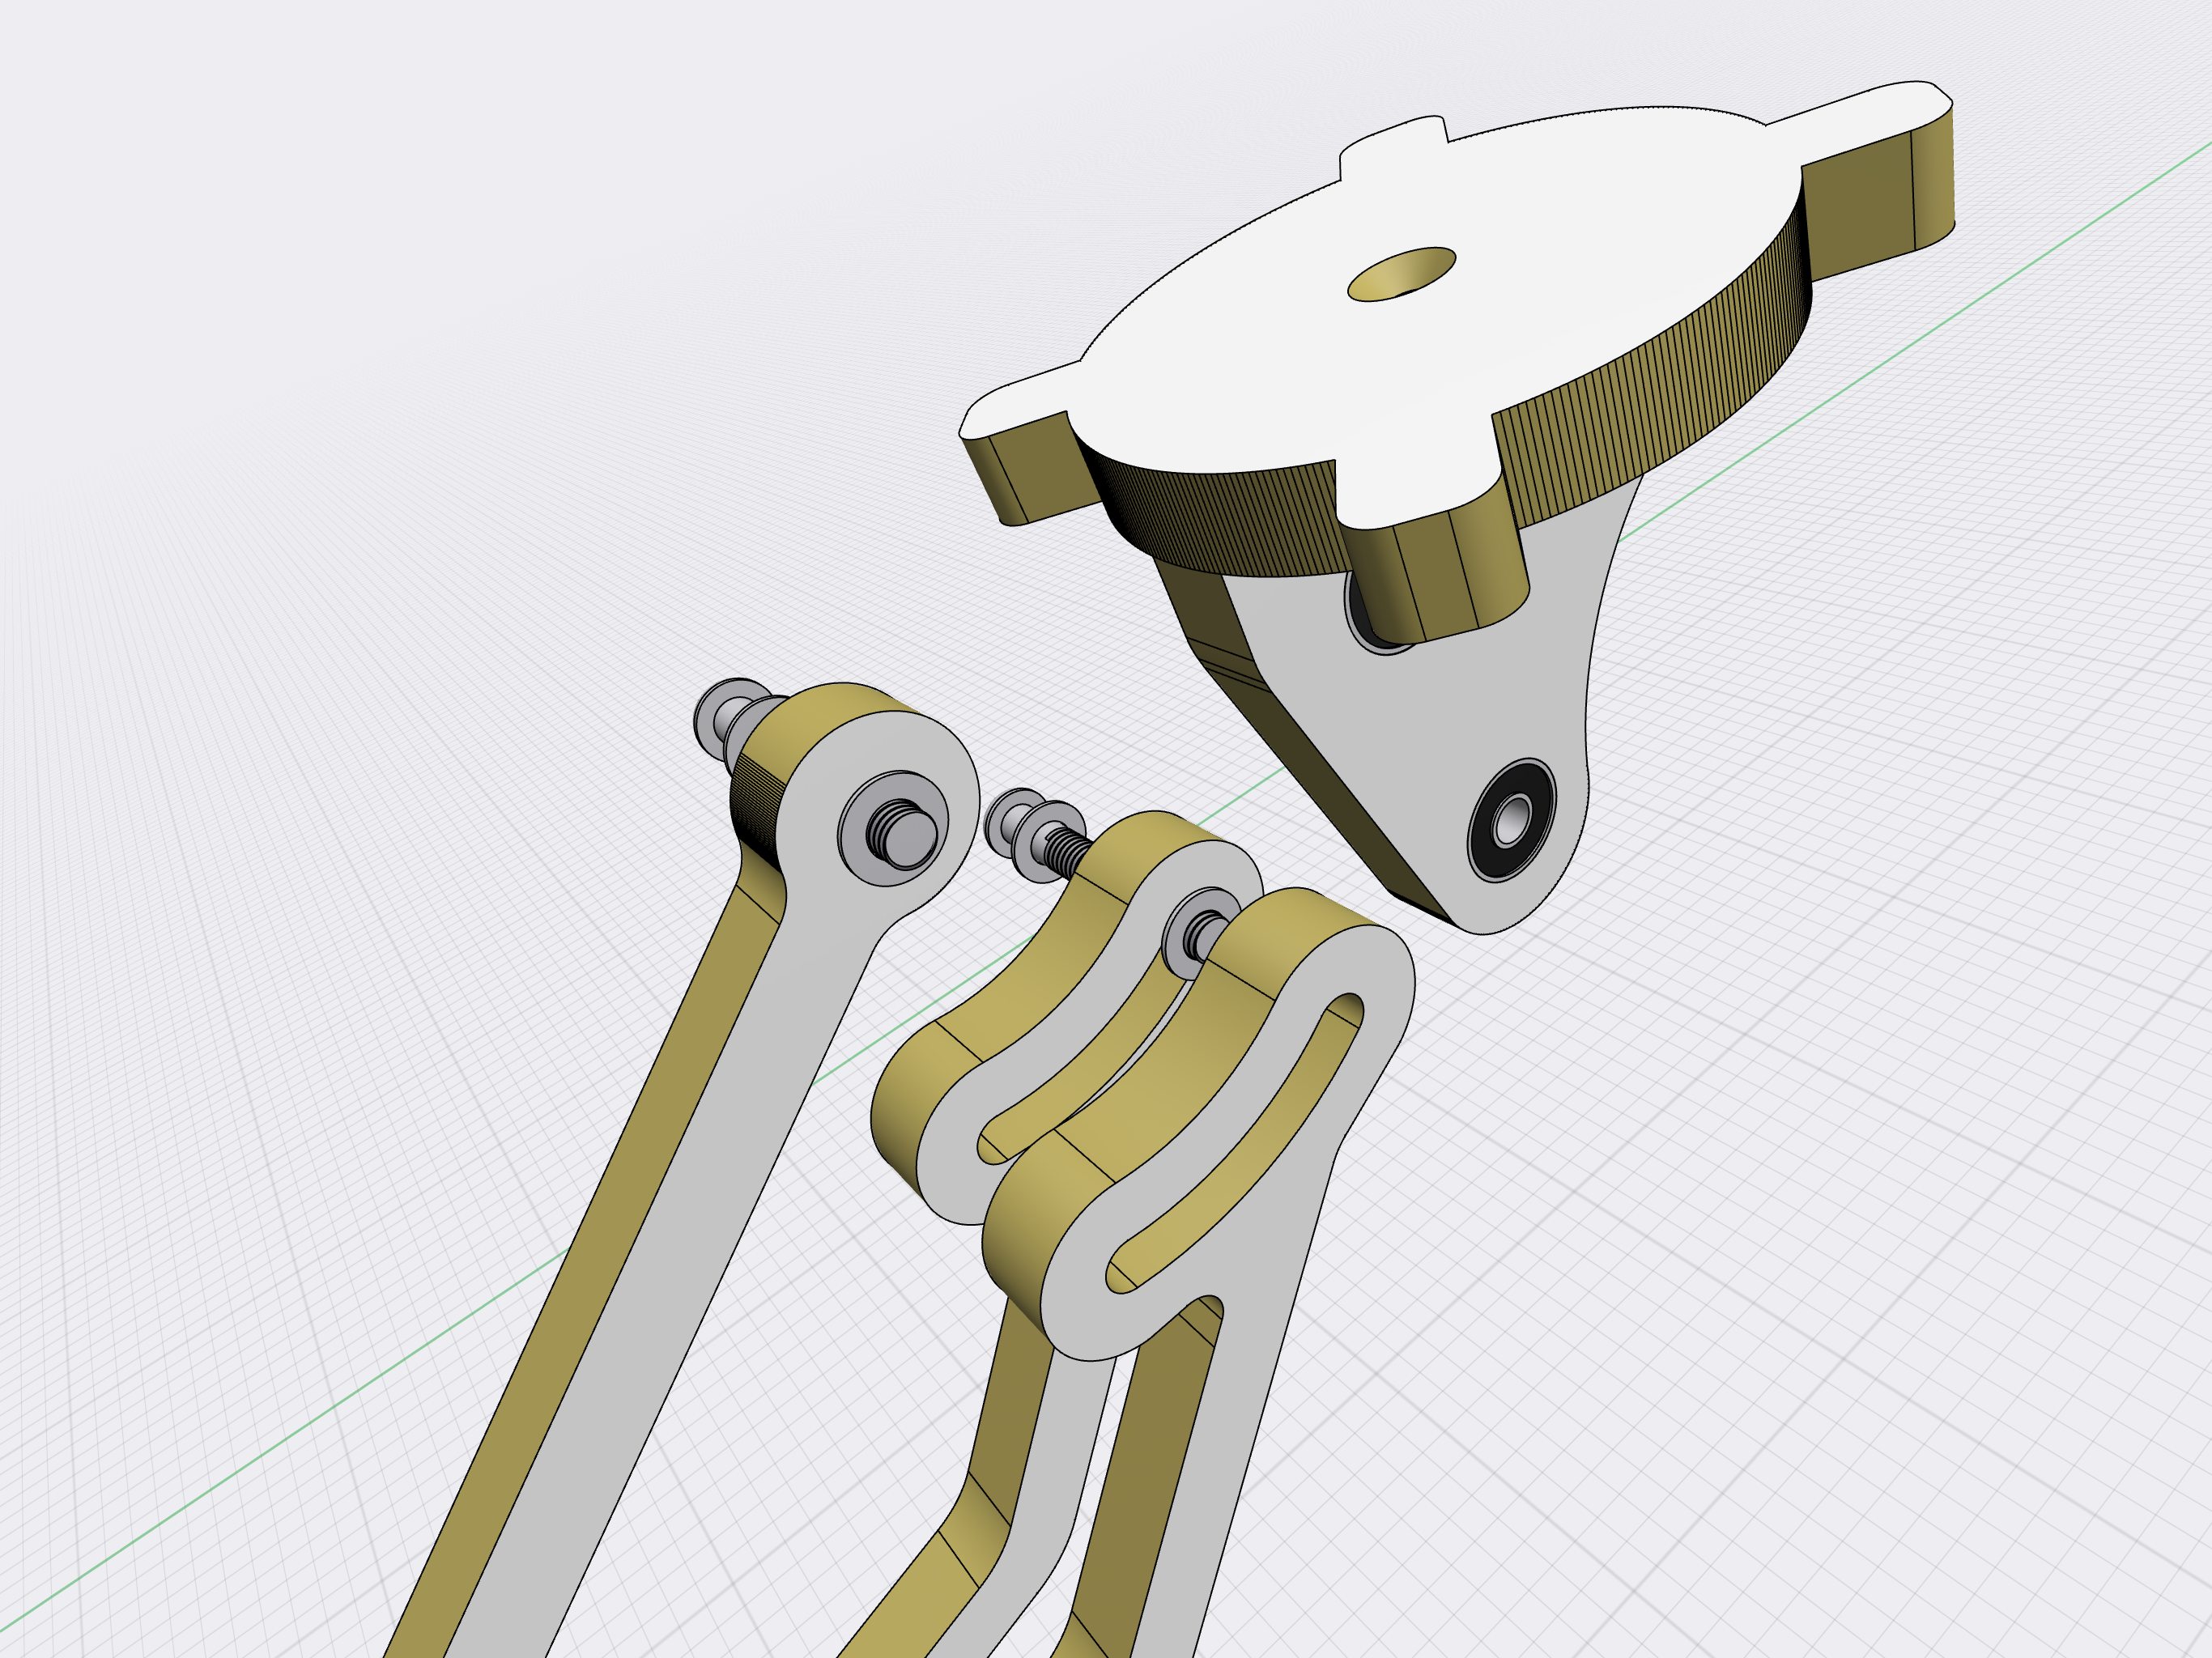
To attach the toy base to the rods, use 2 long round head bolts, washers, Nyloc nut and the black knob.
-
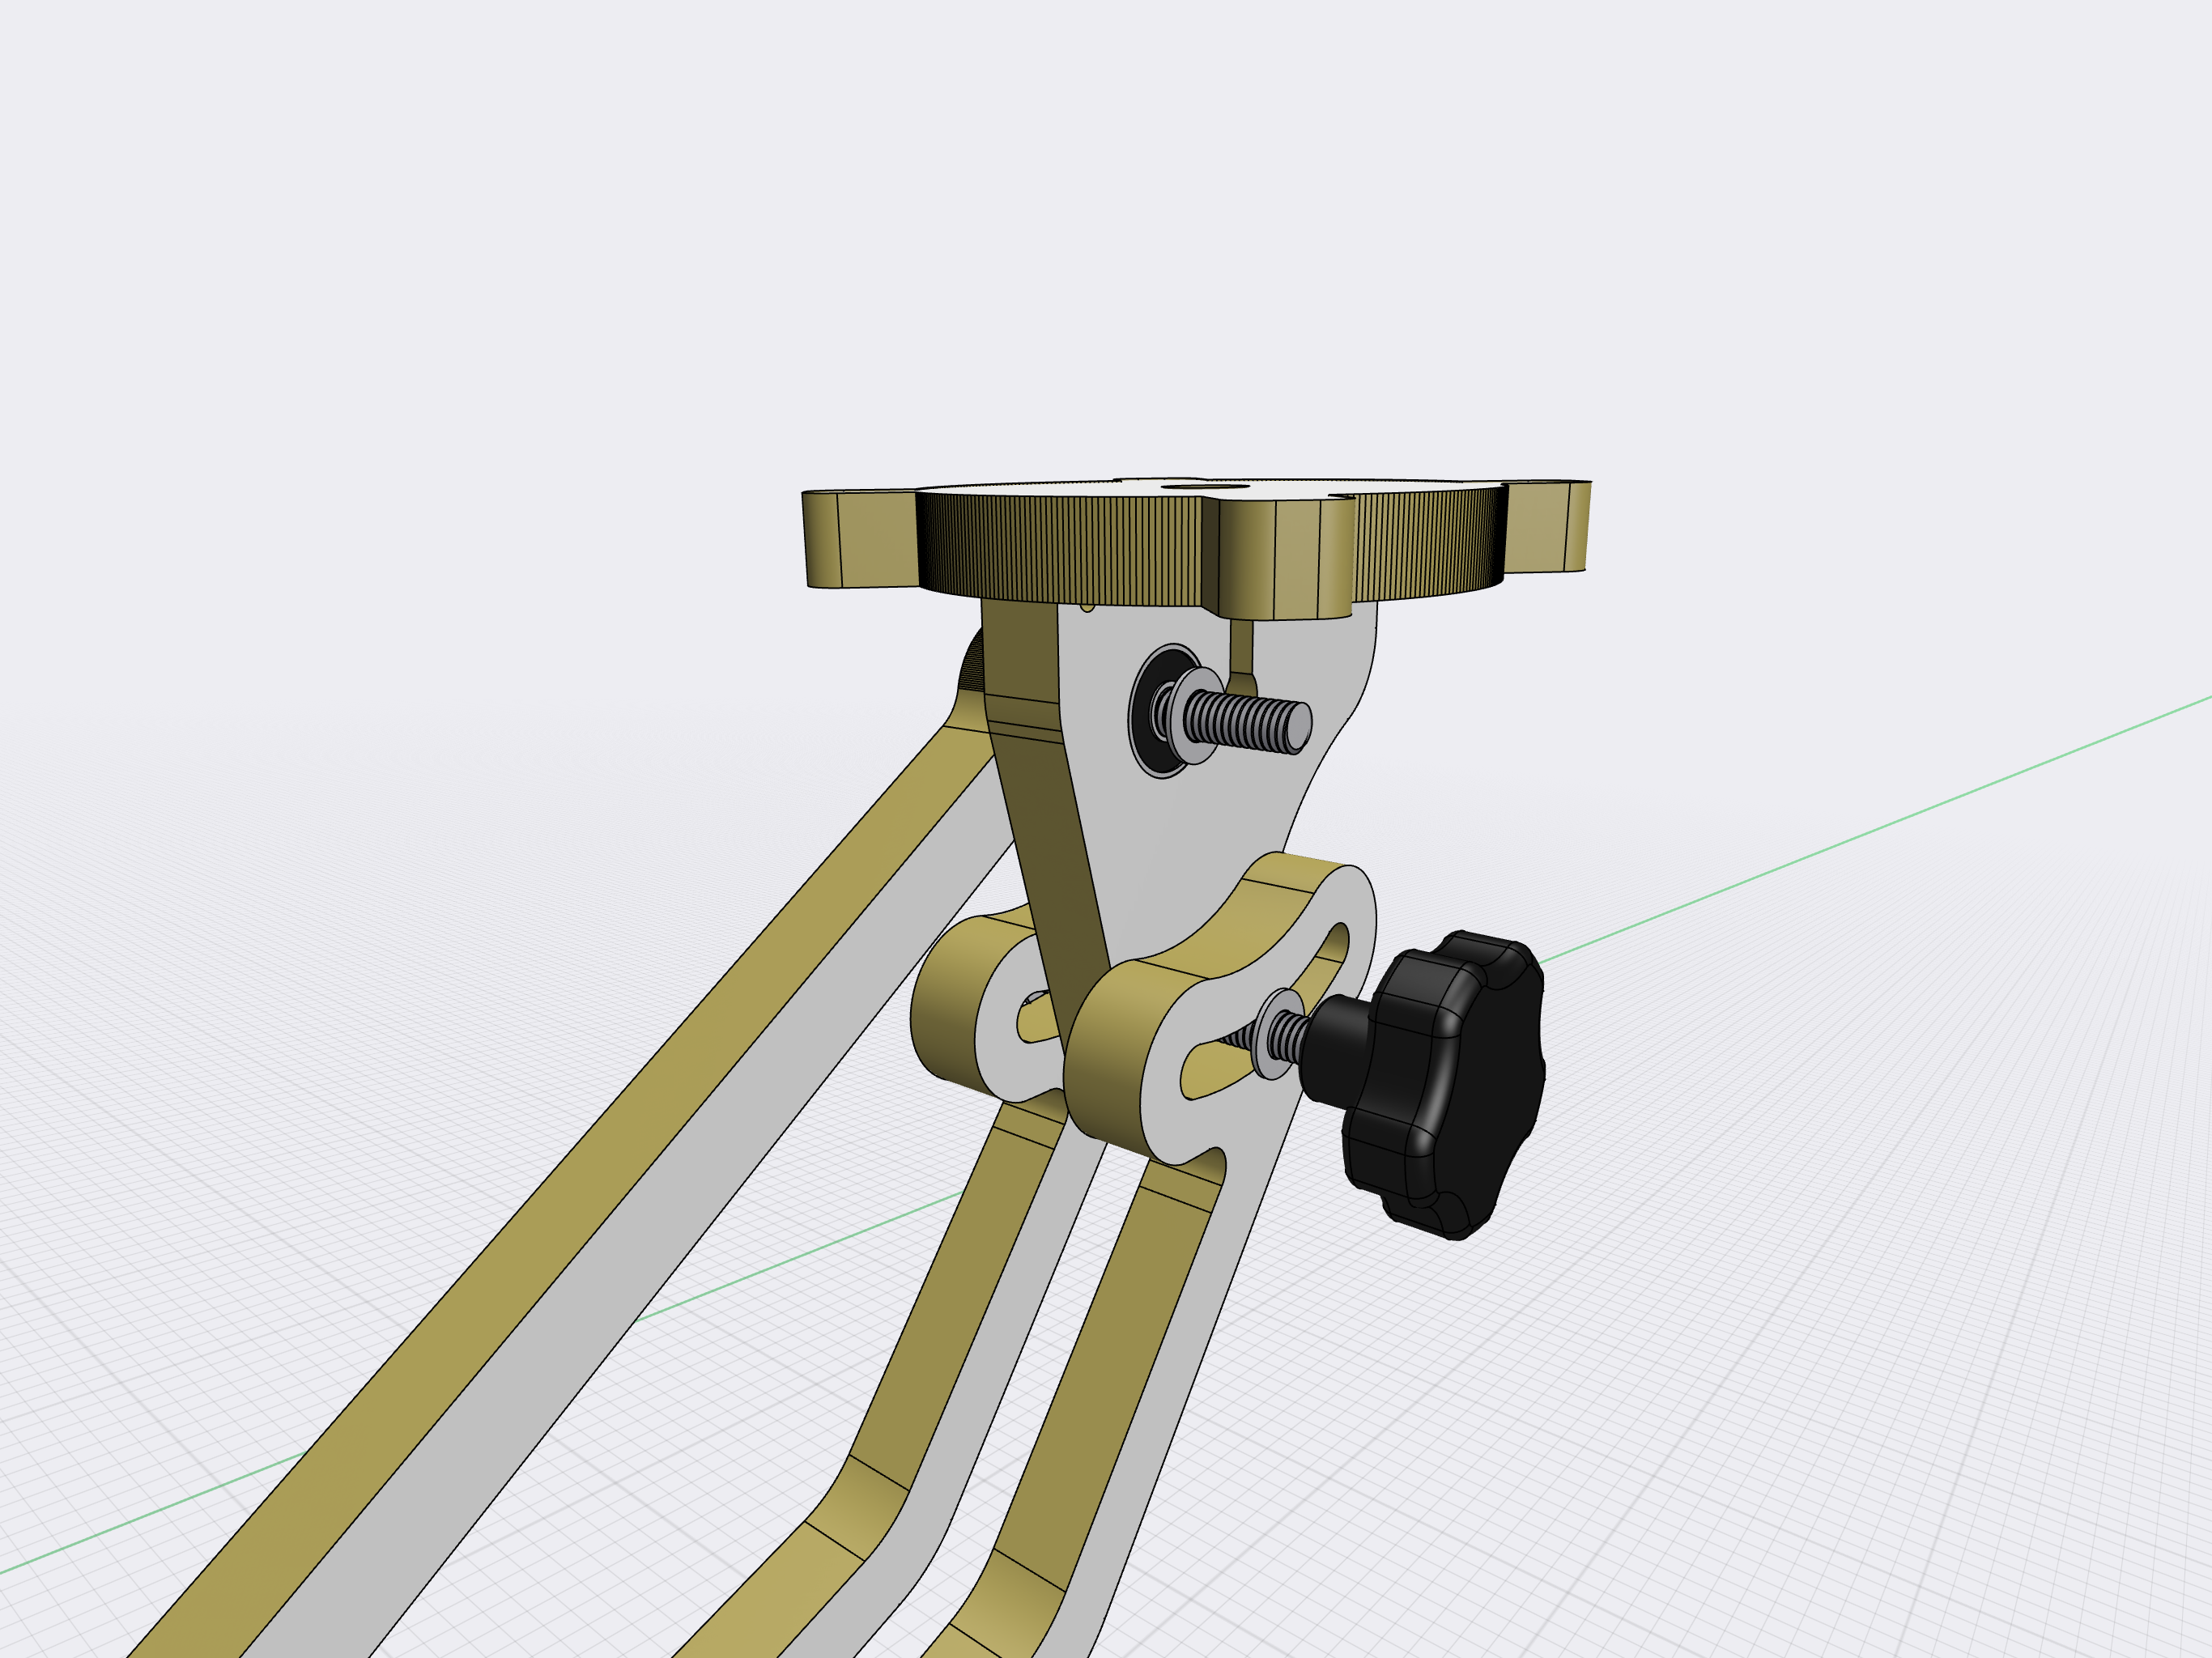
The black knob adjusts the toy base angle. Use 4 washers between every moving part. On the upper bolt there will be the L-shape rod attached.
-
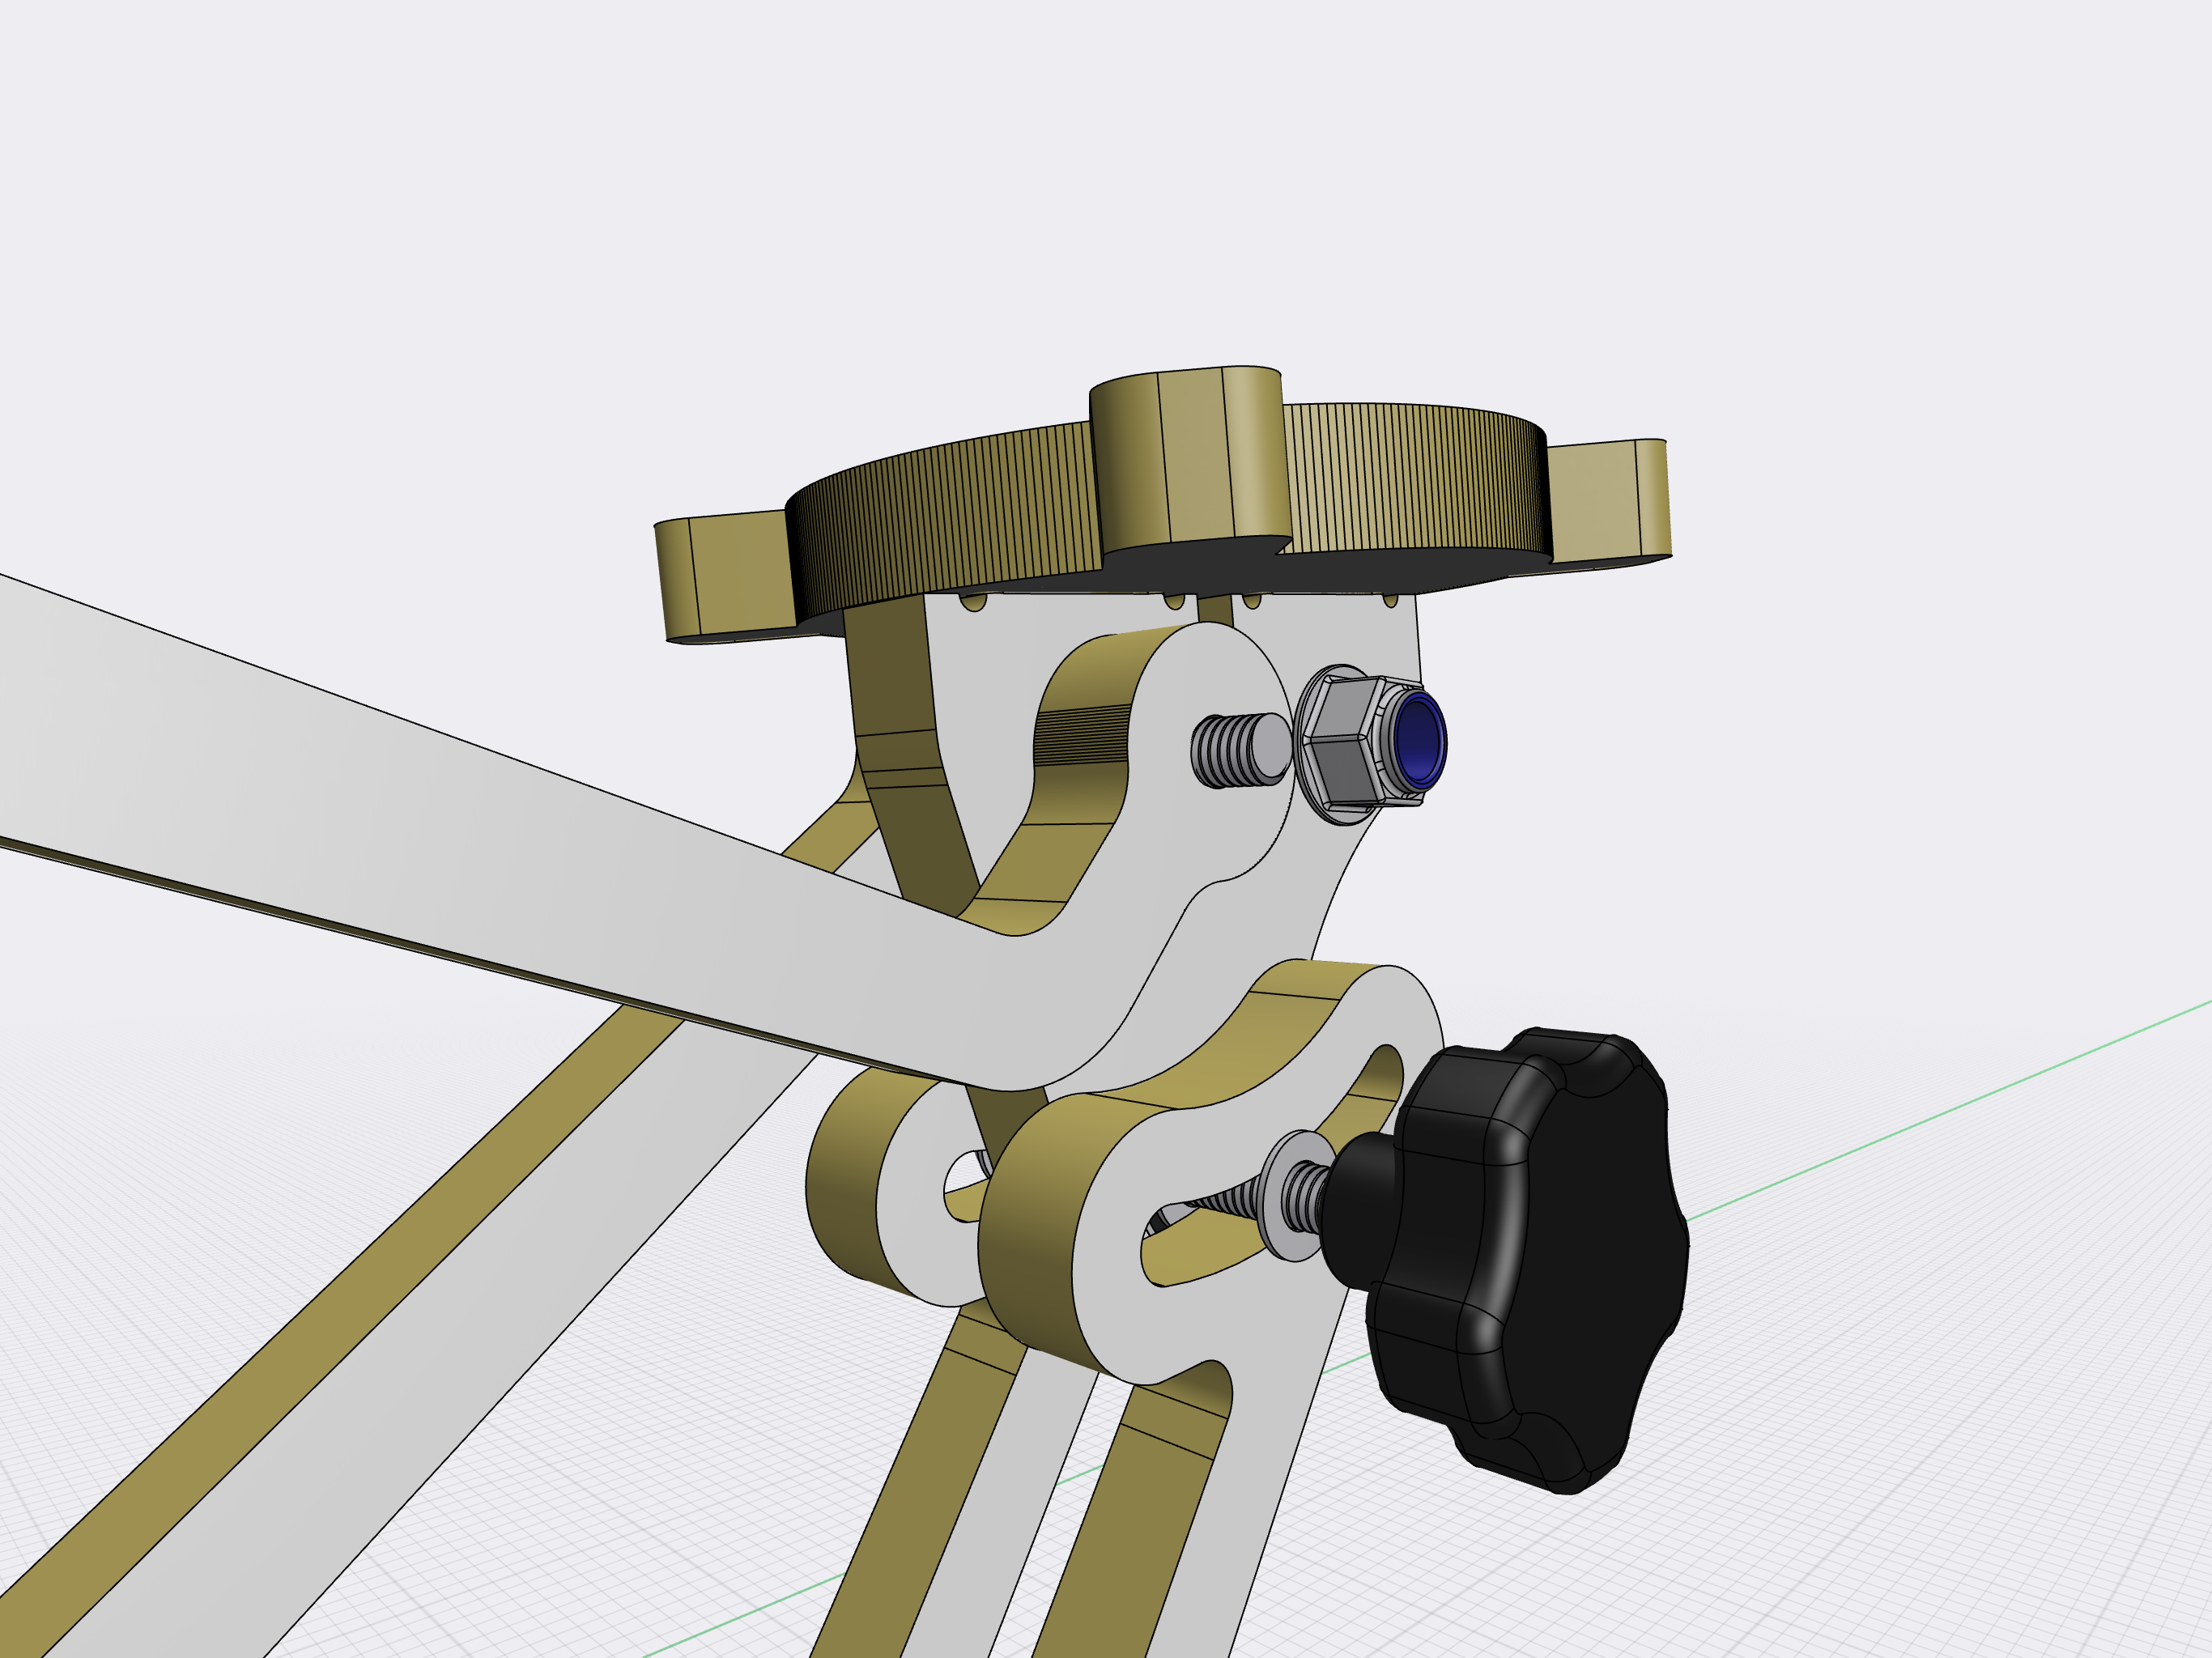
Use the washer between every moving part and the Nyloc bolt. Tighten it and then loosen to allow the rod move smoothly. The knob must be tighten to fix the angle.


Seat frame
When assembling the seat frame, use the top seat, handle, and two side panels. 5 flat head bolts and barrel nuts. It's important to pay close attention to the bearings and ensure that they are directed outwards.
Swing arms
Take 4 already prepared swing arms and attach them to the seat frame using only Nyloc, no washers.
-

Remember, on the seat frame side panels and swing arms, make sure that the bearings are directed outwards. Once you've confirmed this, simply connect the panels and arms and tighten them using Nyloc.
-
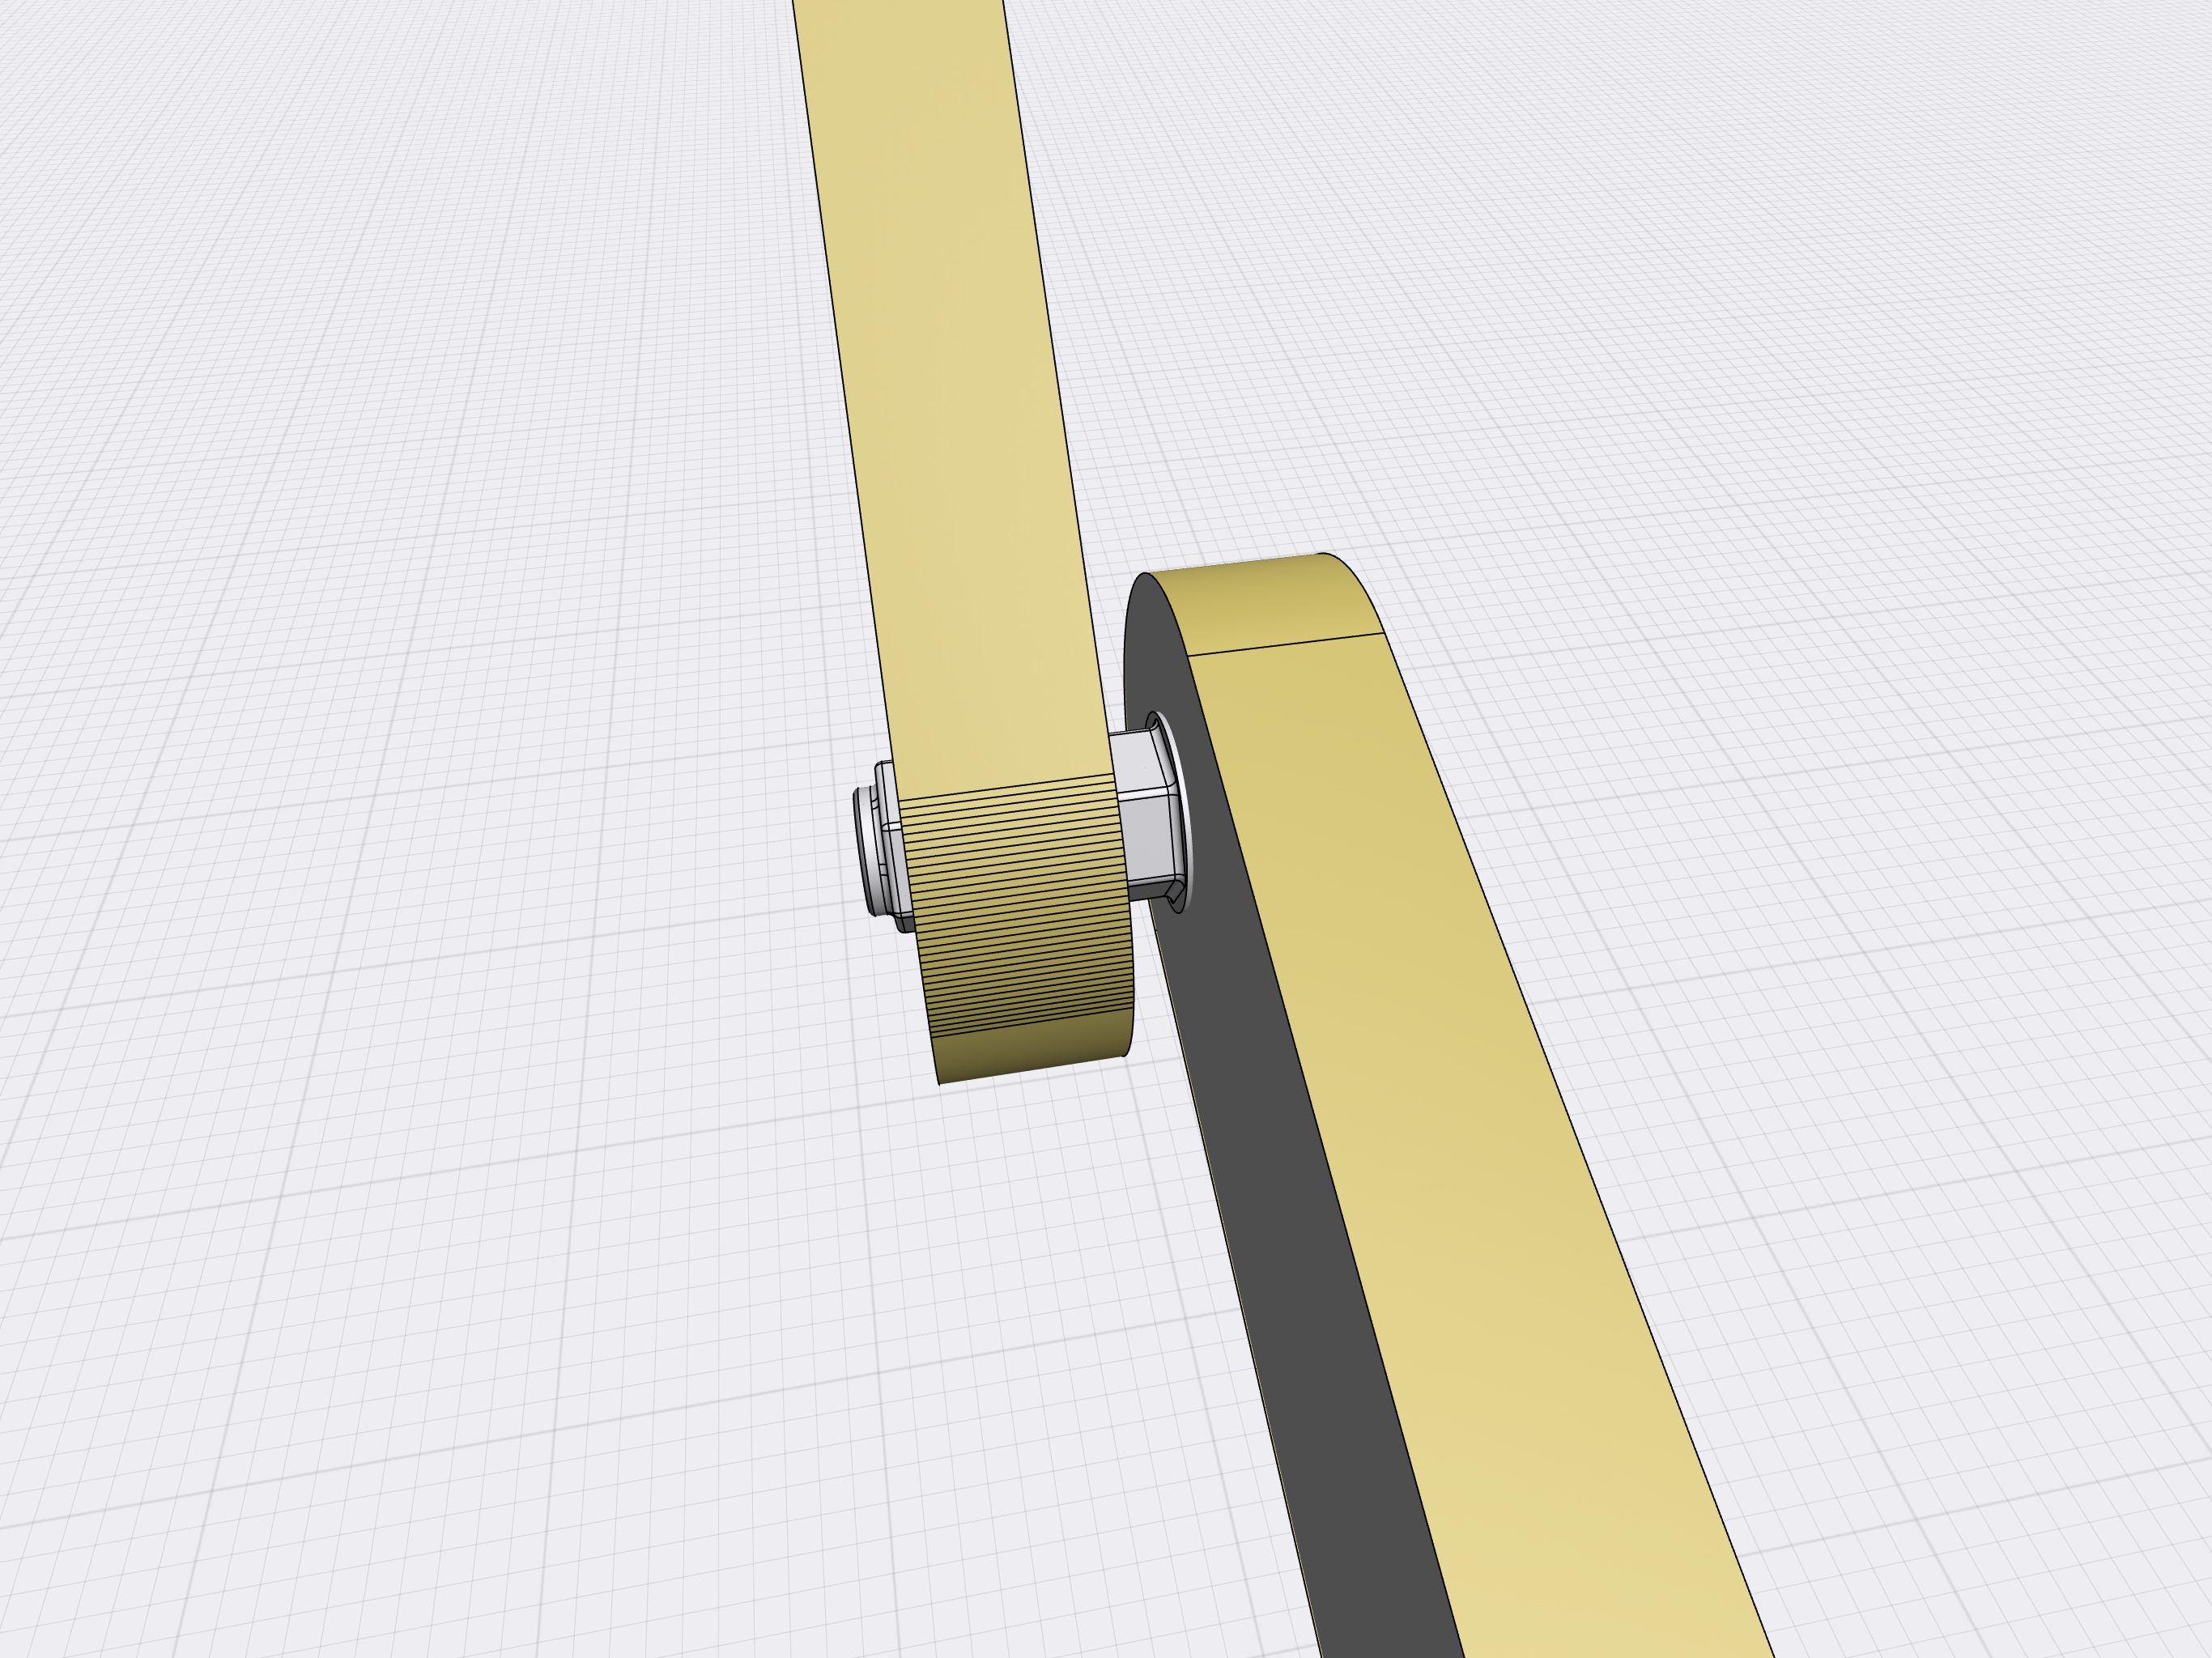
No washers needed.
-
Unite the side arms with the crossbar. Then repeat all on the opposite side. The swing arms must move smoothly.


Final step
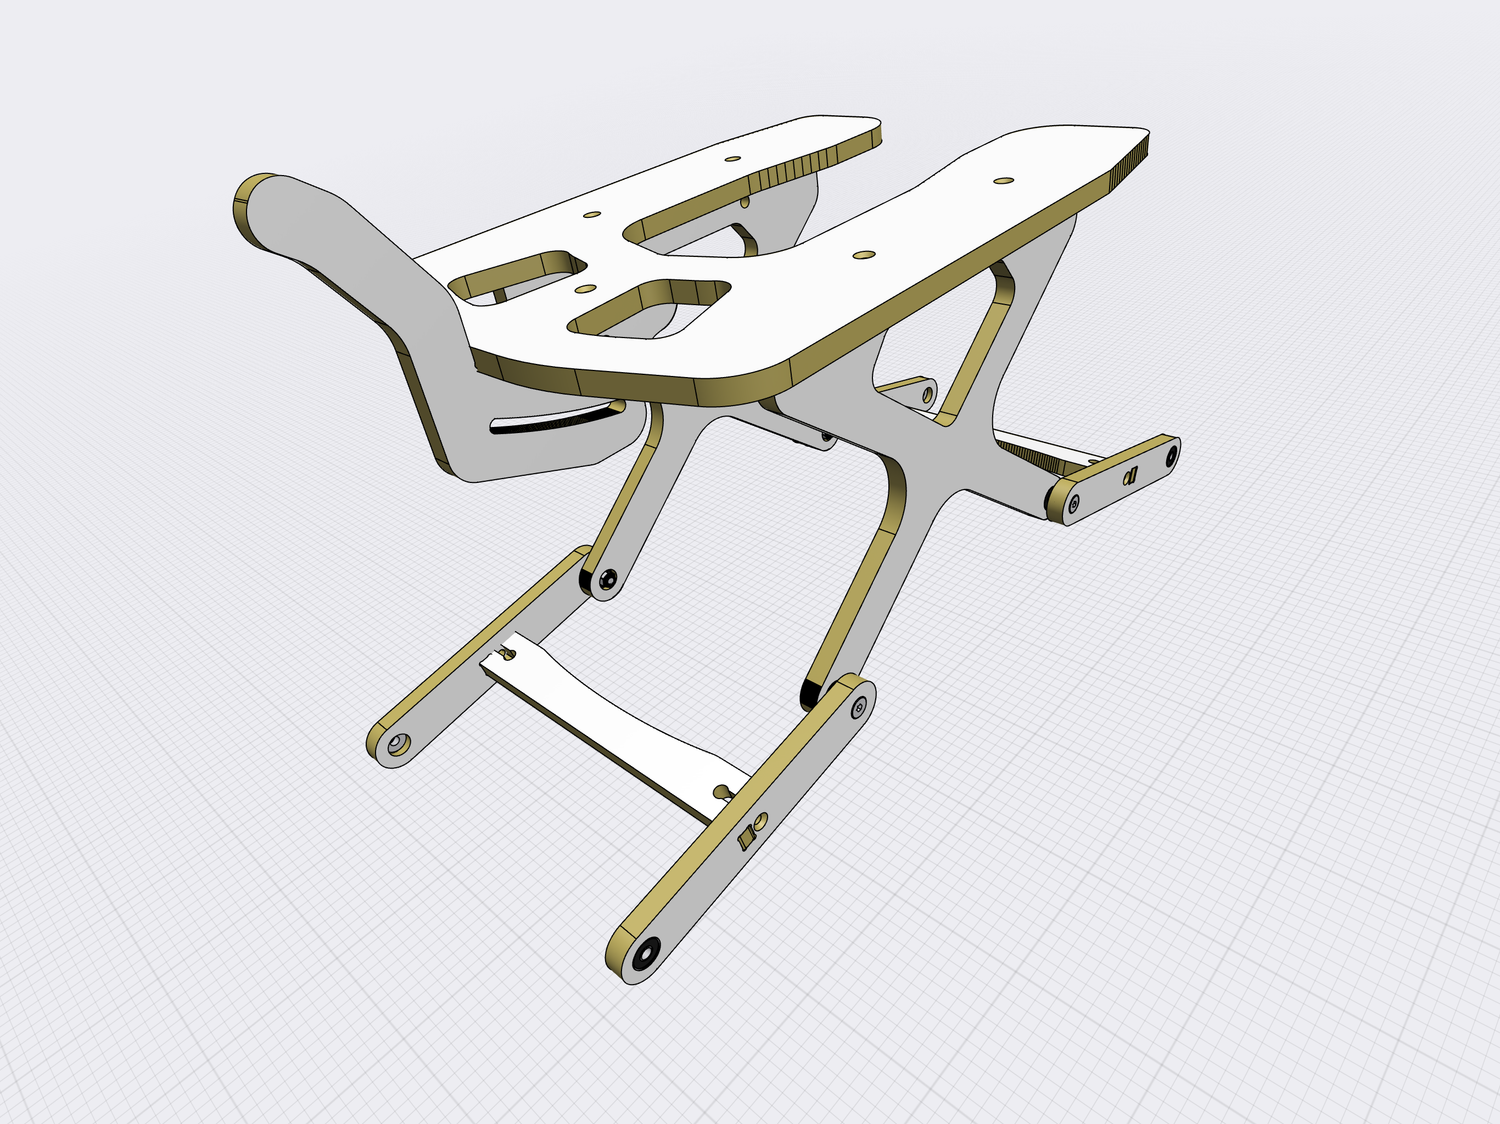
Hang the seat frame on the already prepared base and tighten the Nyloc nuts.
-
Hang the seat frame swing arms on the previously prepared base bolts, secure all with Nyloc nuts, but do not tighten them yet.
-
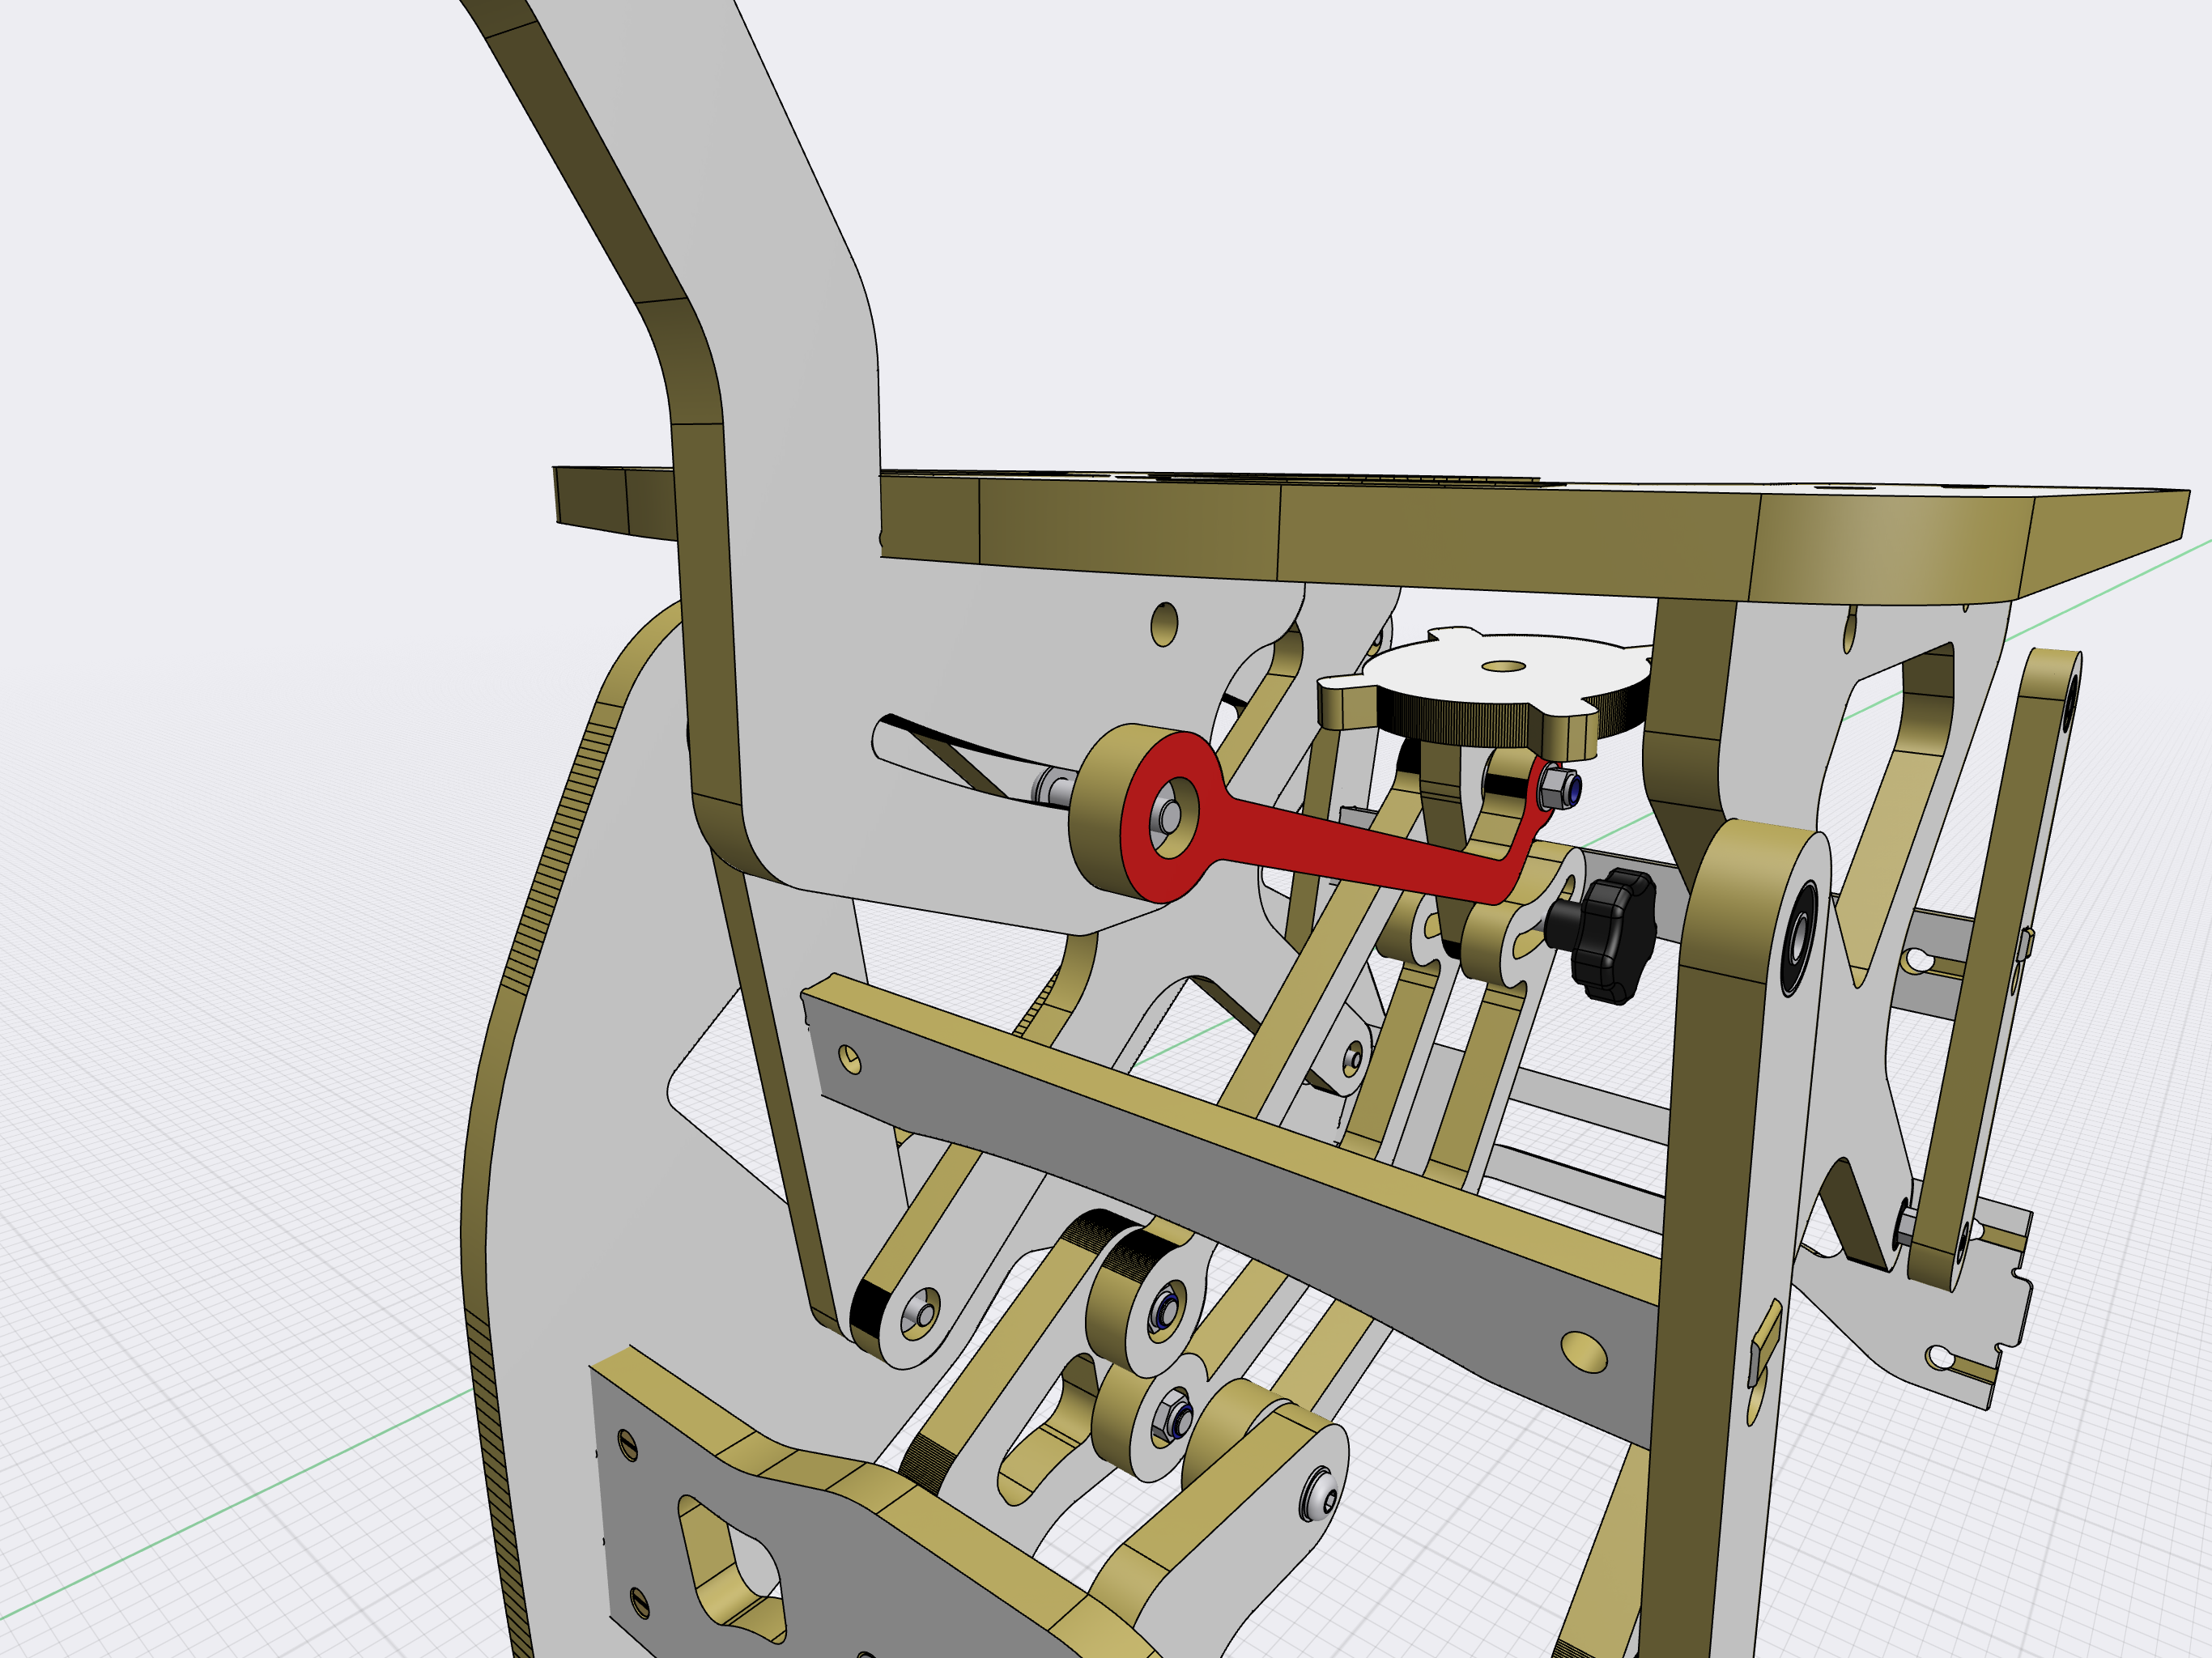
Now attach the L-shape rod to the handle. Put the washers between all the moving parts and before the knob as well.
-
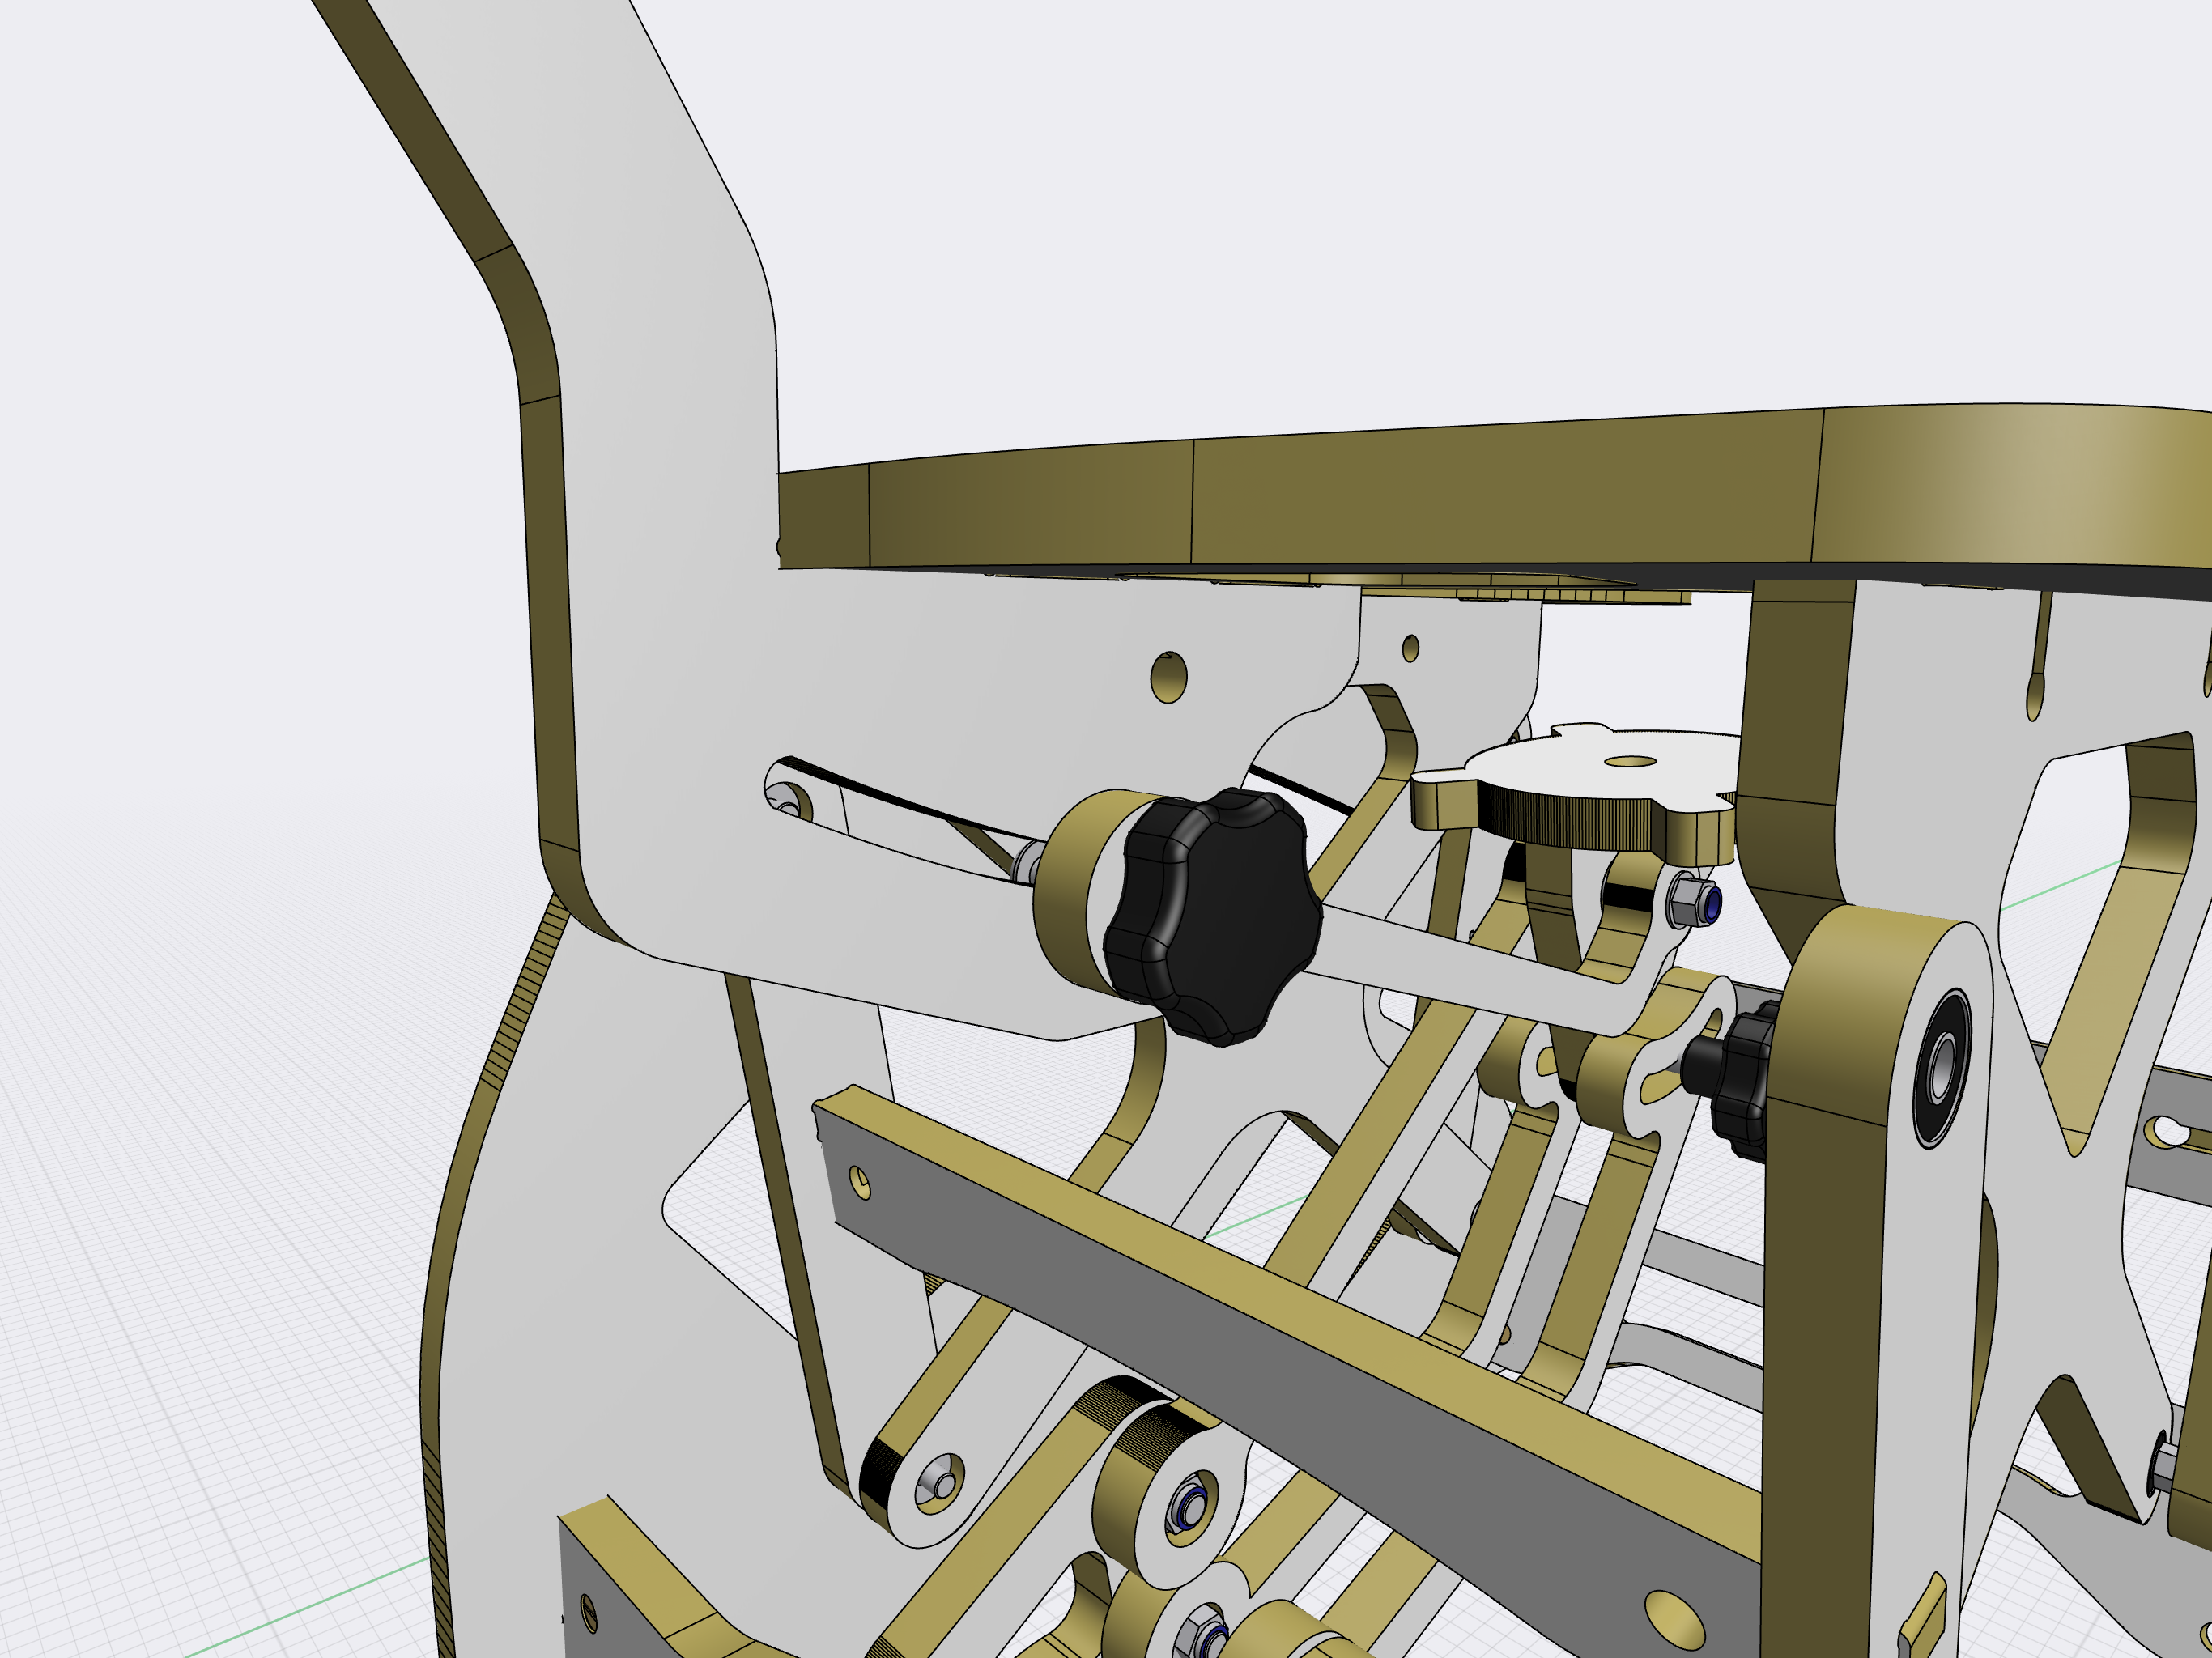
The knob allows you to adjust the stroke length. The final step is to attach the side panel and tighten all the nuts.


Congratulations, you've completed the job!
You may also like
-
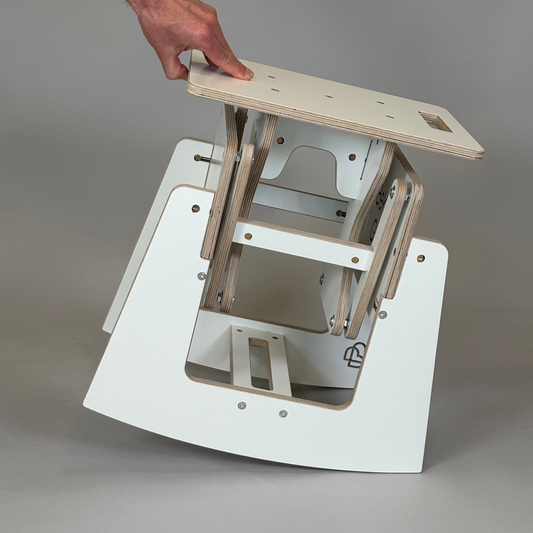
Office balance chair - White
Regular price €229,00 EURRegular priceUnit price per -
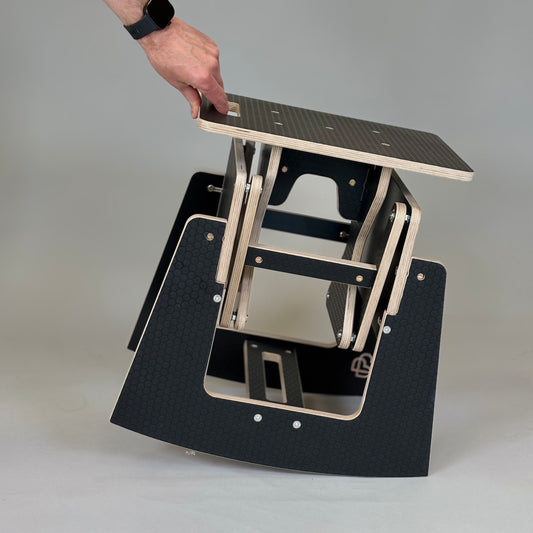
Office balance chair - Black
Regular price €229,00 EURRegular priceUnit price per -
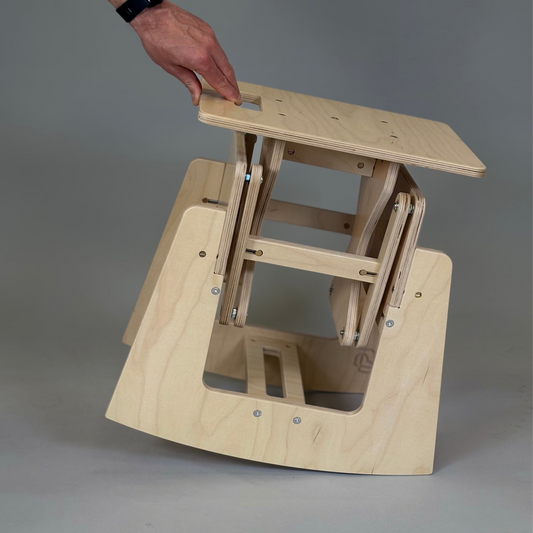
Office balance chair - Wood
Regular price €229,00 EURRegular priceUnit price per