
Queening chair / Step stool
First steps
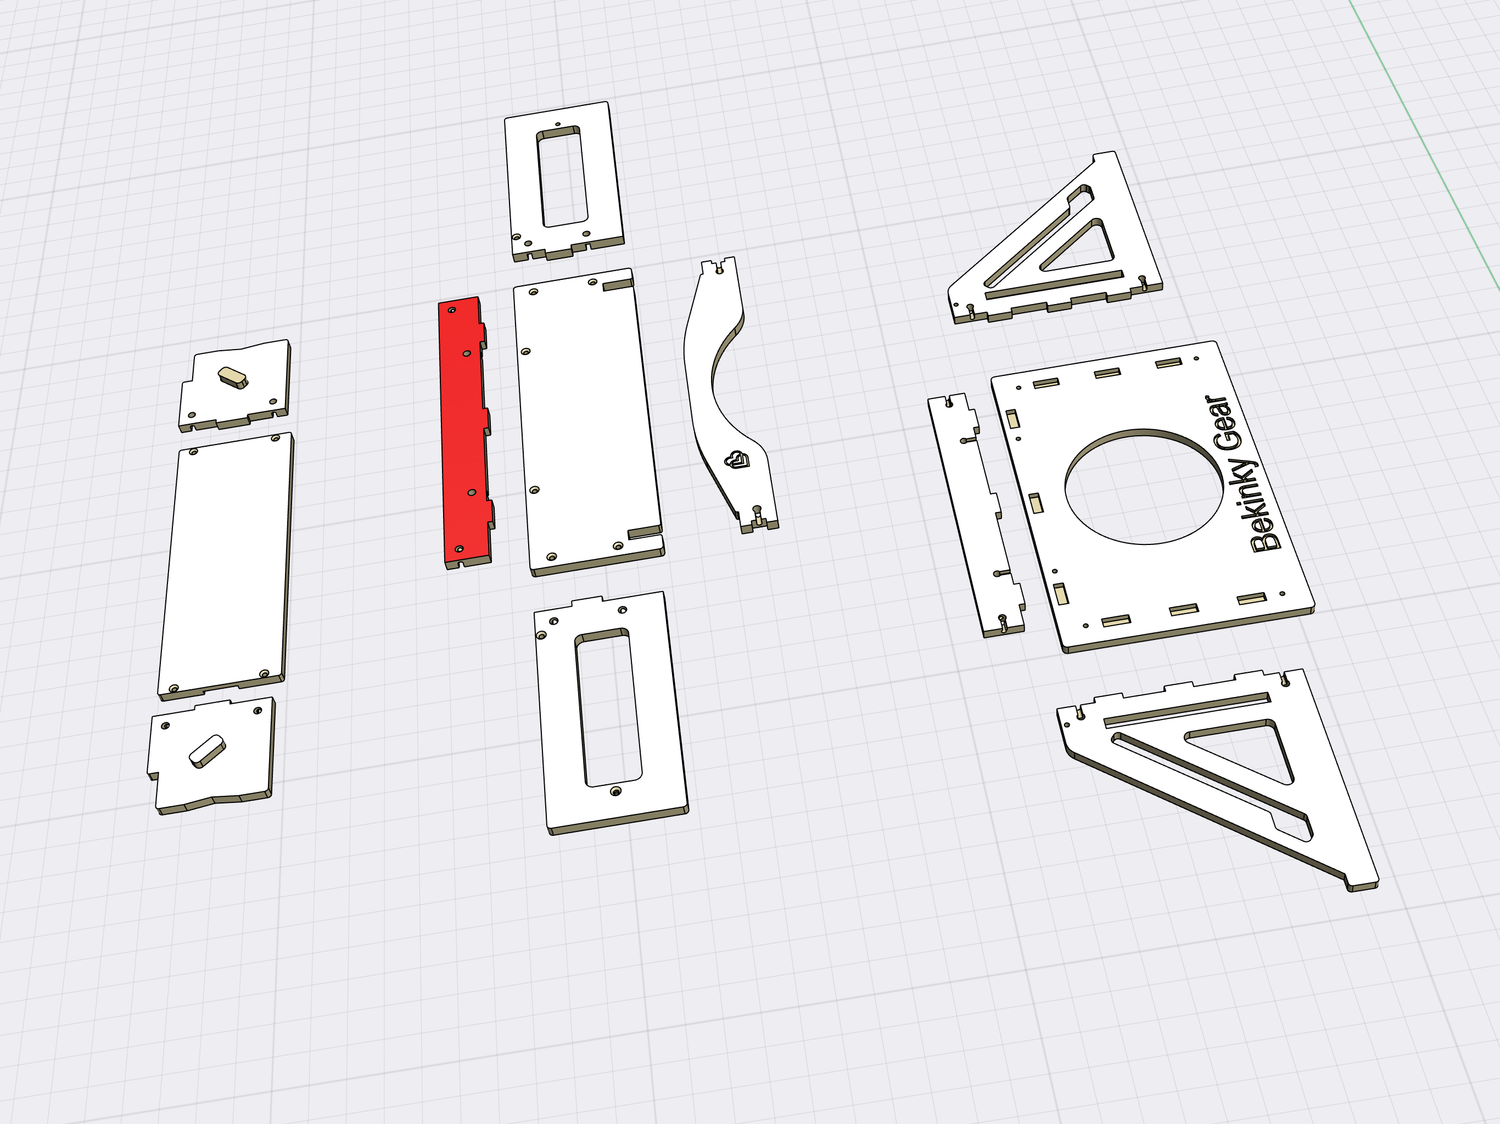
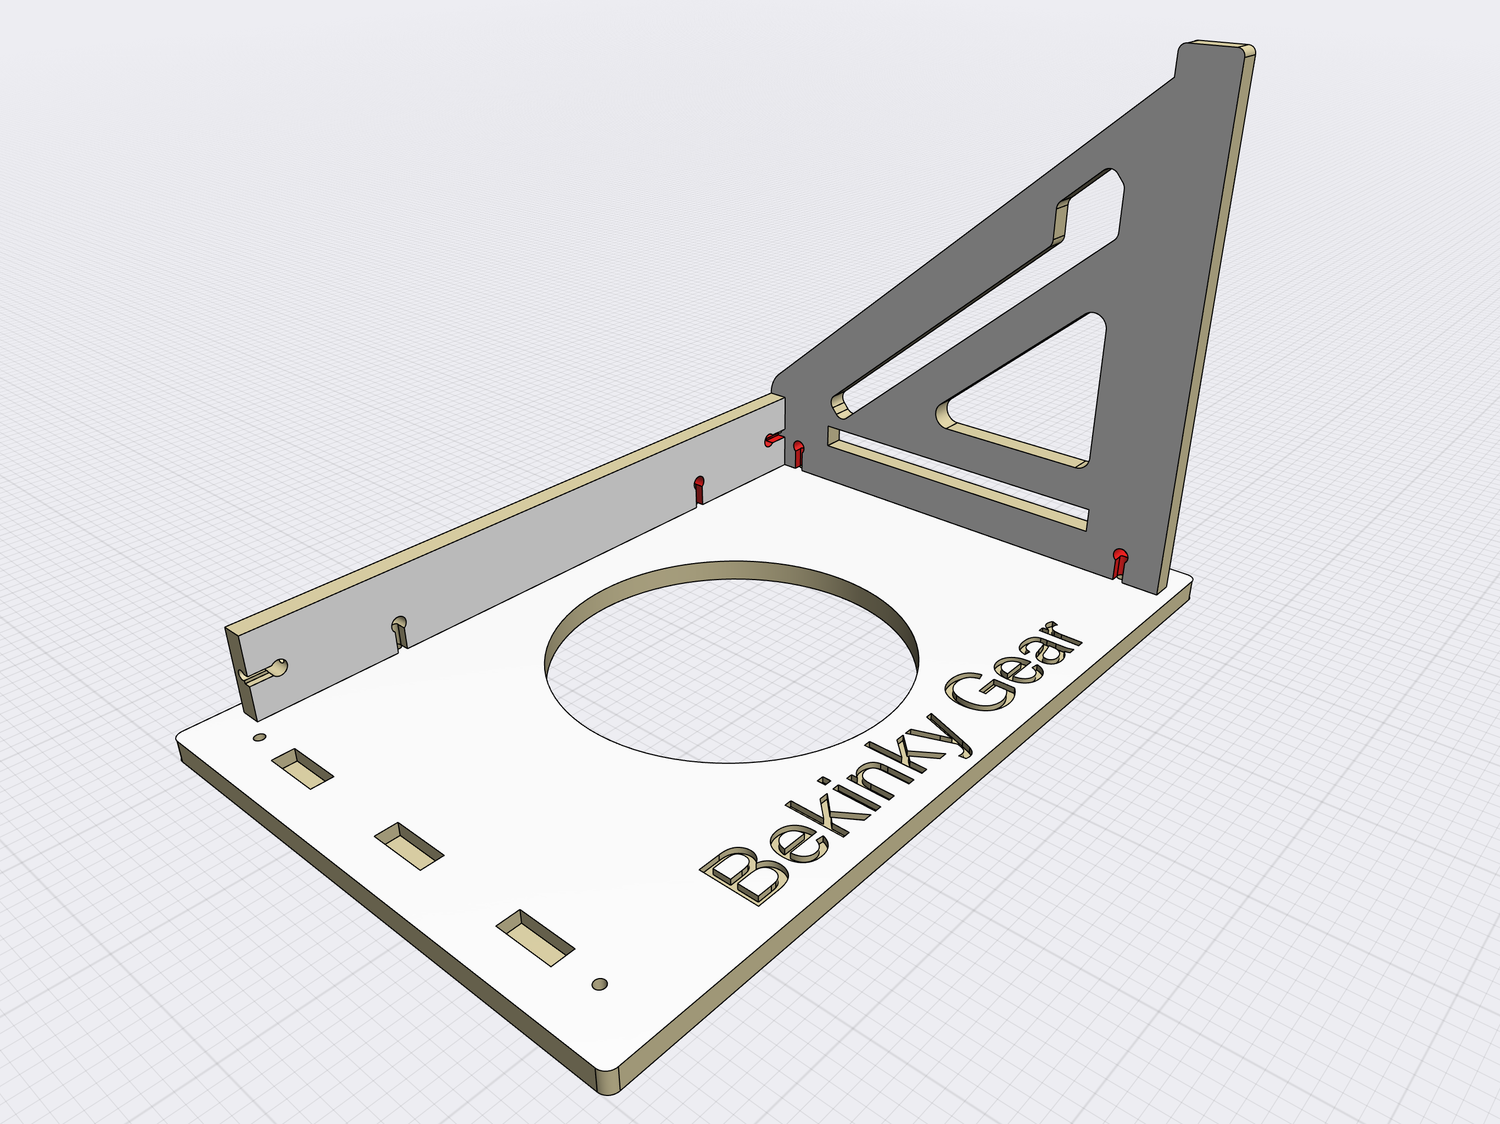
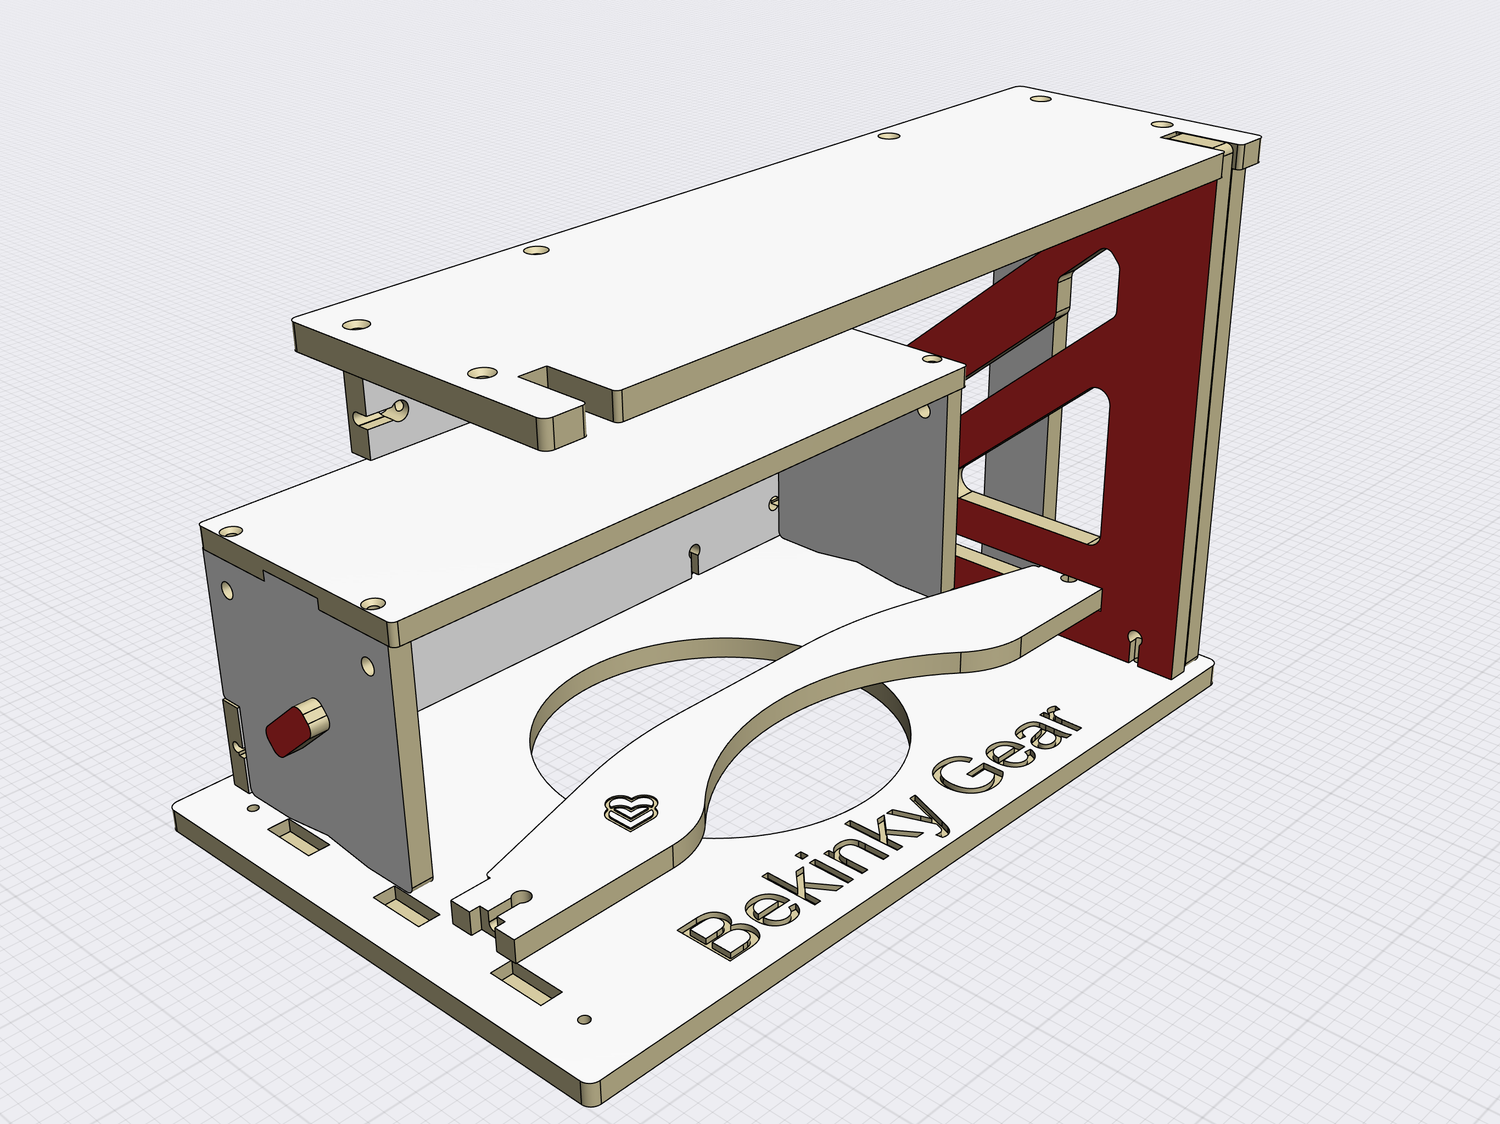
Arrange all the components into three categories. The lower step should comprise three parts, while the upper step should include five parts. Ensure that the longest crossbar (red) is used for the upper step, and place the shortest crossbar on the top seat consisting of four parts.
-
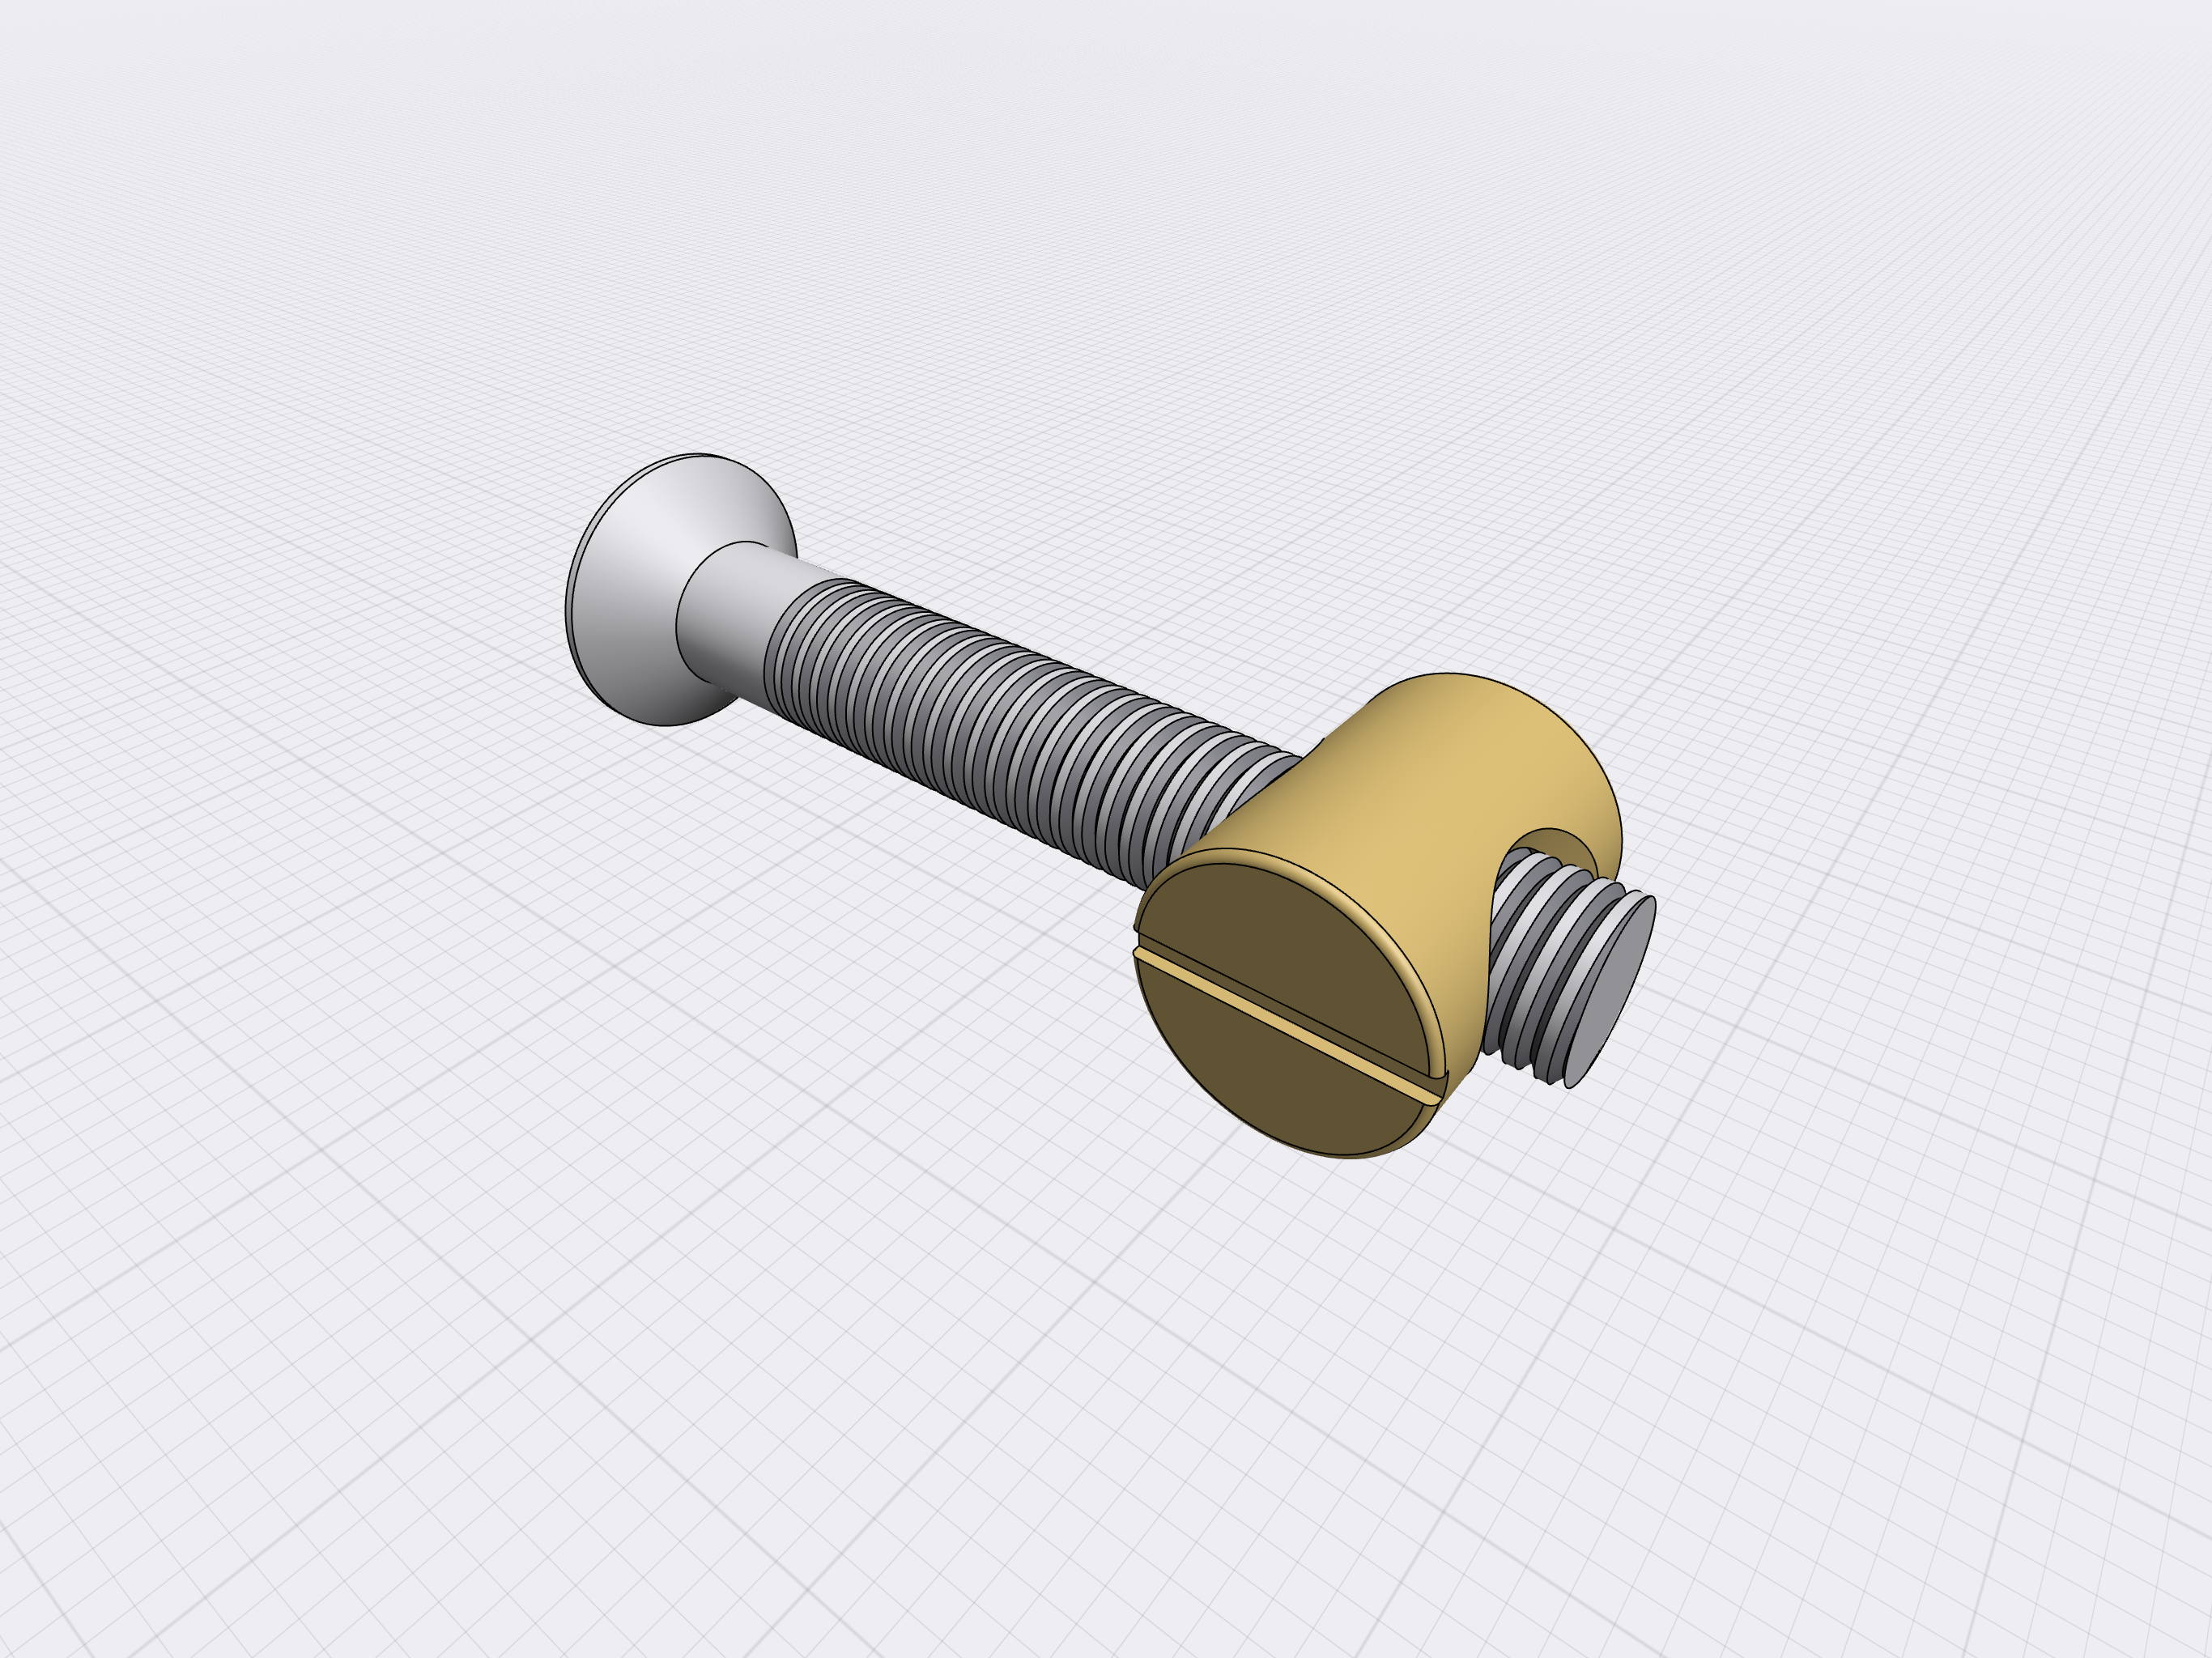
Ensure smooth screwing of the flat head screws and barrel nuts, and avoid pressing to prevent damage to the threads.
-
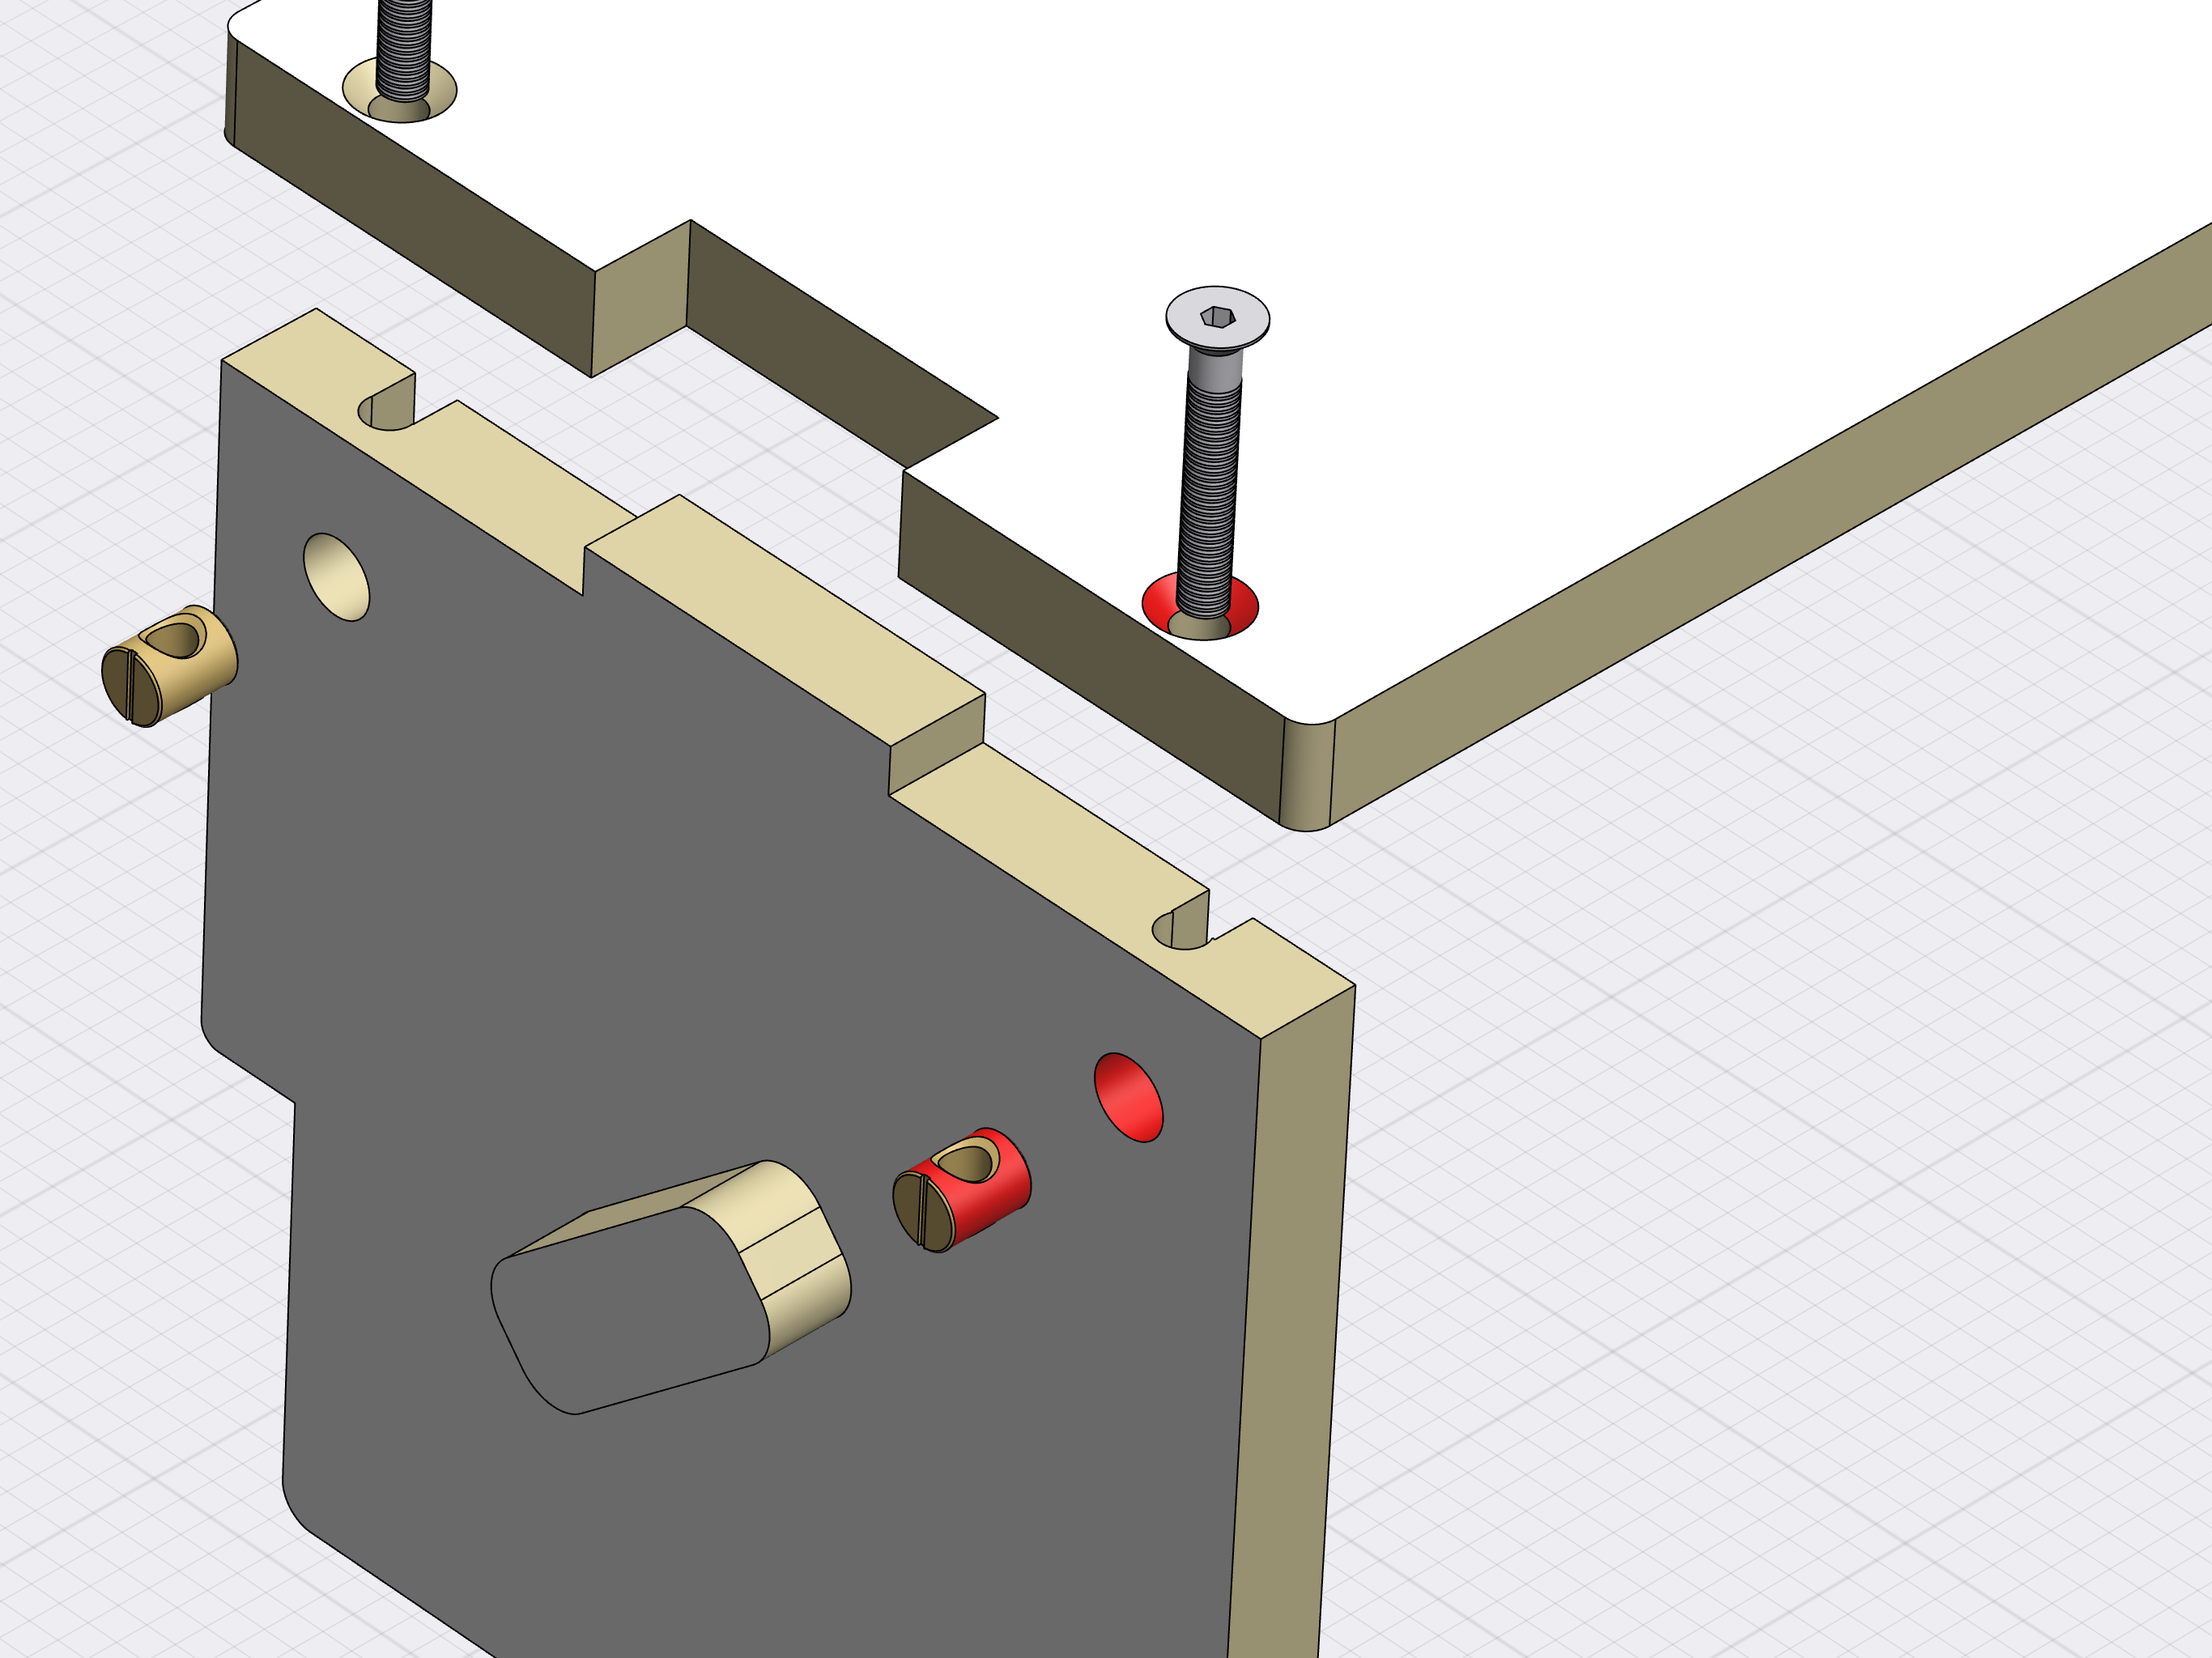
Add the side panels to the lower step. Sliders should be facing outwards. It doesn't matter to which side you will apply the side panel.
-
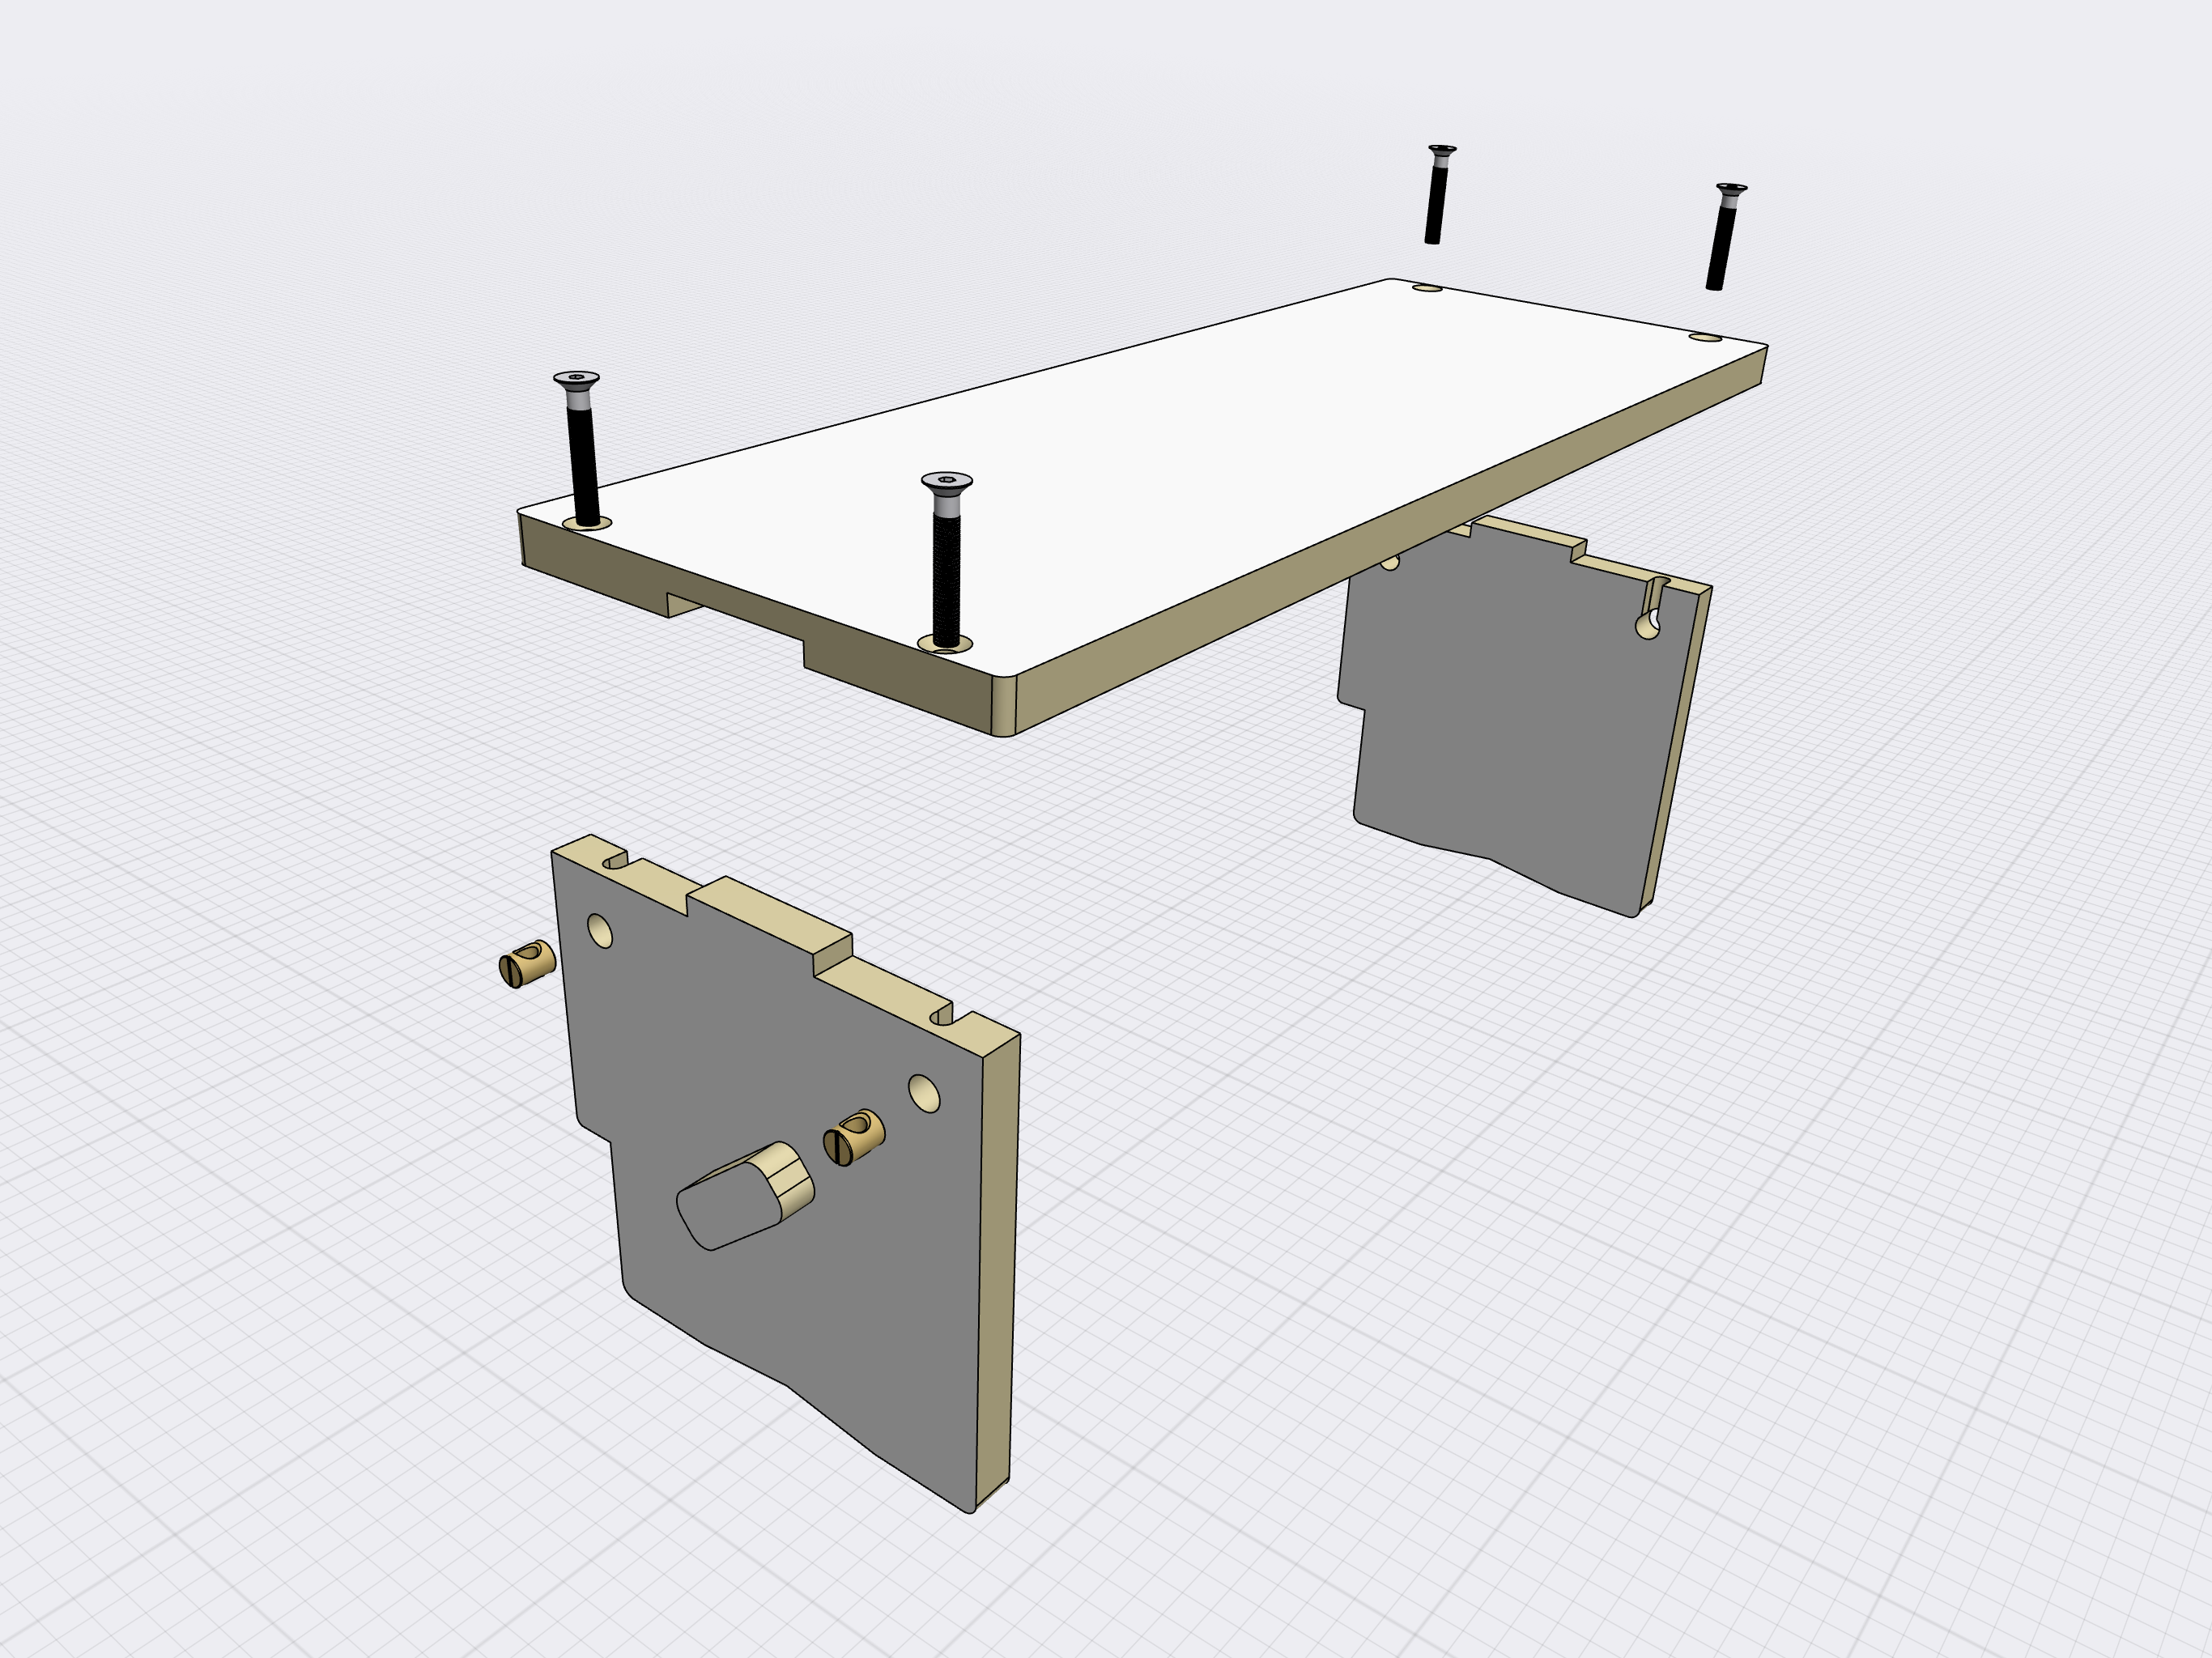
The lower step now is ready. You can put it aside for a while.


Upper step assembly
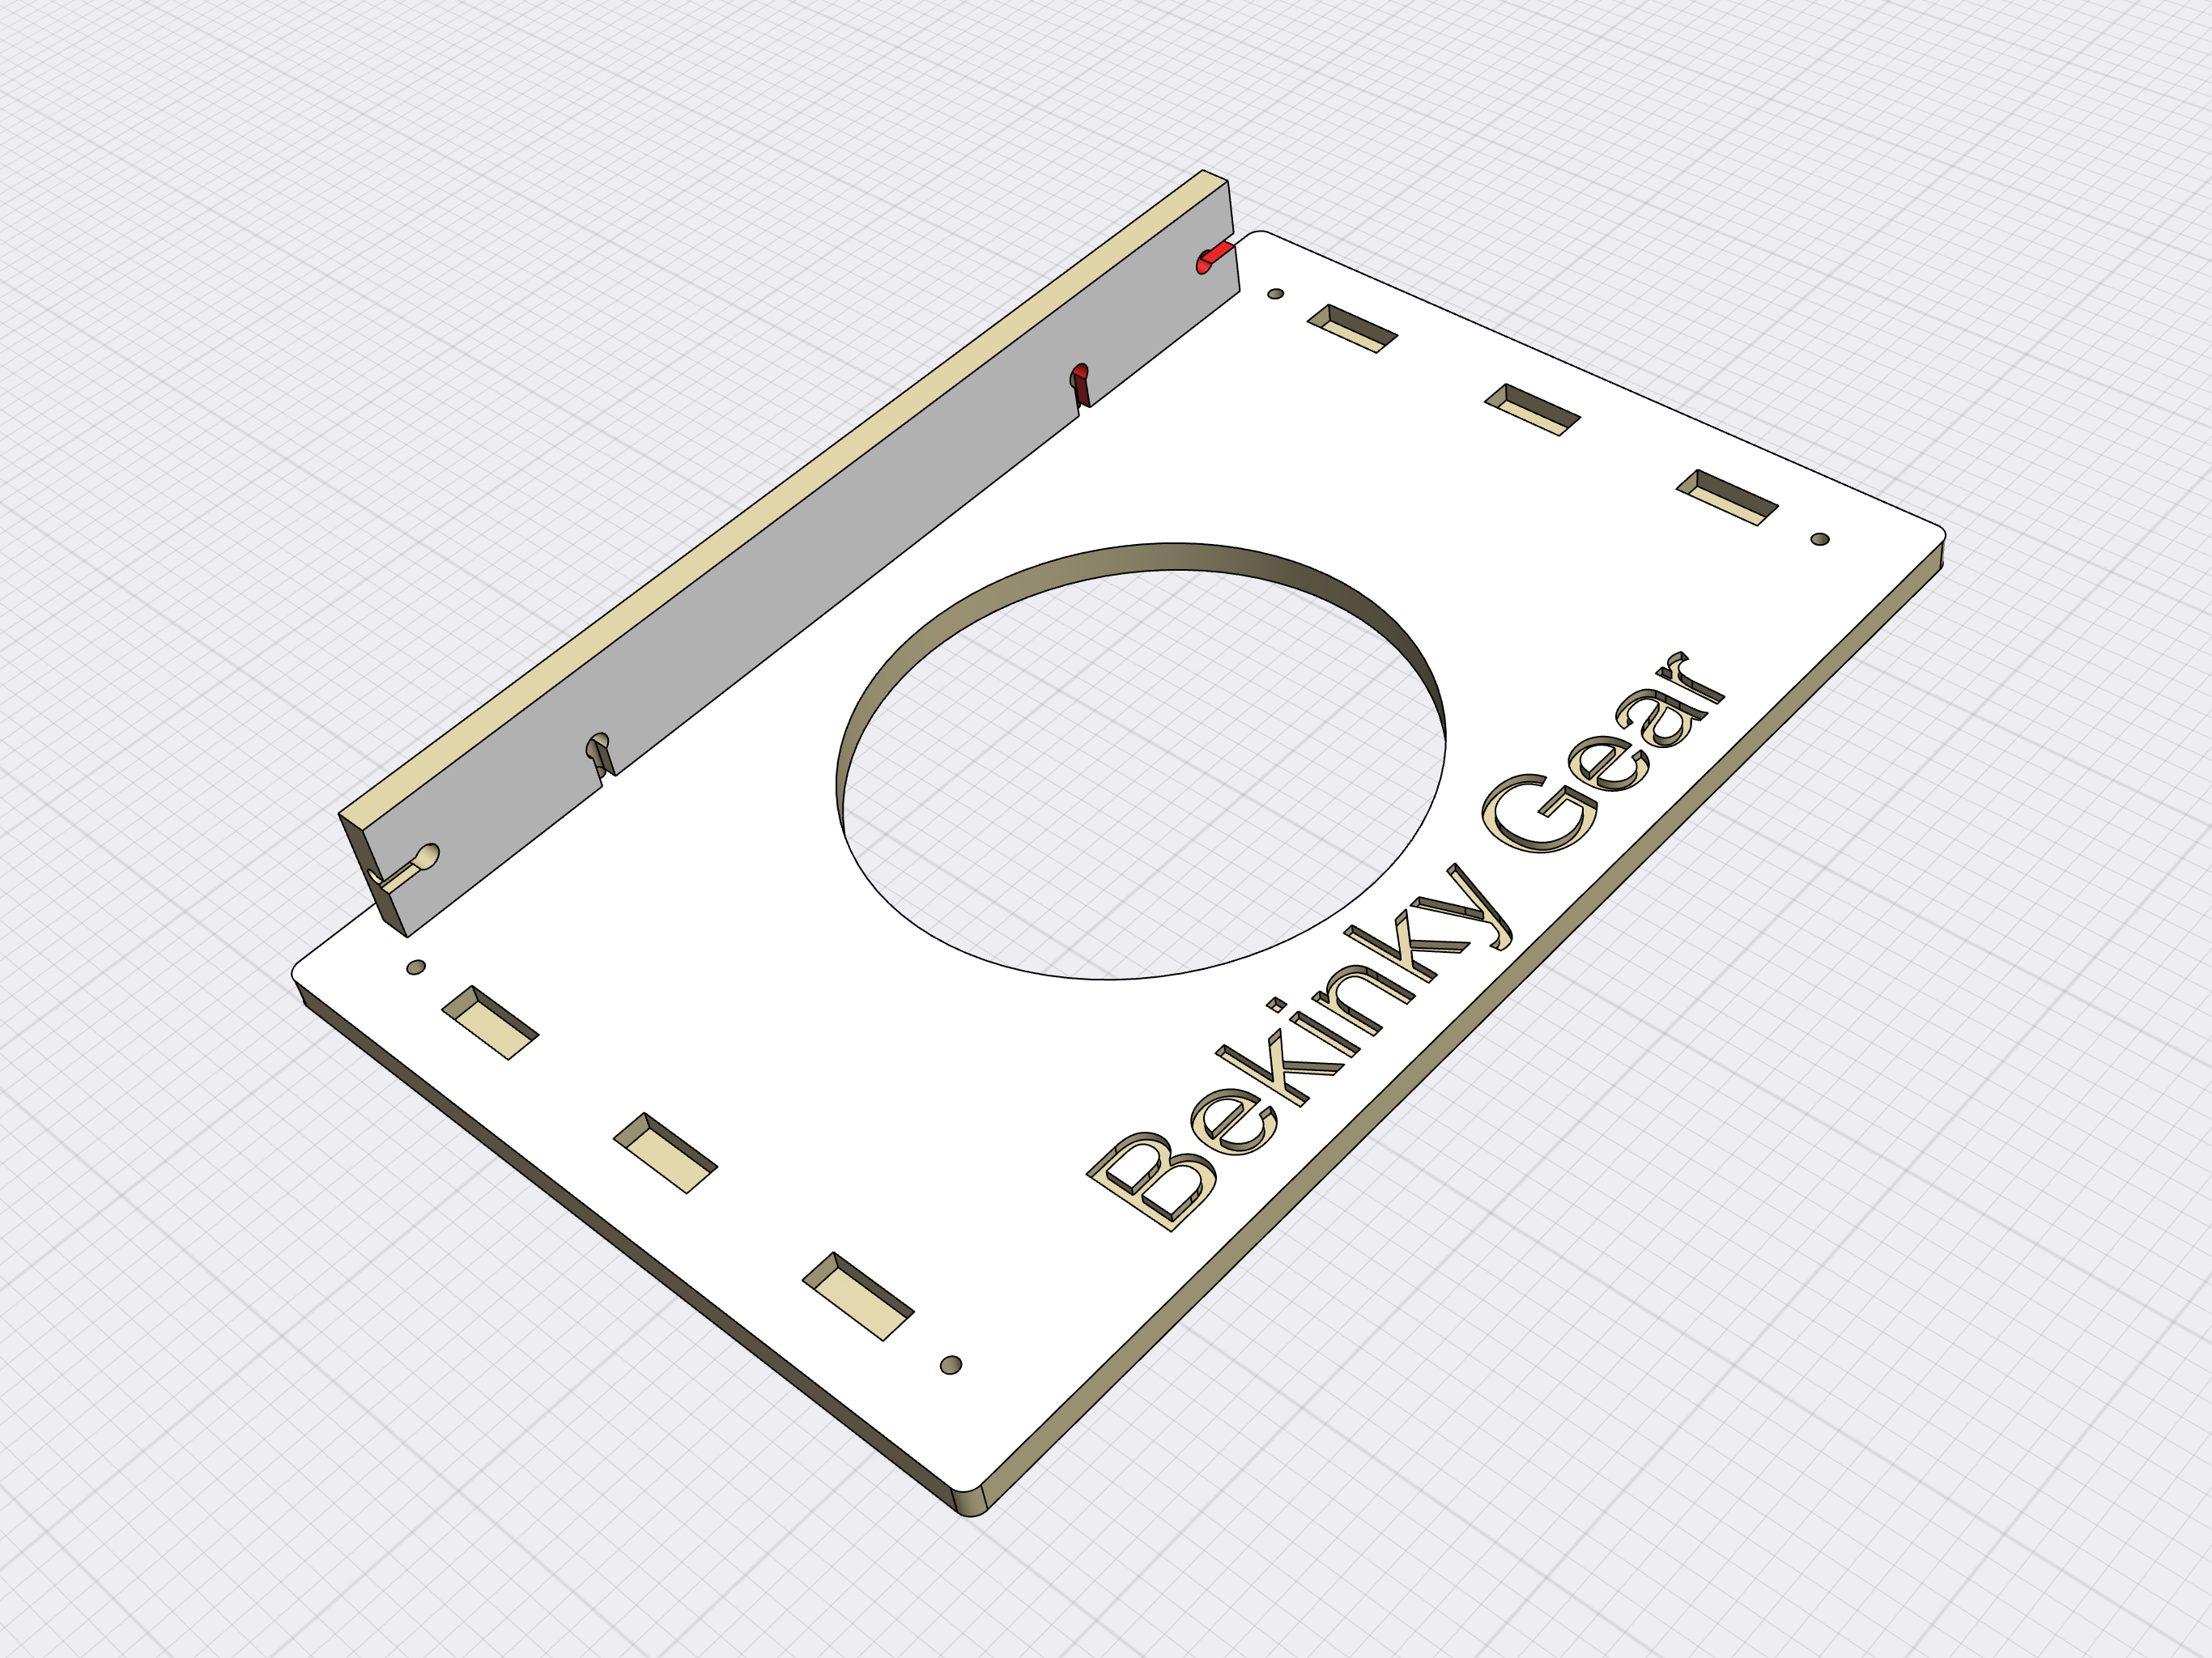
The upper step consists of five parts. Now you will need four of them. The last side panel will be used in the final step.
-
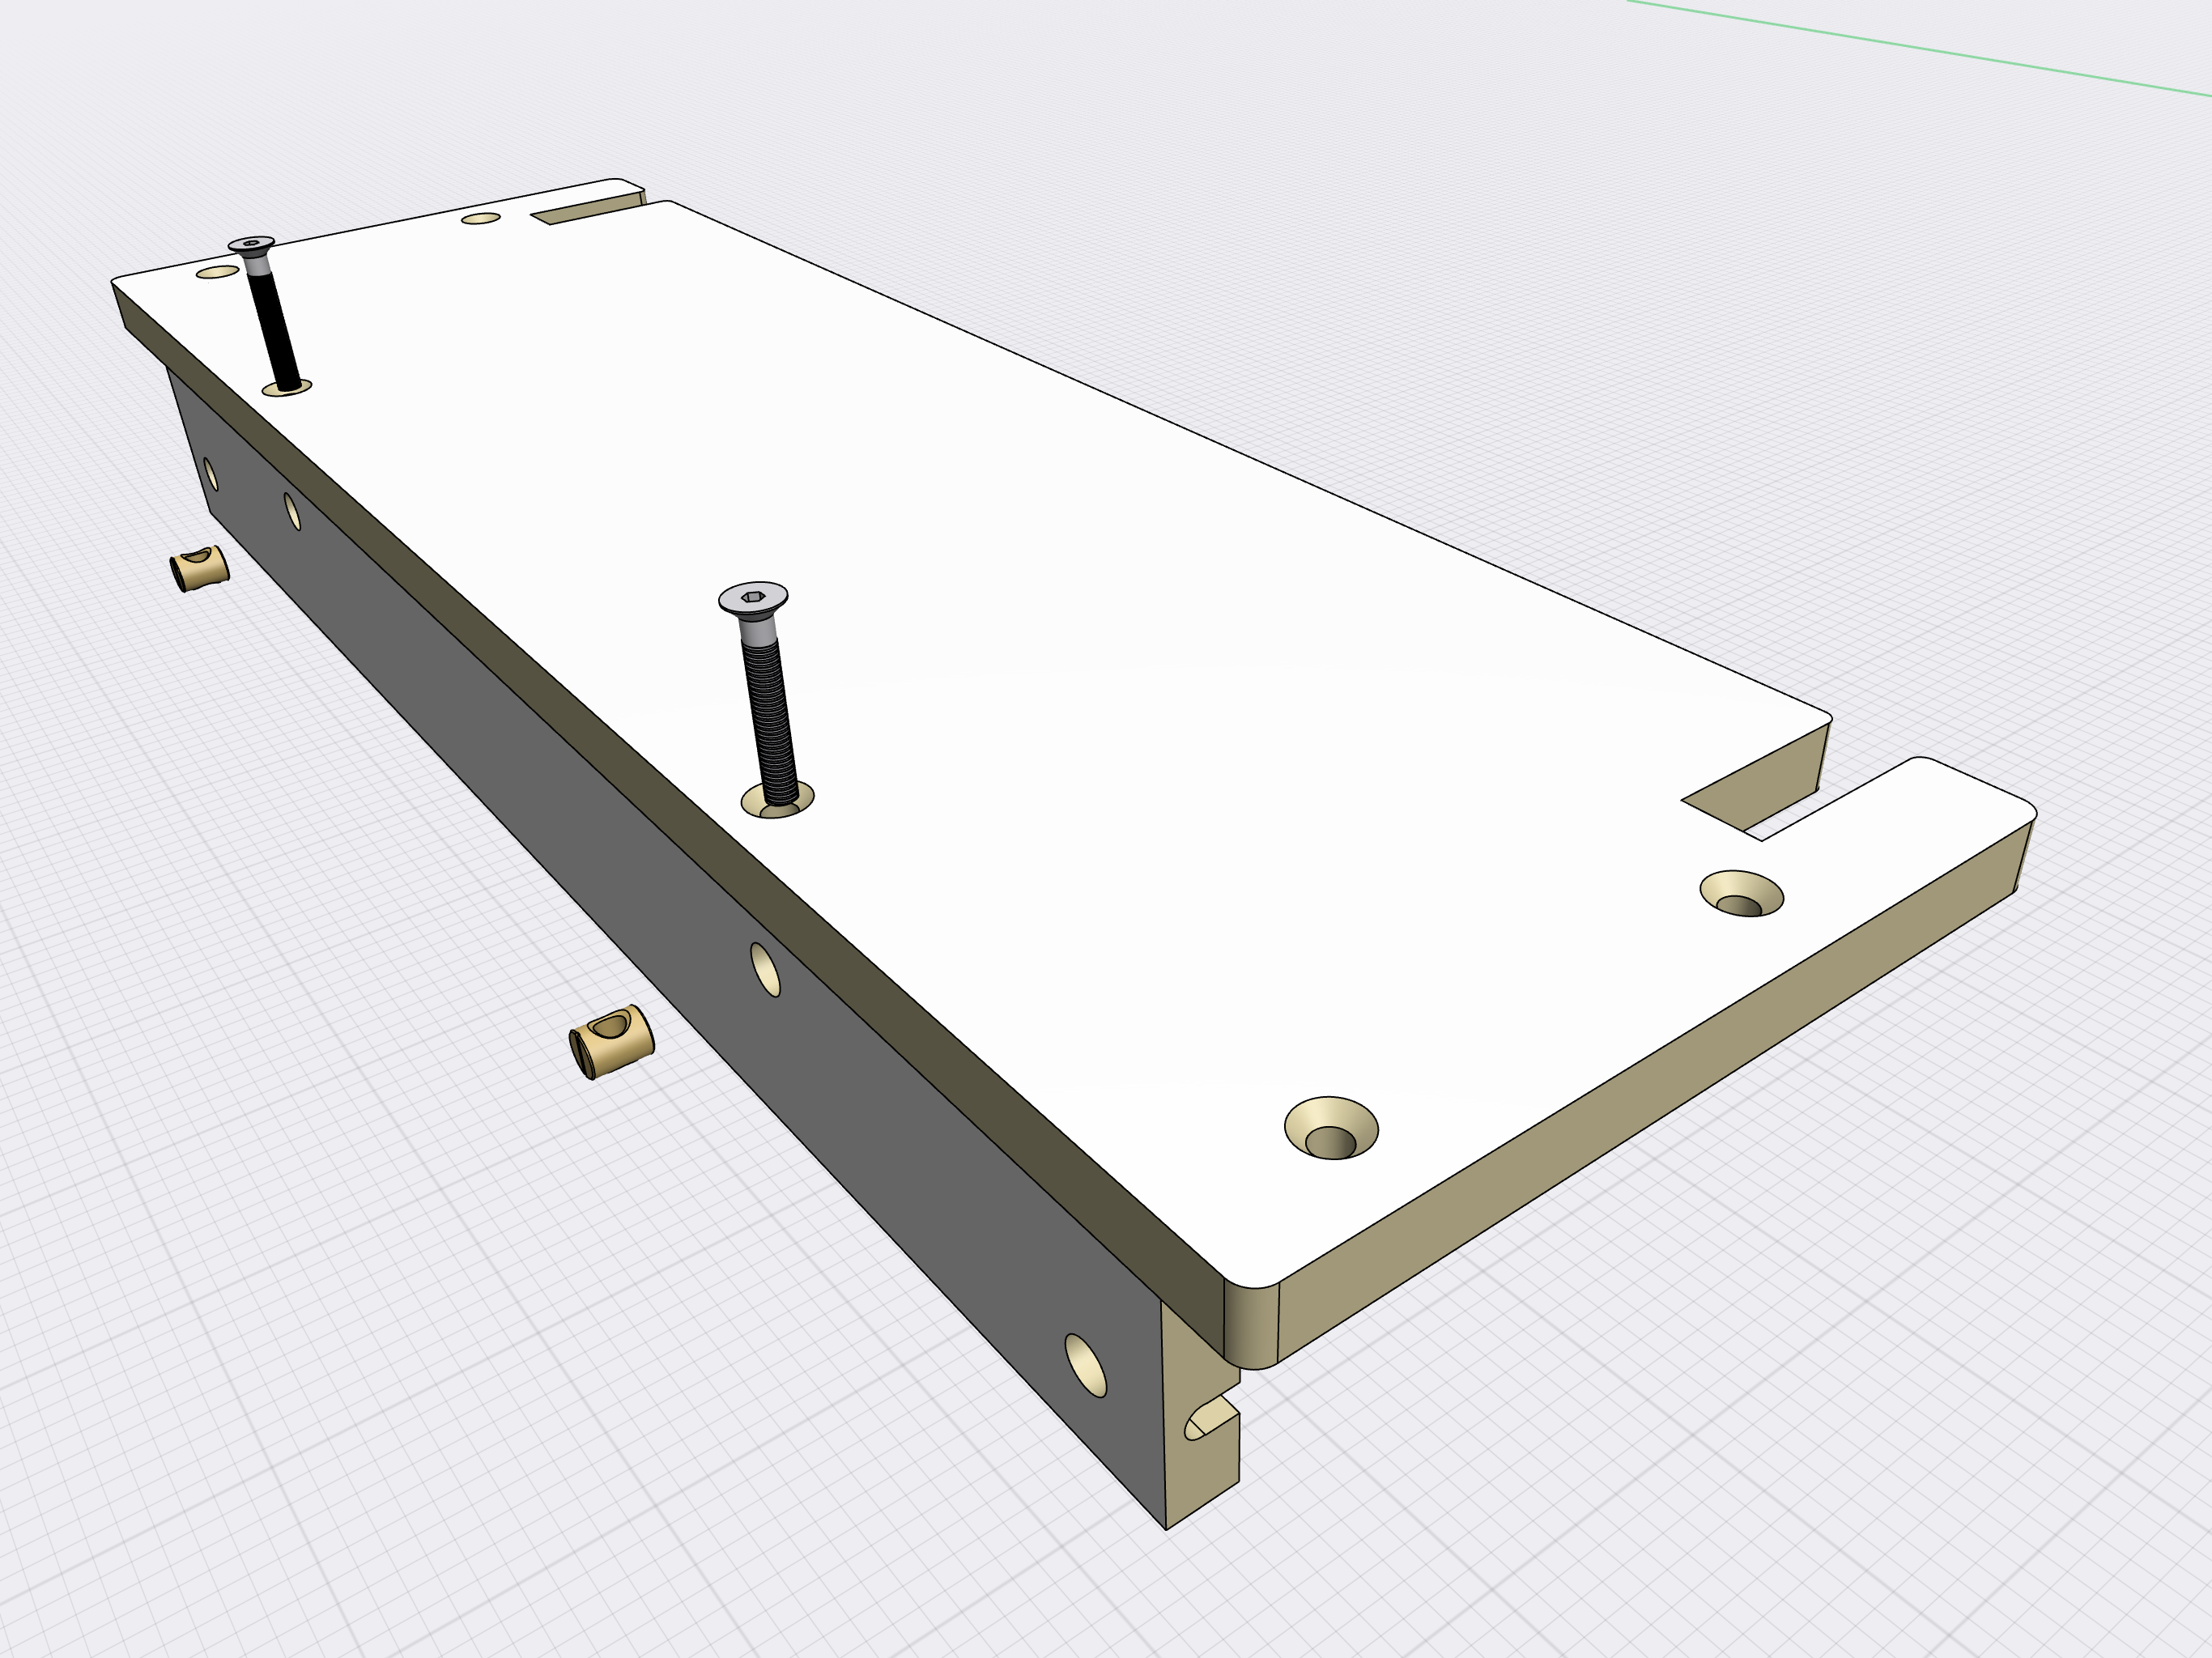
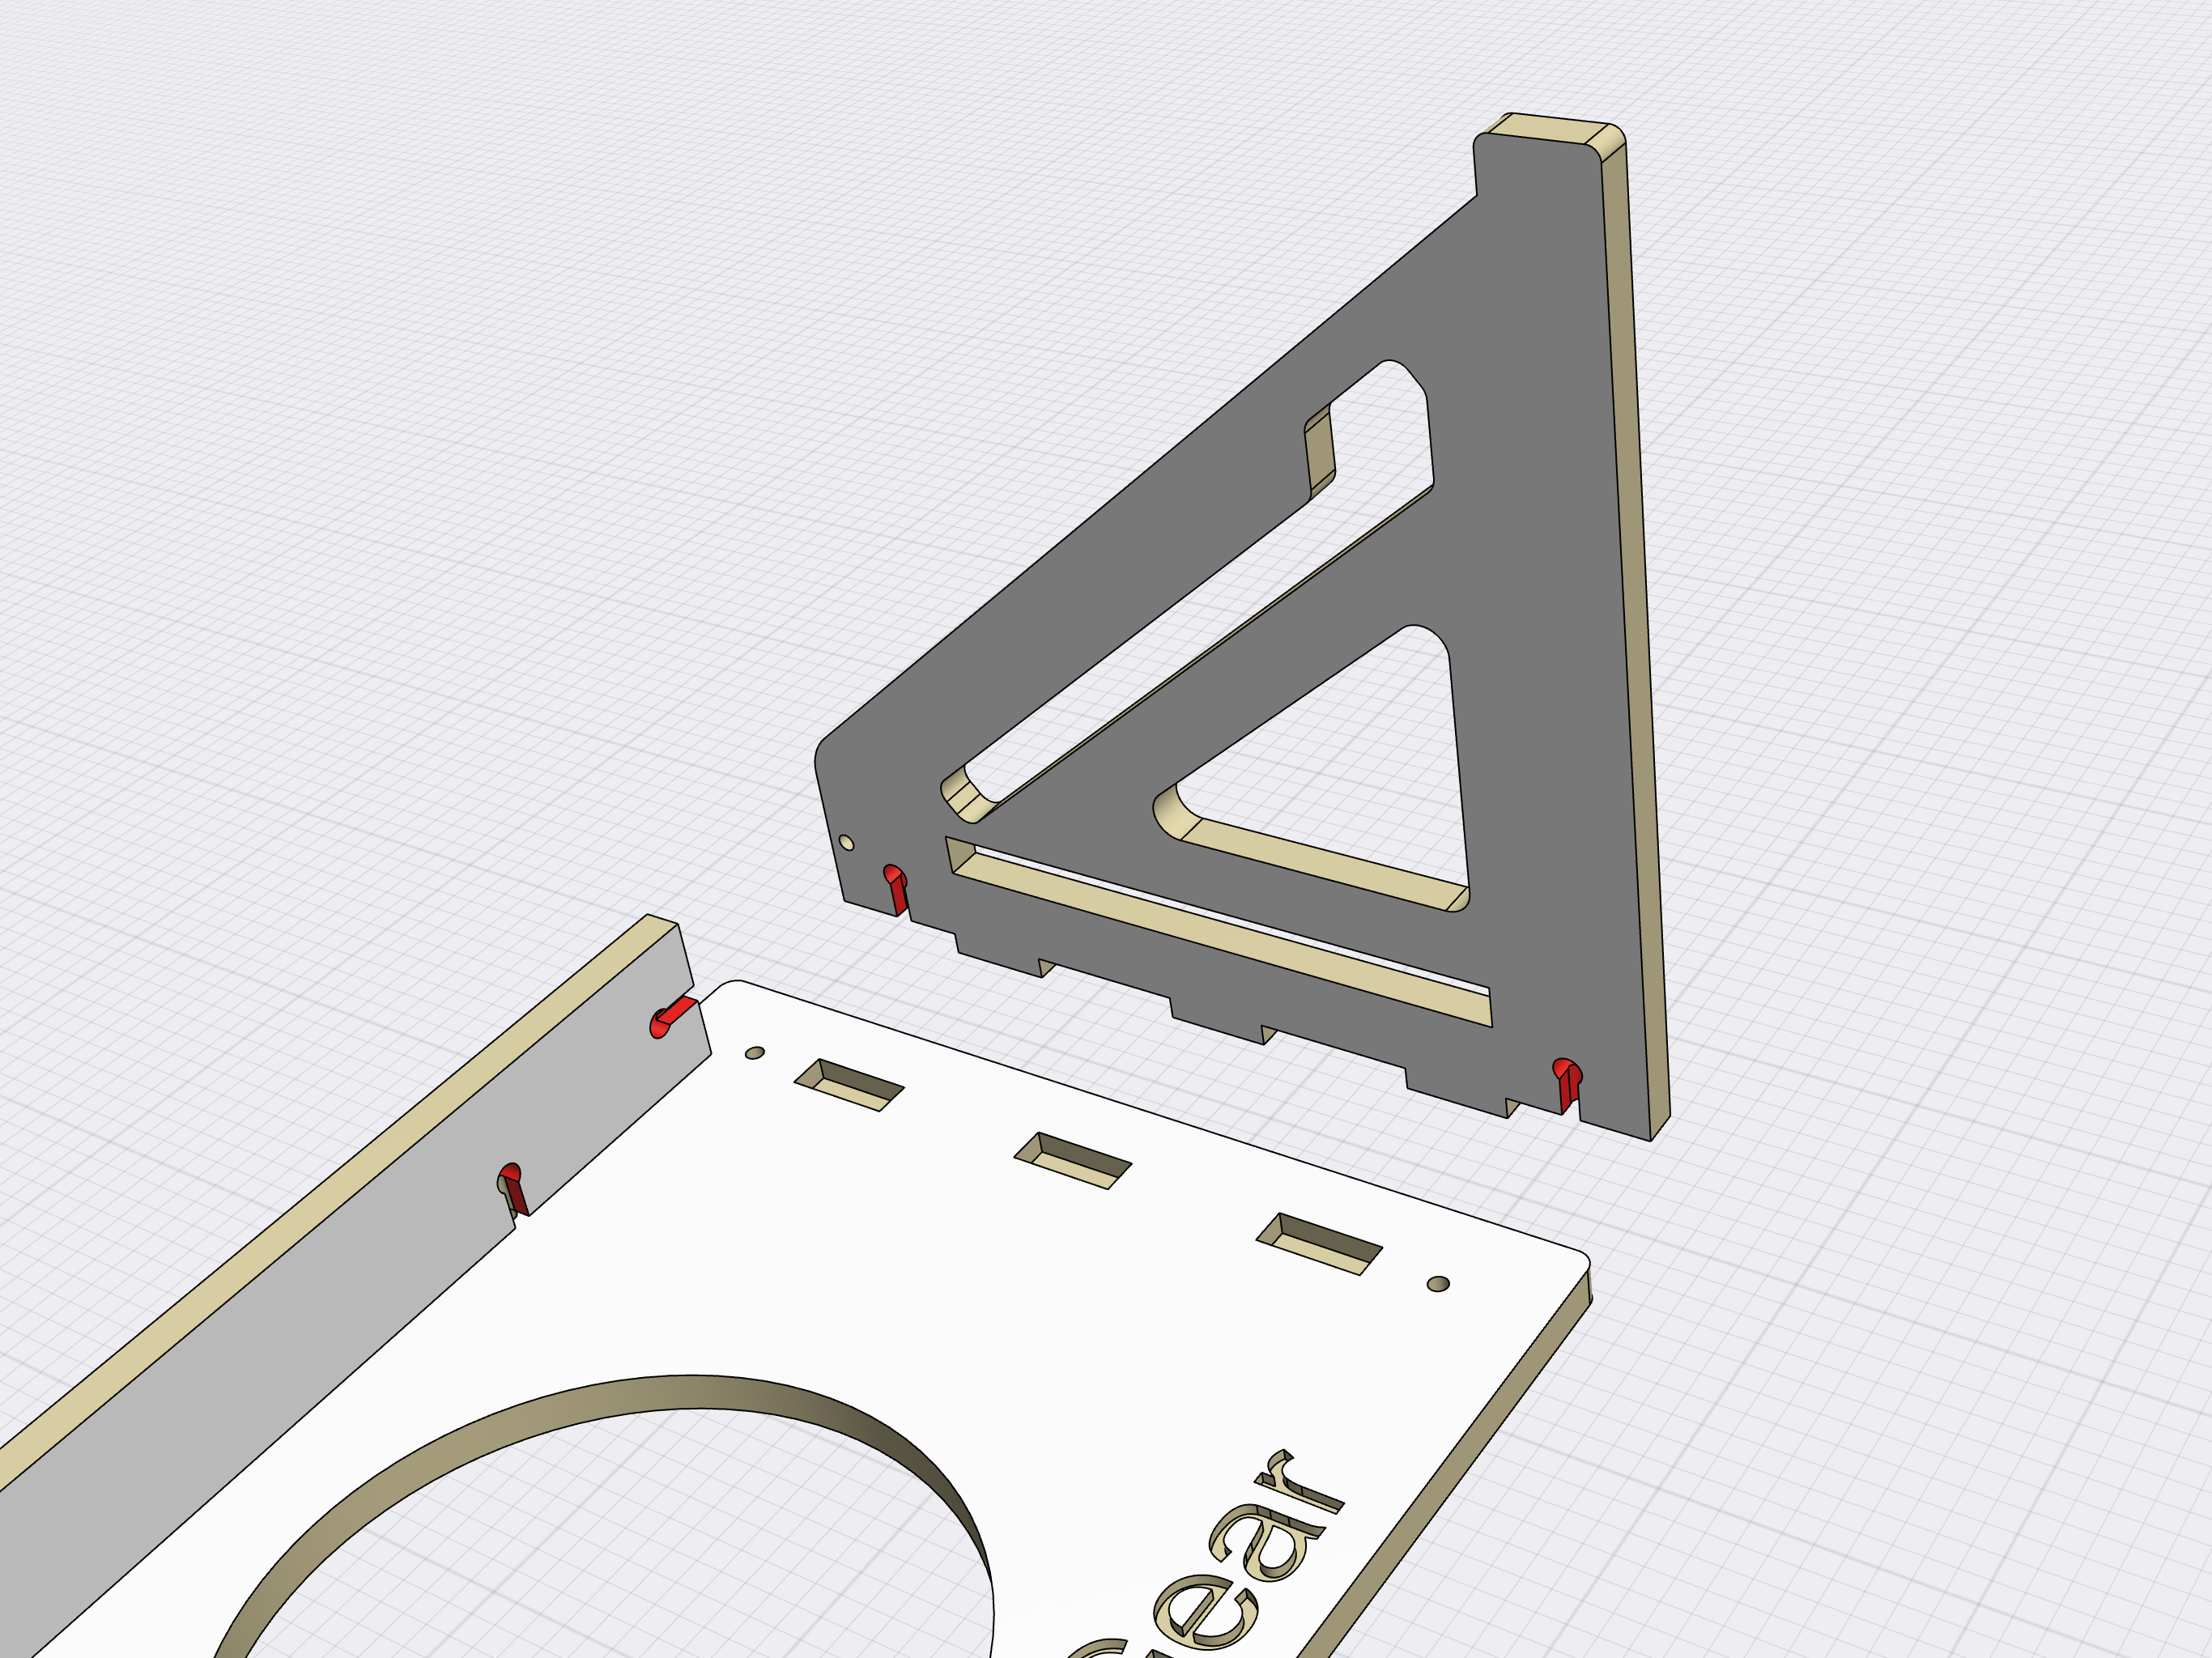
Add the crossbar to the upper step.
-
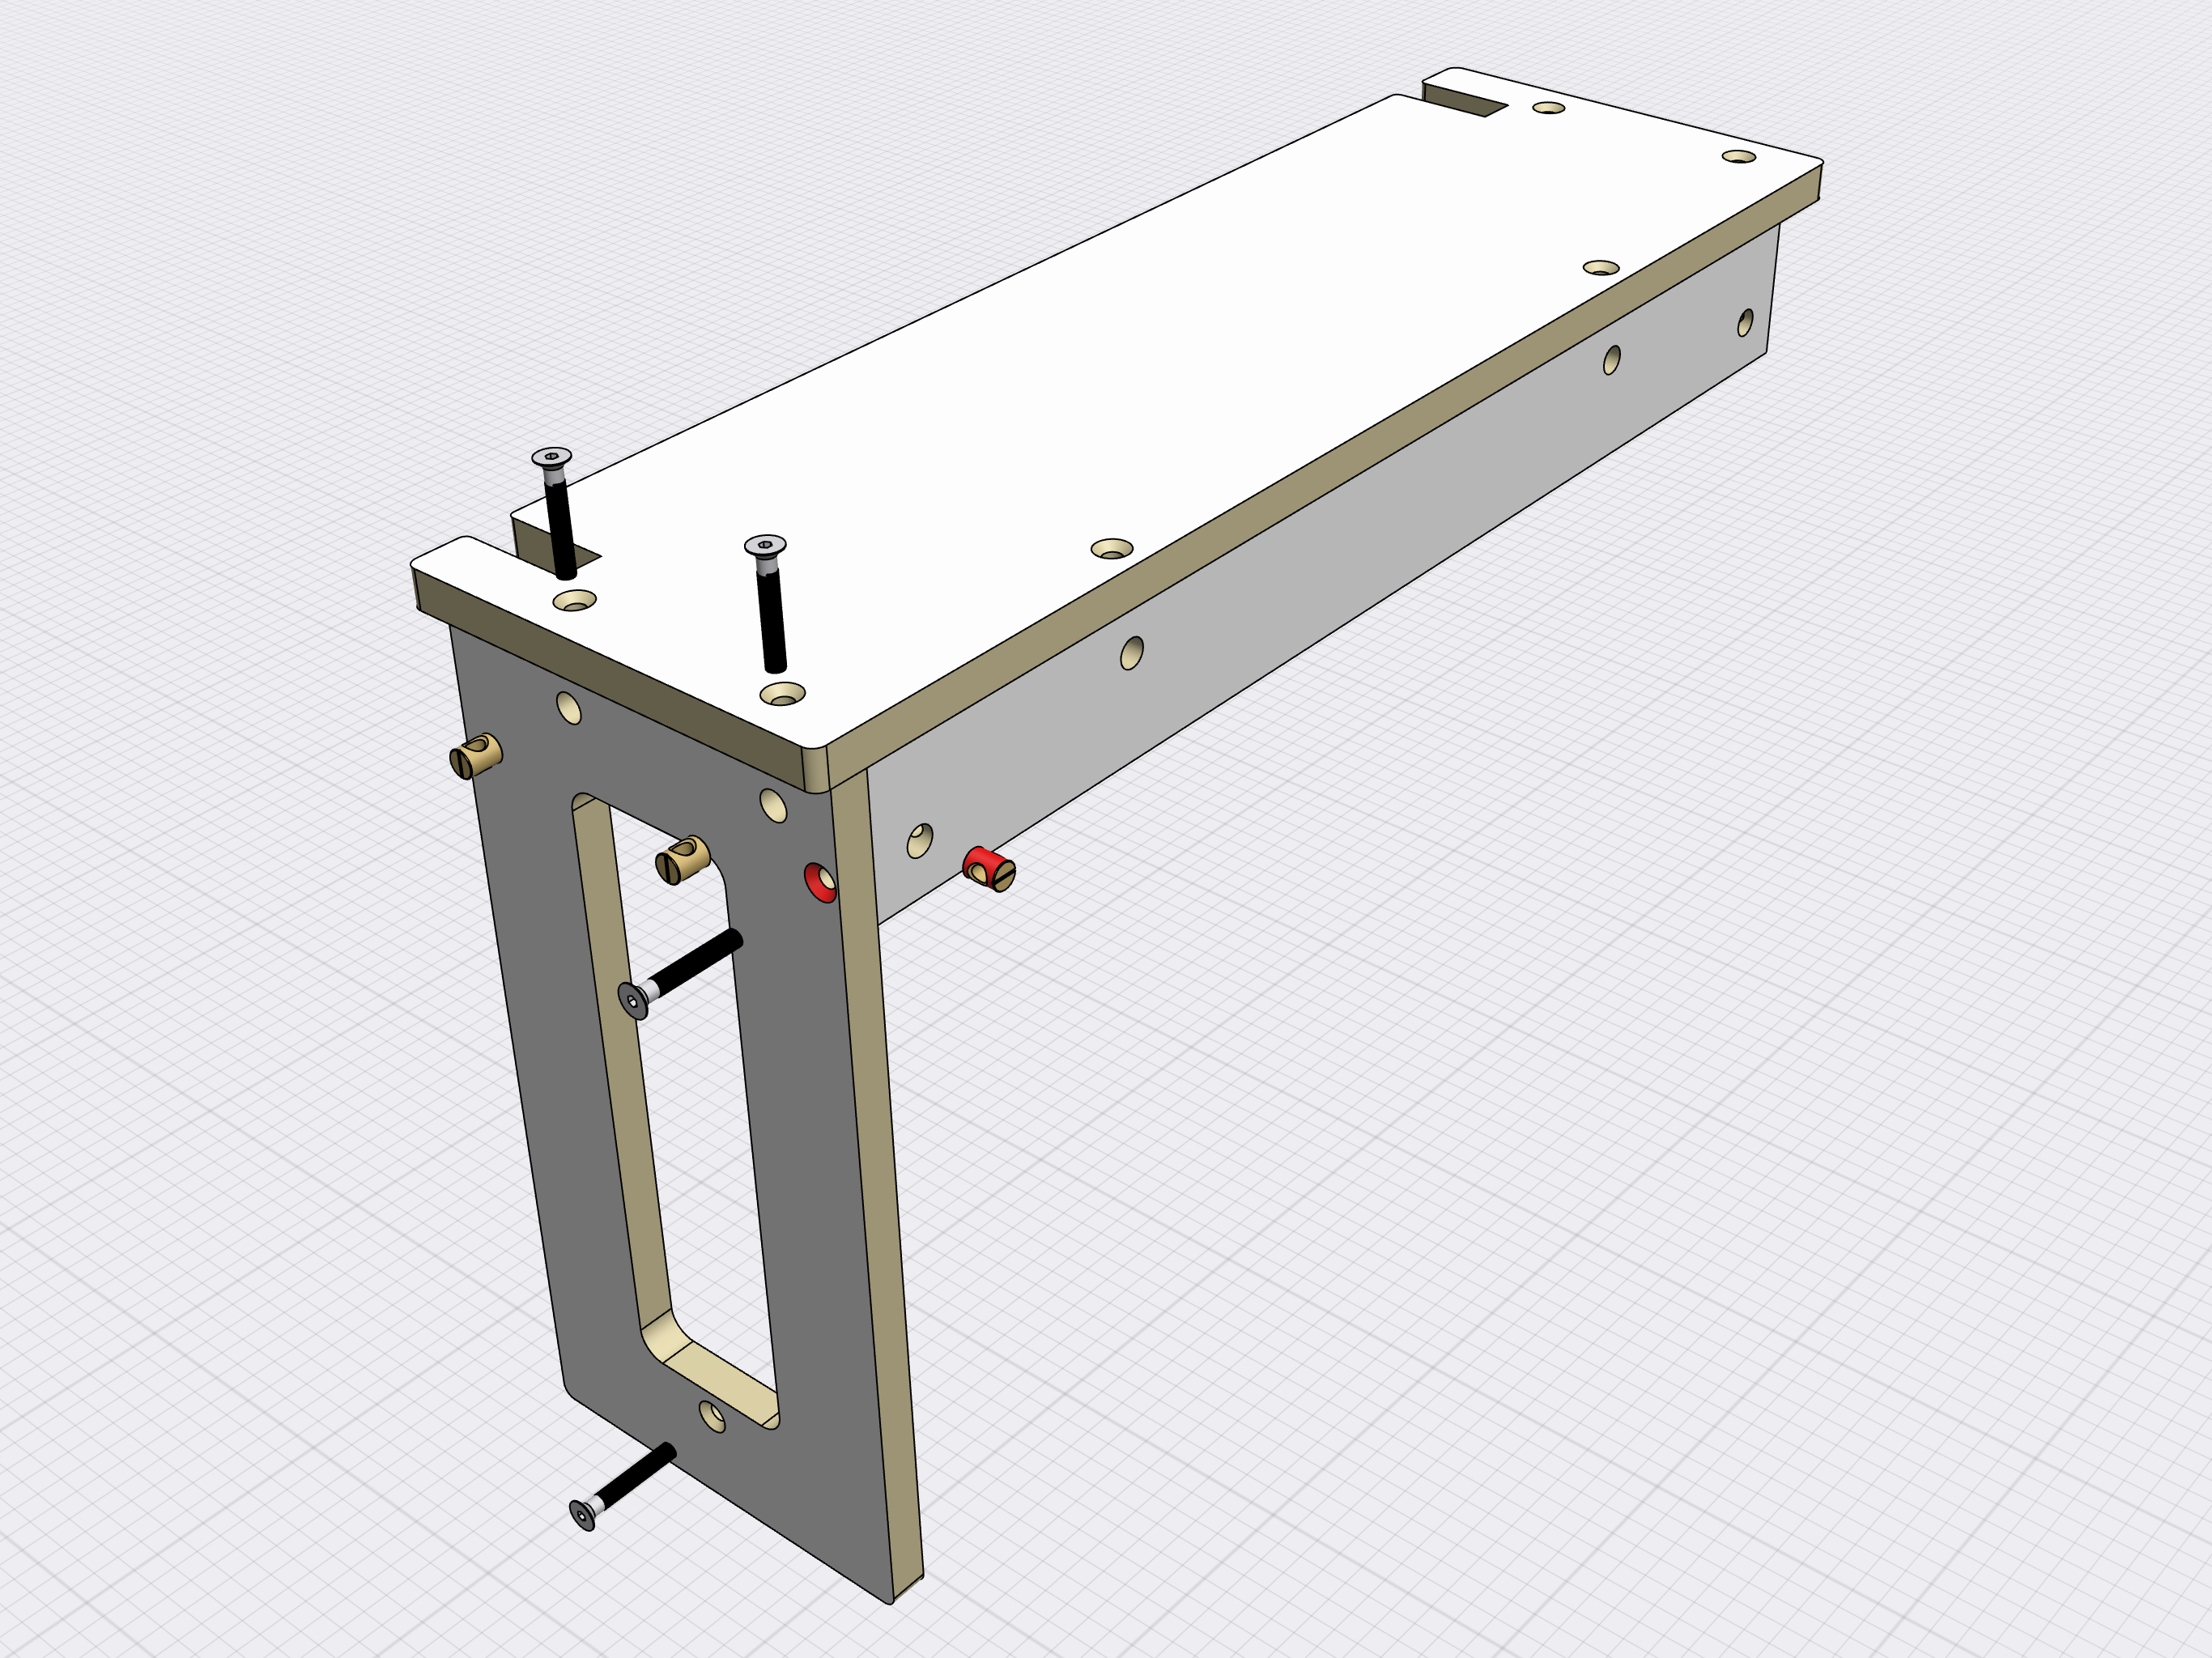
Add the right side panel when the crossbar is facing forward.
-
Now connect the sliding crossbar. Logo must be turned upwards.


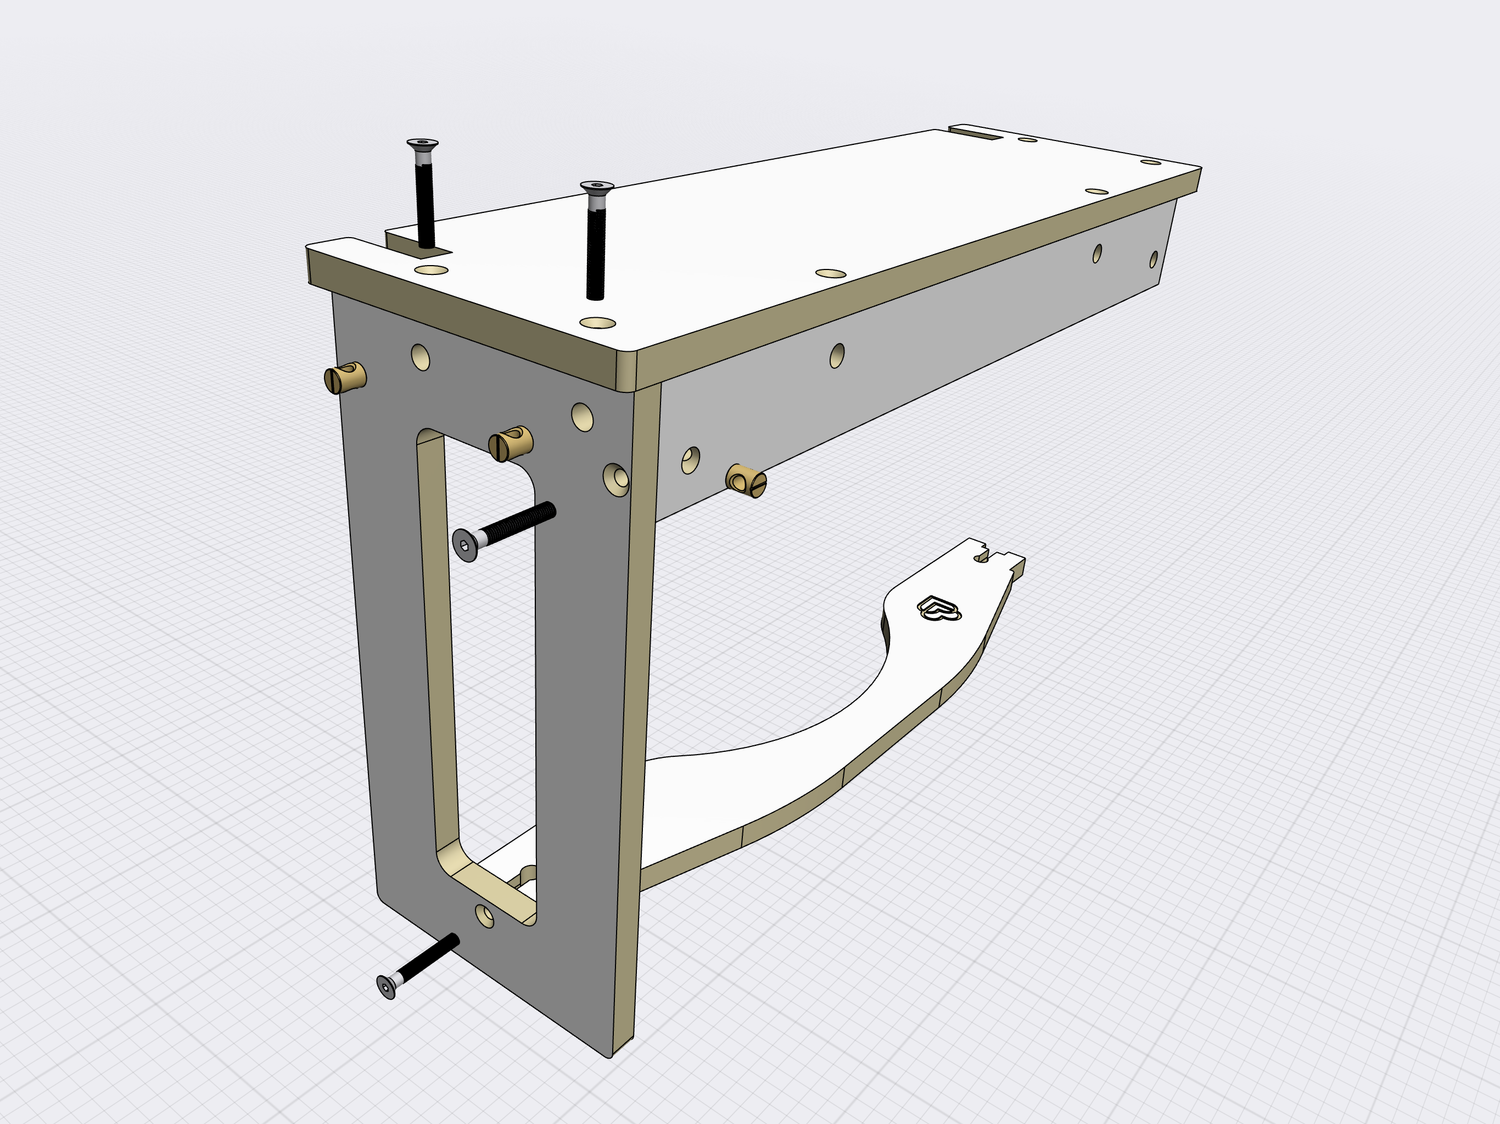
Top seat assembly
The top seat consists of four parts. Now you will need three of them.
-
Add the crossbar. Nothing new.
-
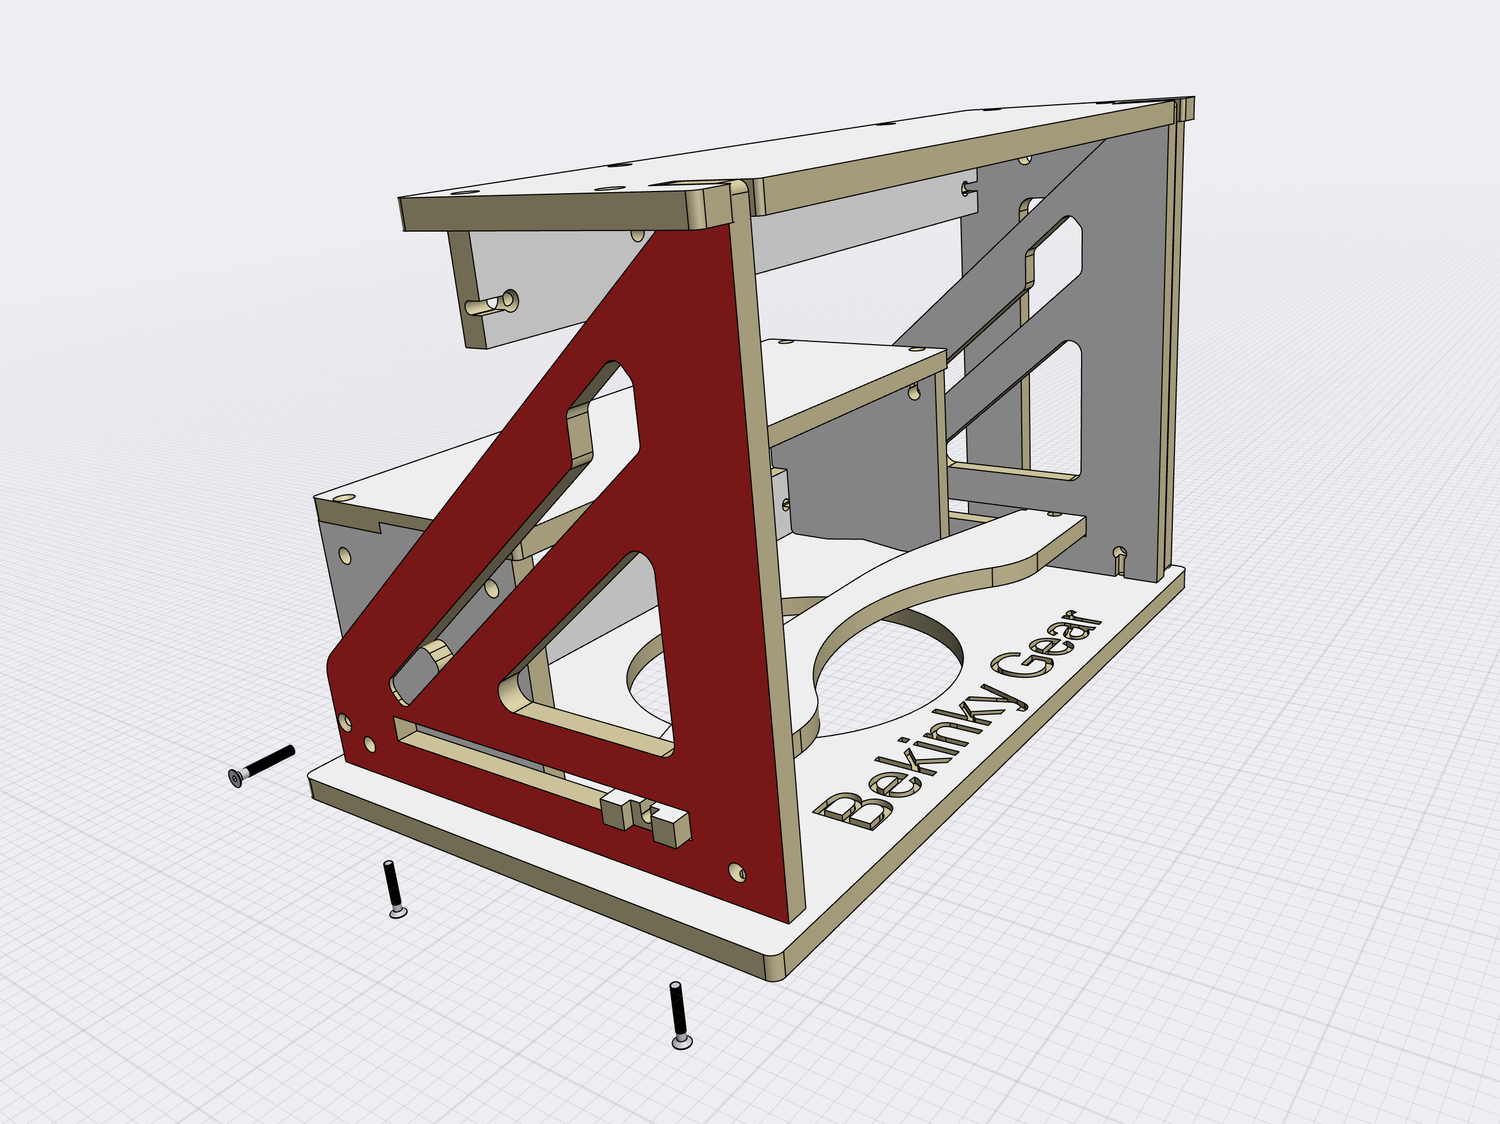
Add the triangular right side panel when the crossbar is facing forwards. You will need three screws. Ensure not to overlook the side one.
-
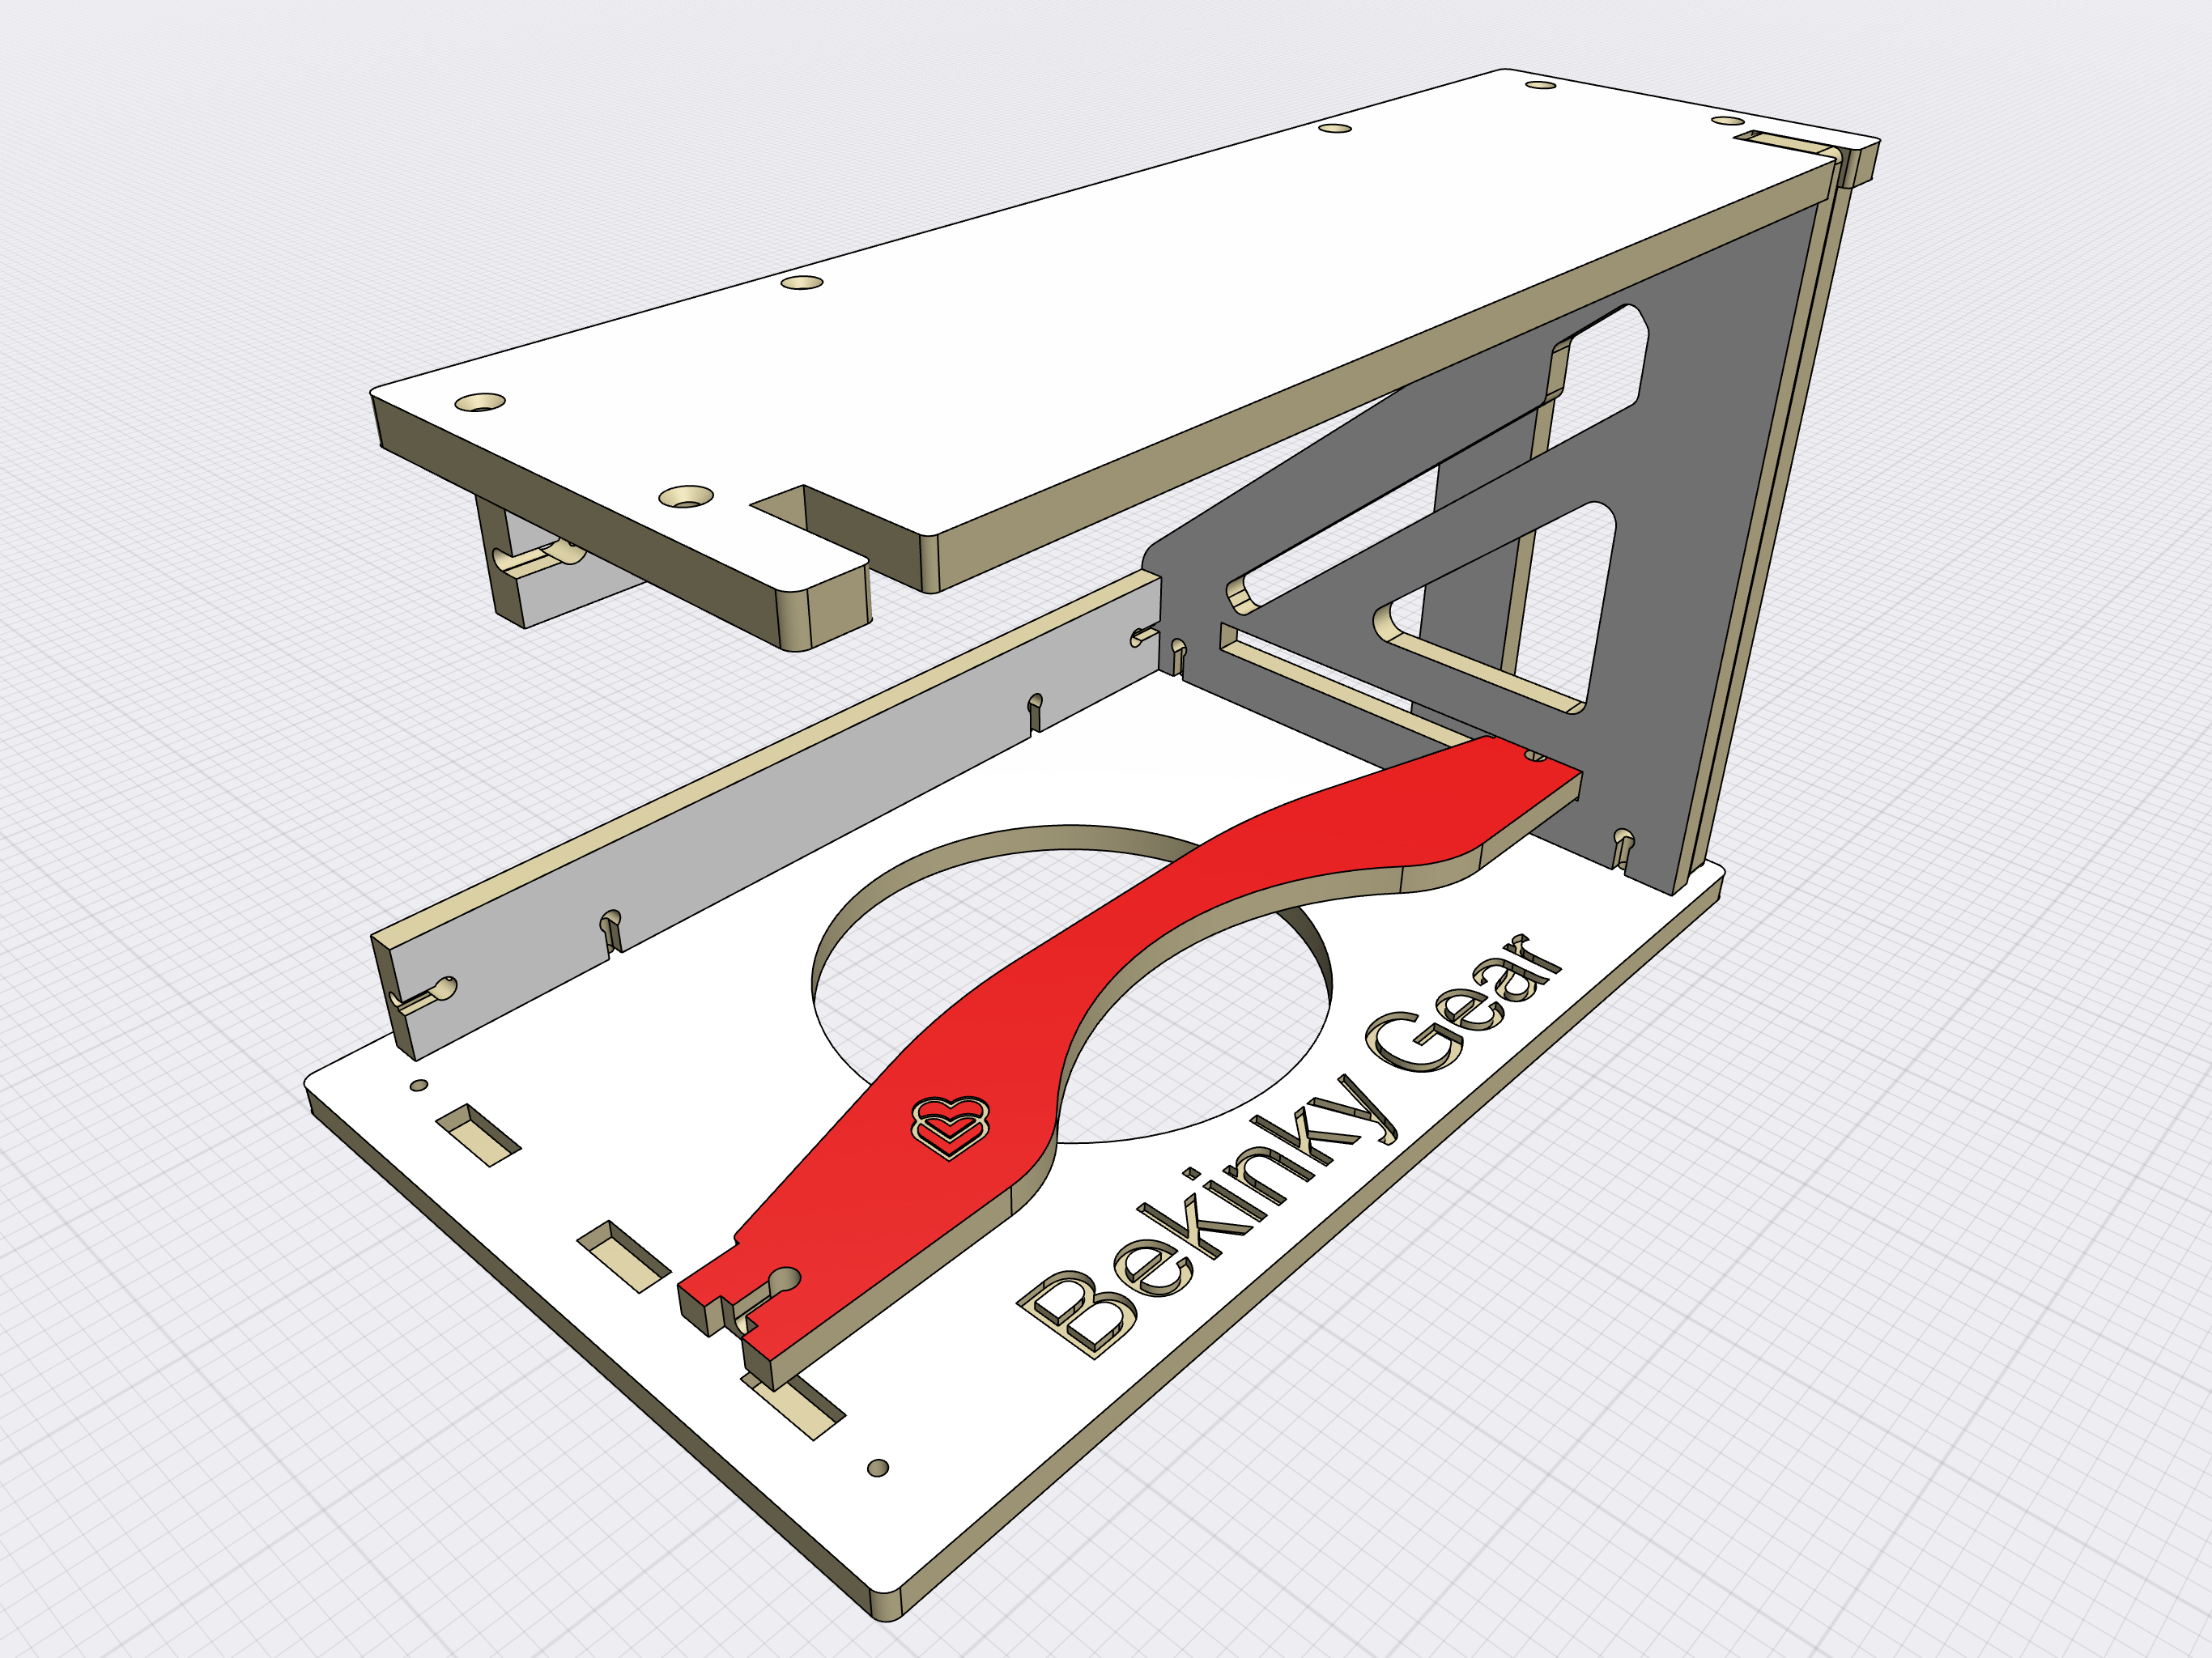
Unite the upper step inserting the sliding crossbar into the horizontal slot. One side is ready.


Both steps united
When the upper step is in its place, add the lower one. Insert its side slider into a diagonal slot.
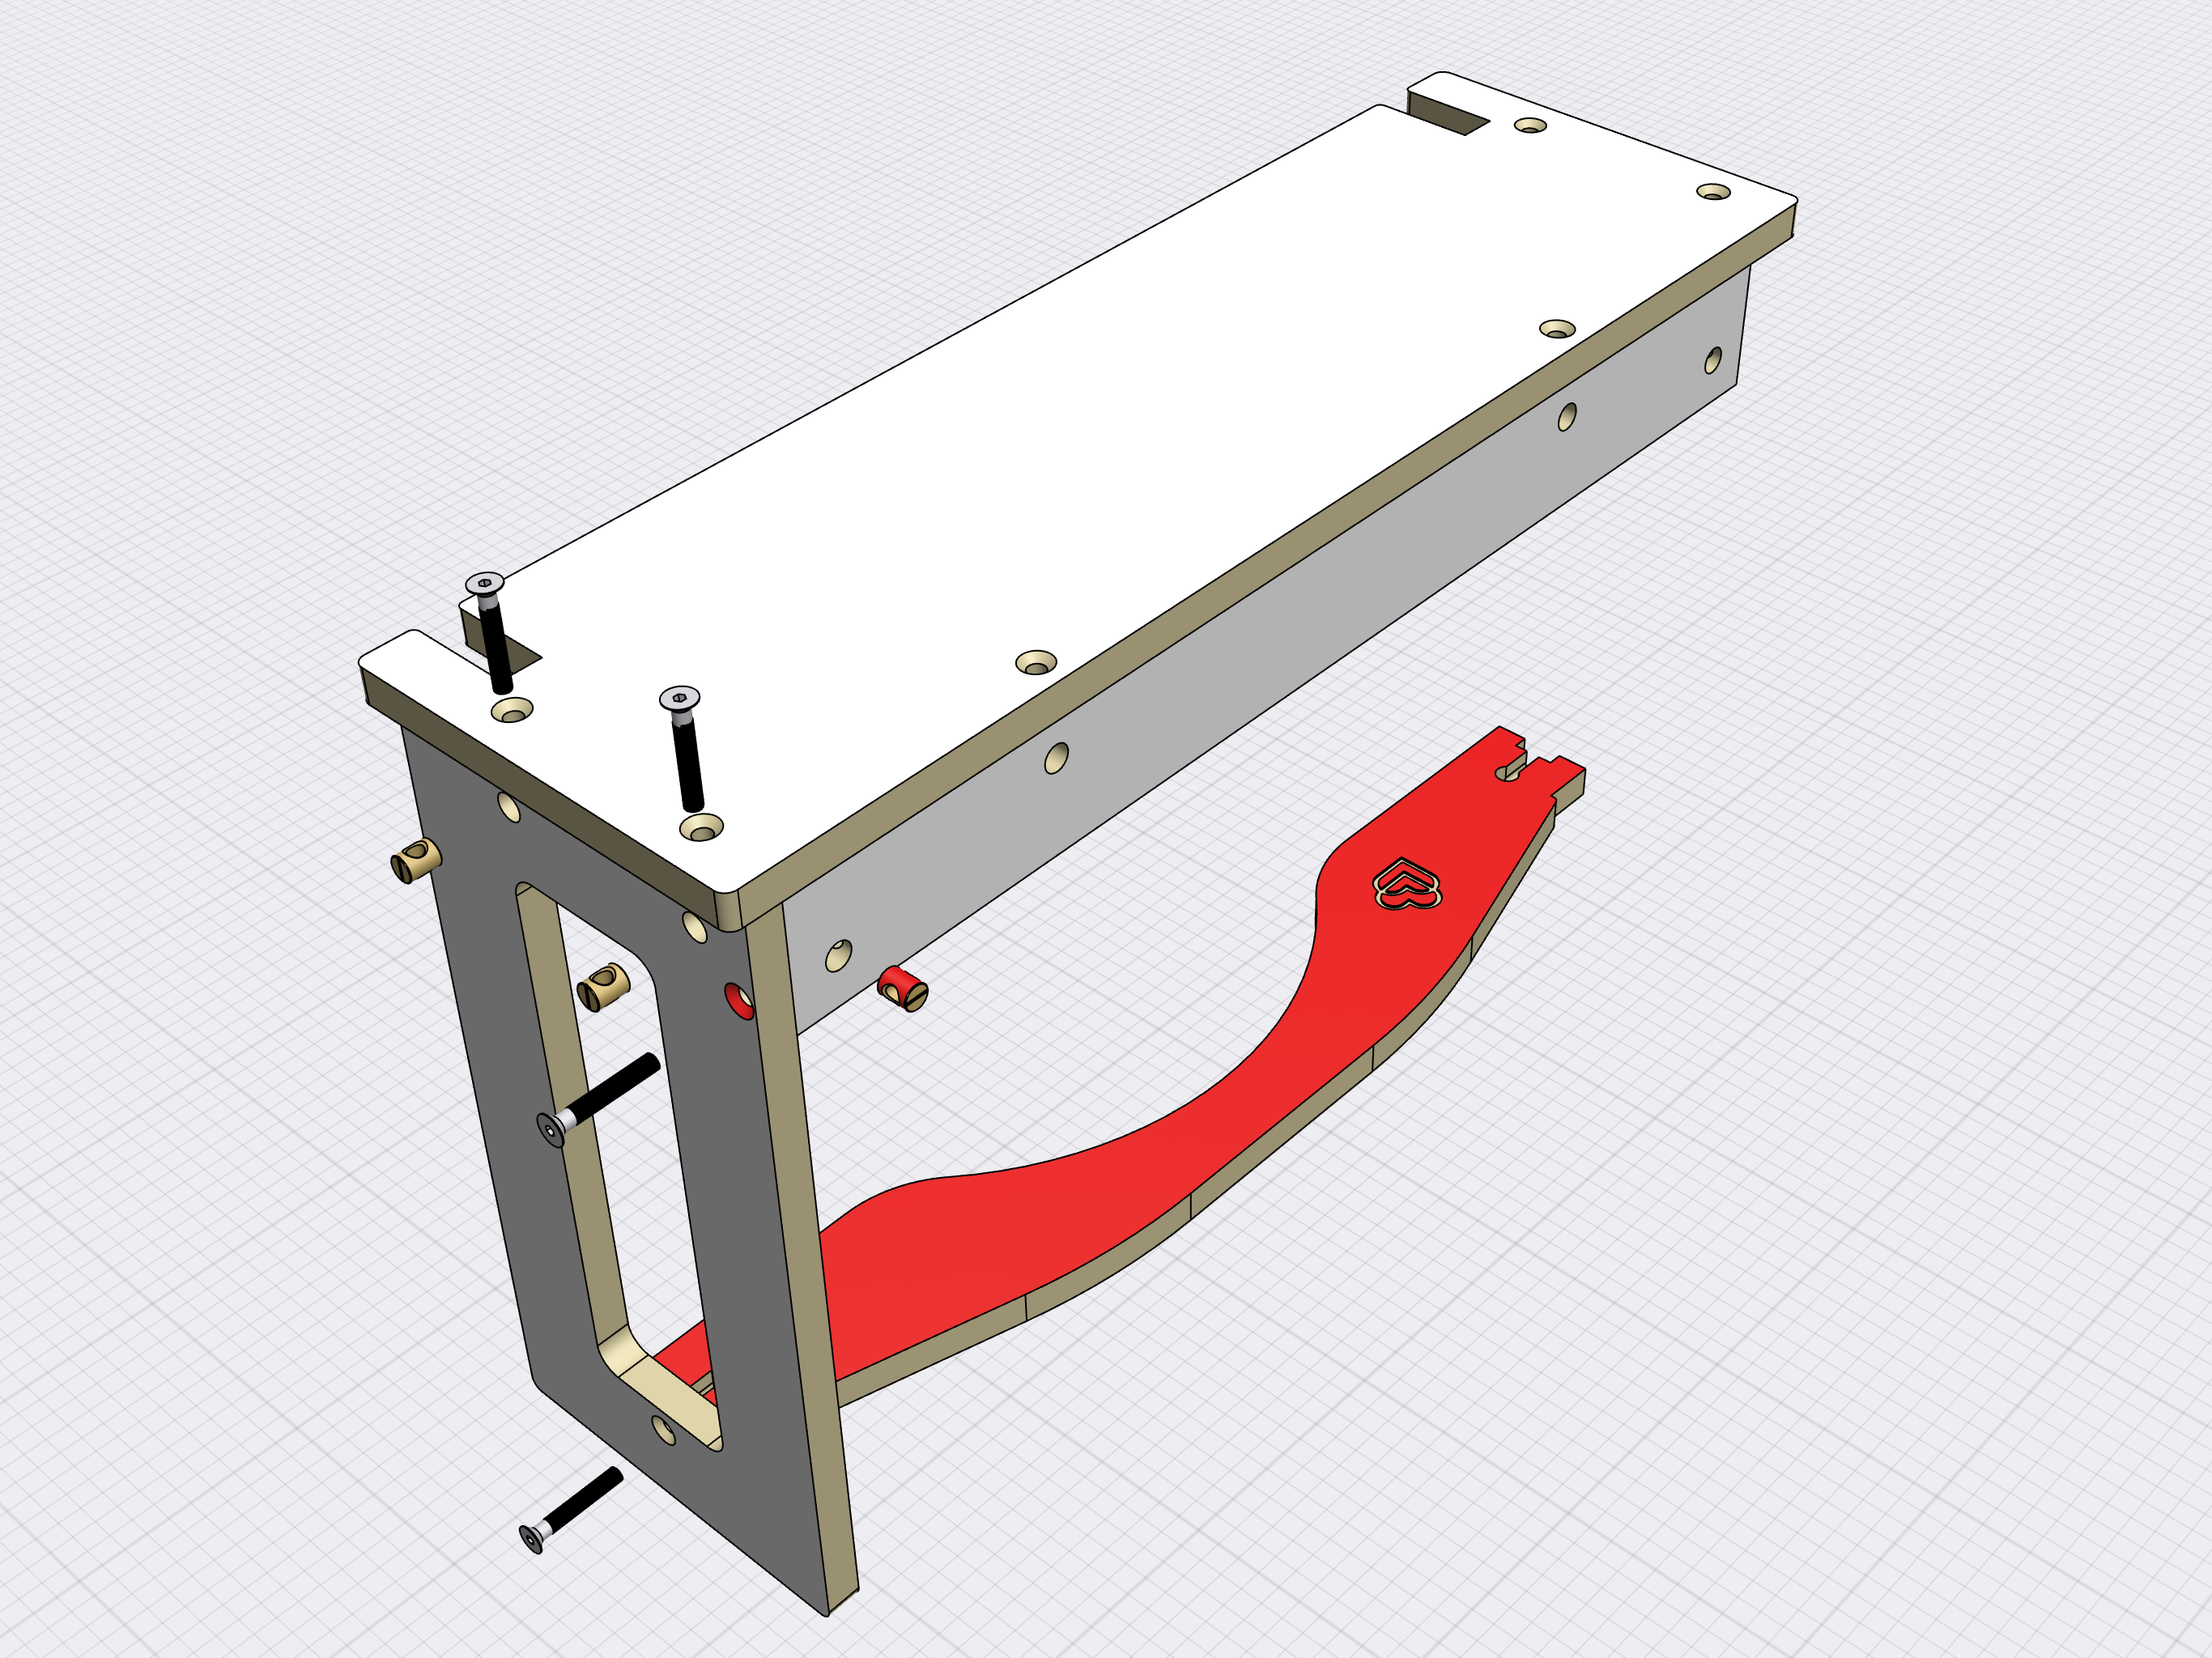
Triangular side panel
Pay attention to the sliding parts, they must be in the slots, and the three bolts.
Final step
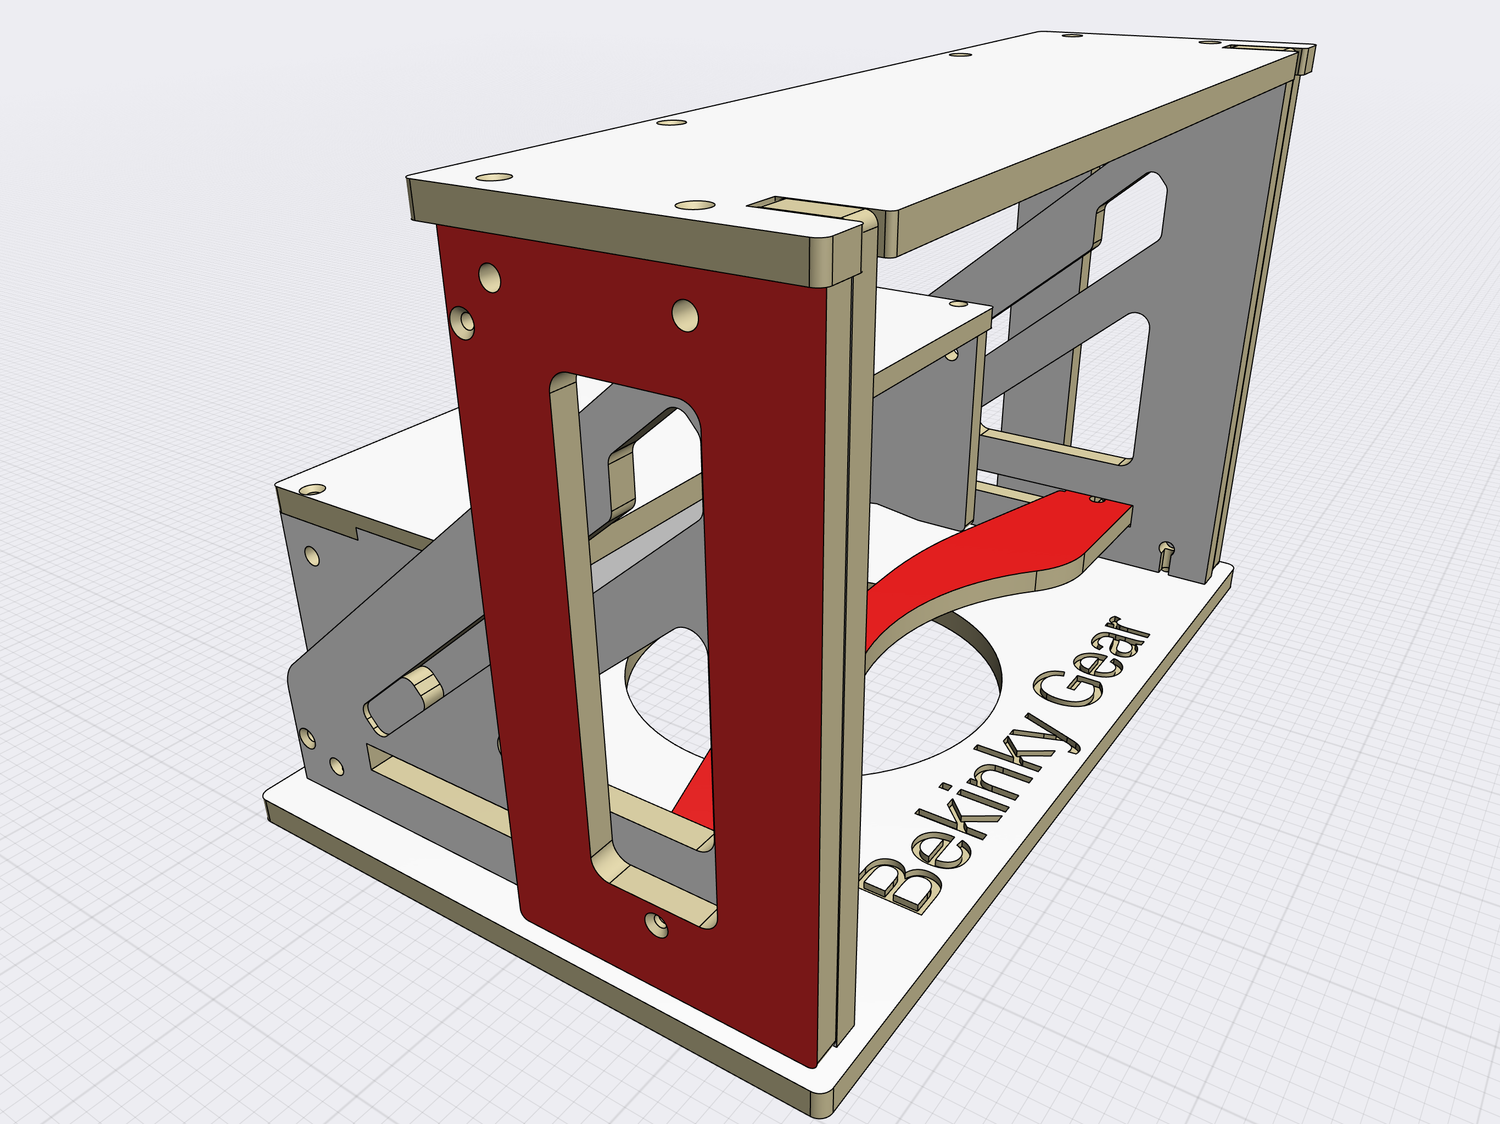
Add the outside panel with three upper bolts and one for the sliding crossbar. It could be tricky to insert the barrel nut. Just apply a bit of force to move the crossbar aside, and you will have enough space to slide the nut into its place.